After looking at the available ready made vans I decided to look into Do It Yourself (DIY) kits. All the ready made vans and most DIY kits have beds that are too small, I'm over six feet tall. I also did not like, due to my height requirement, the transverse, cross-wise, beds most kits seem to favor.
I found one DIY kit maker, Zenvanz , that was willing to work with me as they had full length setup for the Mercedes Sprinter van and were willing to adapt it for the Ford Transit.
Why did I not purchase a Sprinter van you ask? Well, I once owned a Mercedes car that I bought based on the supposed reliability. I found it to be anything but reliable. So, after being towed by Ford dealers several times to get the thing fixed I swore that I would NEVER buy another Mercedes product. Also, the maintenance and parts were expensive.
So, I sold my 24 foot travel trailer and traded my truck in to buy a new 2019 Ford Transit 350 high roof 148 inch wheelbase cargo van. I didn't want the extended length version due to the three foot overhang. I could see me getting hung up on something.
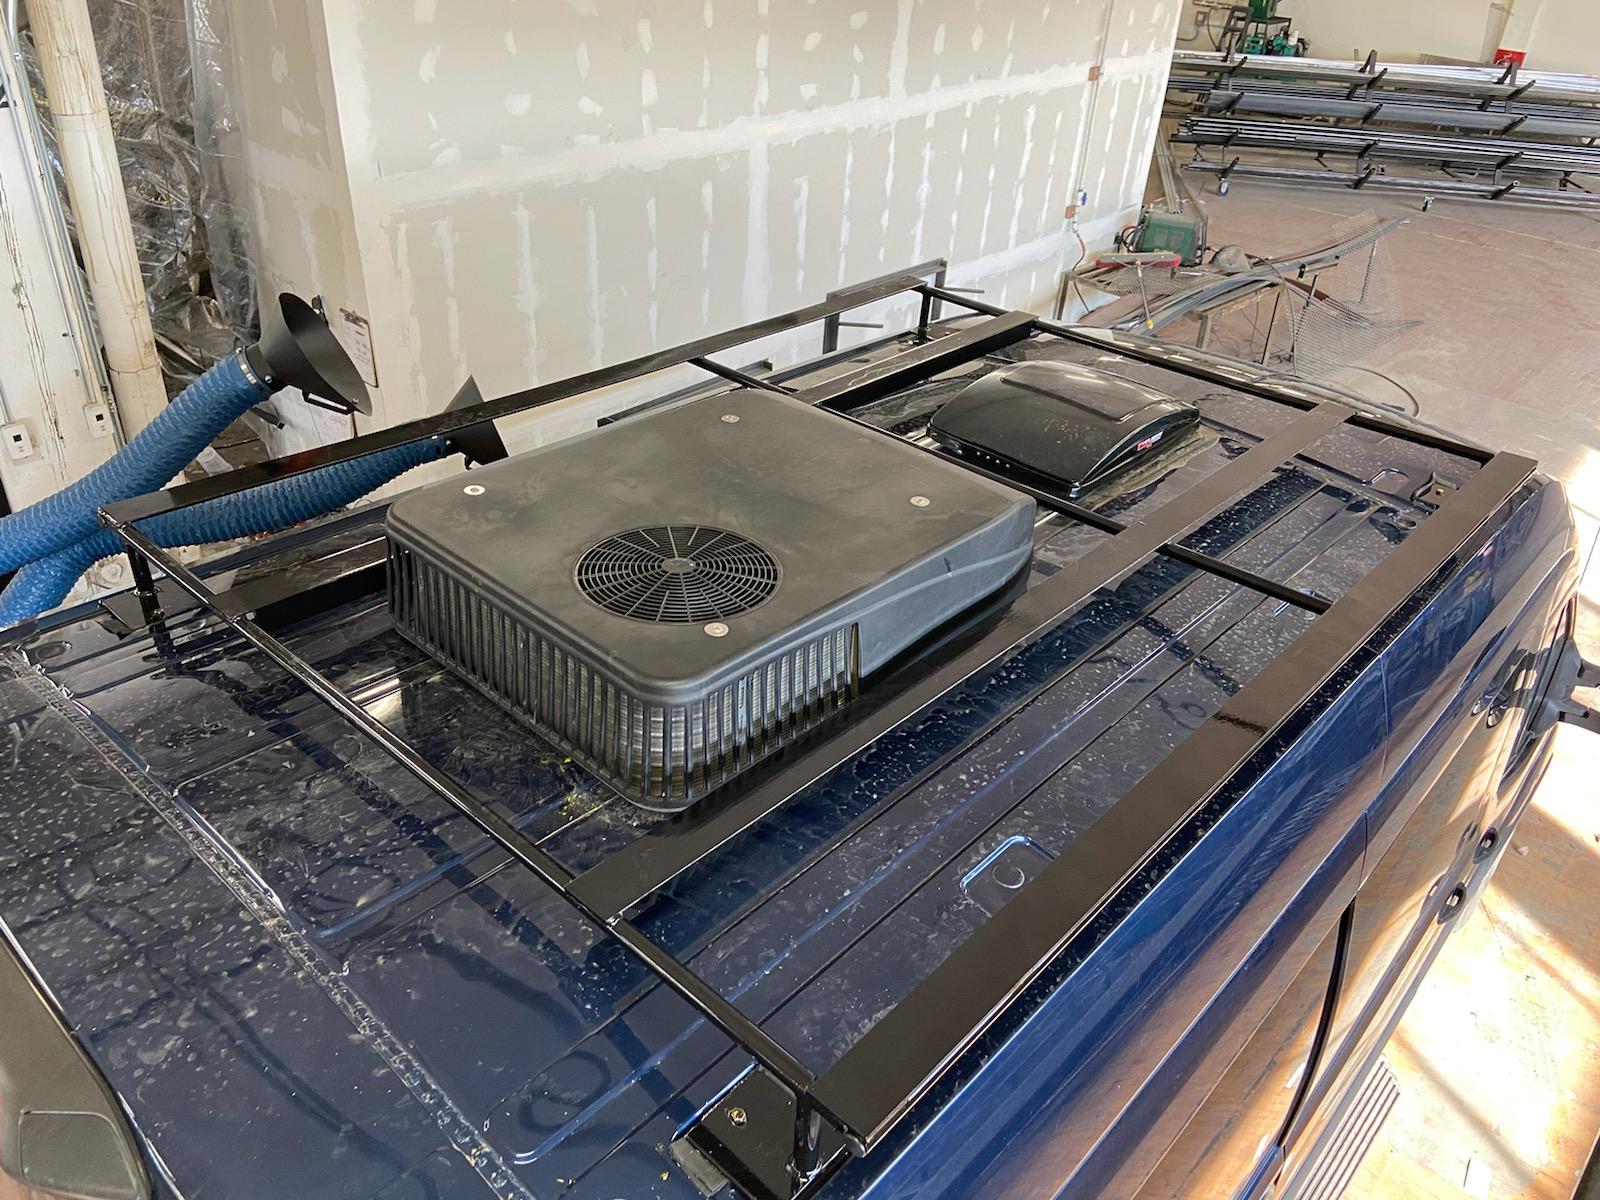
Upon delivery I took the van to a local van conversion company to have them install a Coleman thin profile air conditioner, a Maxxair fan, passenger seat swivel, a 30 amp shore power connector, and a C.R. Laurence T-vent window on the driver's side. I didn't have the proper tooling to cut holes in the van's roof and side panel and I didn't want to use my plasma cutter. The window on the sliding door is the stock Ford window.
At this point I built a circuit breaker panel and installed it in a cavity in the driver's side wall. I then ran several circuits for the kit that was to be installed including the air conditioner. Other than the air conditioner the rest of the circuits terminate with a standard outlet set into a wall cavity near the point of use. This allows the wall panels to be flush with the outlets. I ran all the wiring inside the available wall cavities. In a few places I had to drill and grommet a pass through to get where I needed the outlet.
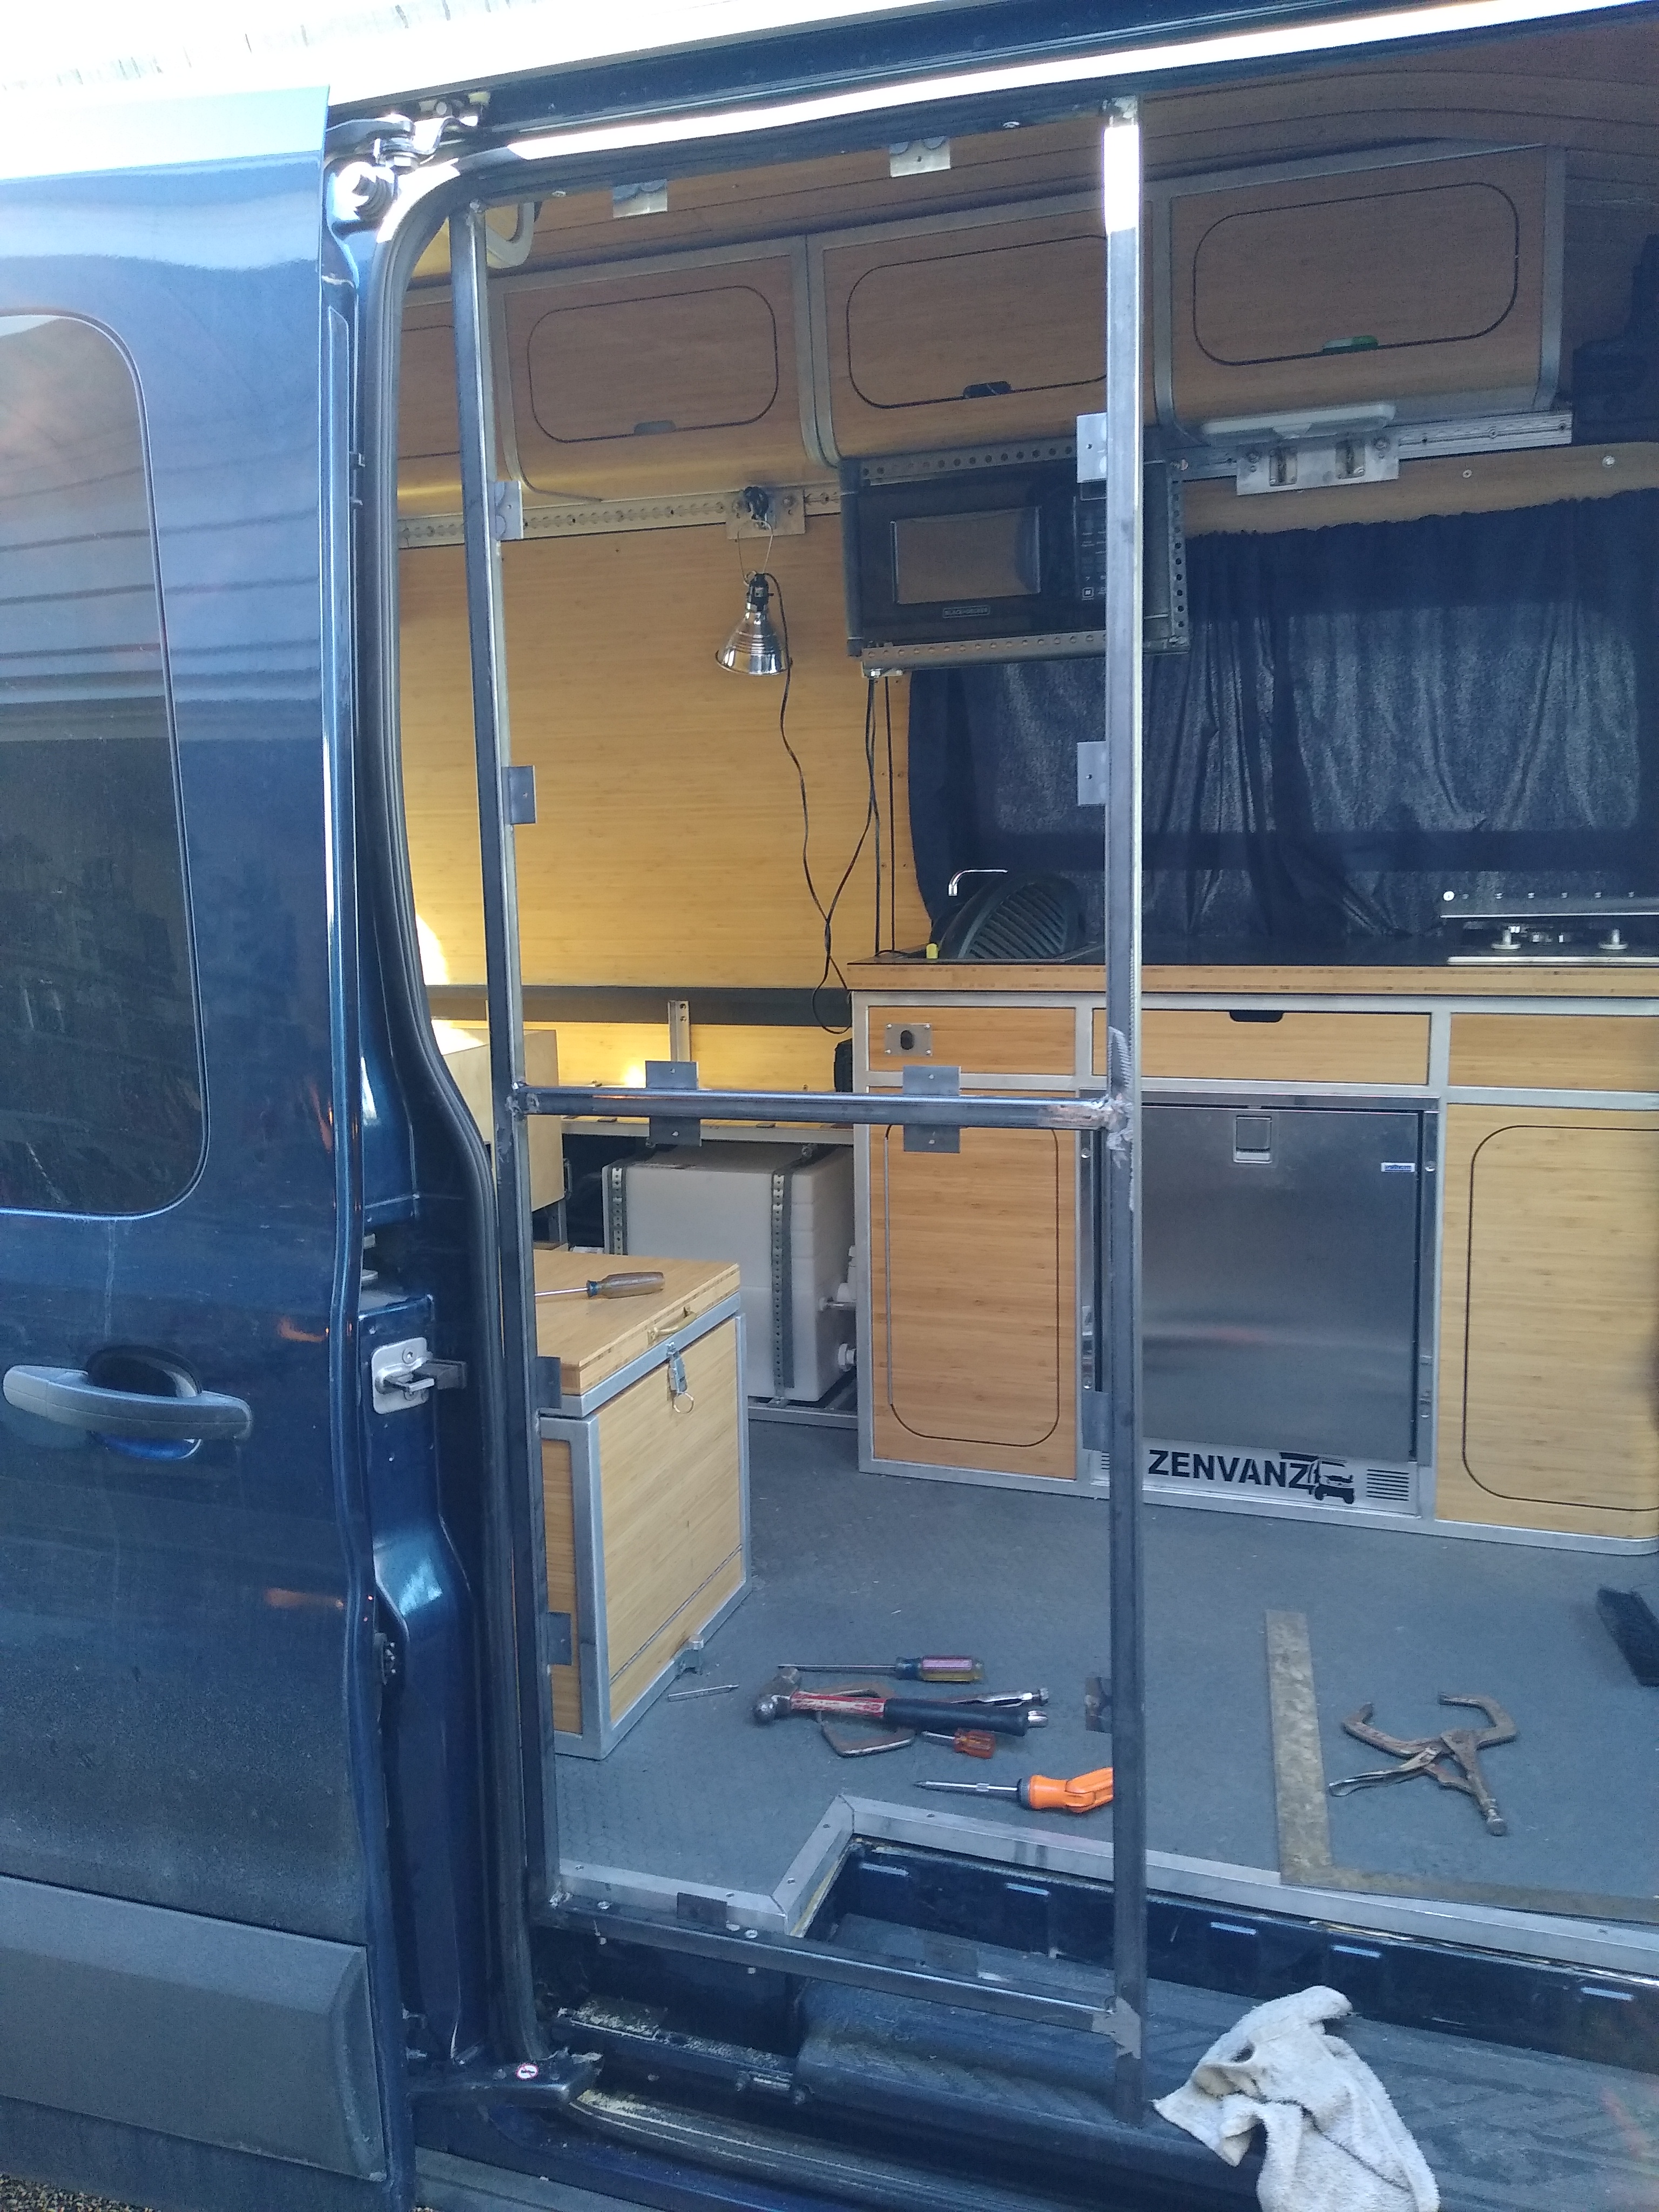
In April of 2019 I went to Portland, Oregon, to pick up the kit from Zenvanz. They did the install as they wanted to test the fit of the kit as I was their first Ford Transit customer. The kit consisted of the overhead cabinets, ceiling, wall panels, bed deck and the galley unit. The galley unit was installed on wooden blocks as I hadn't yet installed a floor. Also included was a queen sized memory foam mattress, two burner propane cook top, 120VAC/12VDC 2 cubic foot refrigerator, sink and faucet in separate boxes. Did I say it was a kit?
When I returned home I removed the kit from the van and put it in the garage. I then put sound proofing on the floor, ceiling and walls. Followed by the floor which I made using 3/4 inch plywood. The plywood is covered with a gray nickel pattern vinyl flooring. All is glued down using RV flooring adhesive. The vinyl flooring and adhesive I bought from RecPro. I then added an edging using aluminum angle.
At this point I laid out the 12 volt circuits. I ran the wires in the wall cavities, like I did the 120 VAC circuits, to terminal blocks placed near the points of use. I added a 60 amp 12 volt fuse panel to support the current circuits and future expansion. I installed a 100 AH lithium battery and charger that I purchased from Battle Born.
After the flooring and wiring I started installing insulation. I do not plan to use the van in the winter. So, I didn't plan a four season insulation package. I started by putting two 1/2 inch layers of thinsulate in the ceiling. One 1/2 inch layer of thinsulate in the walls followed by fiberglass batting.
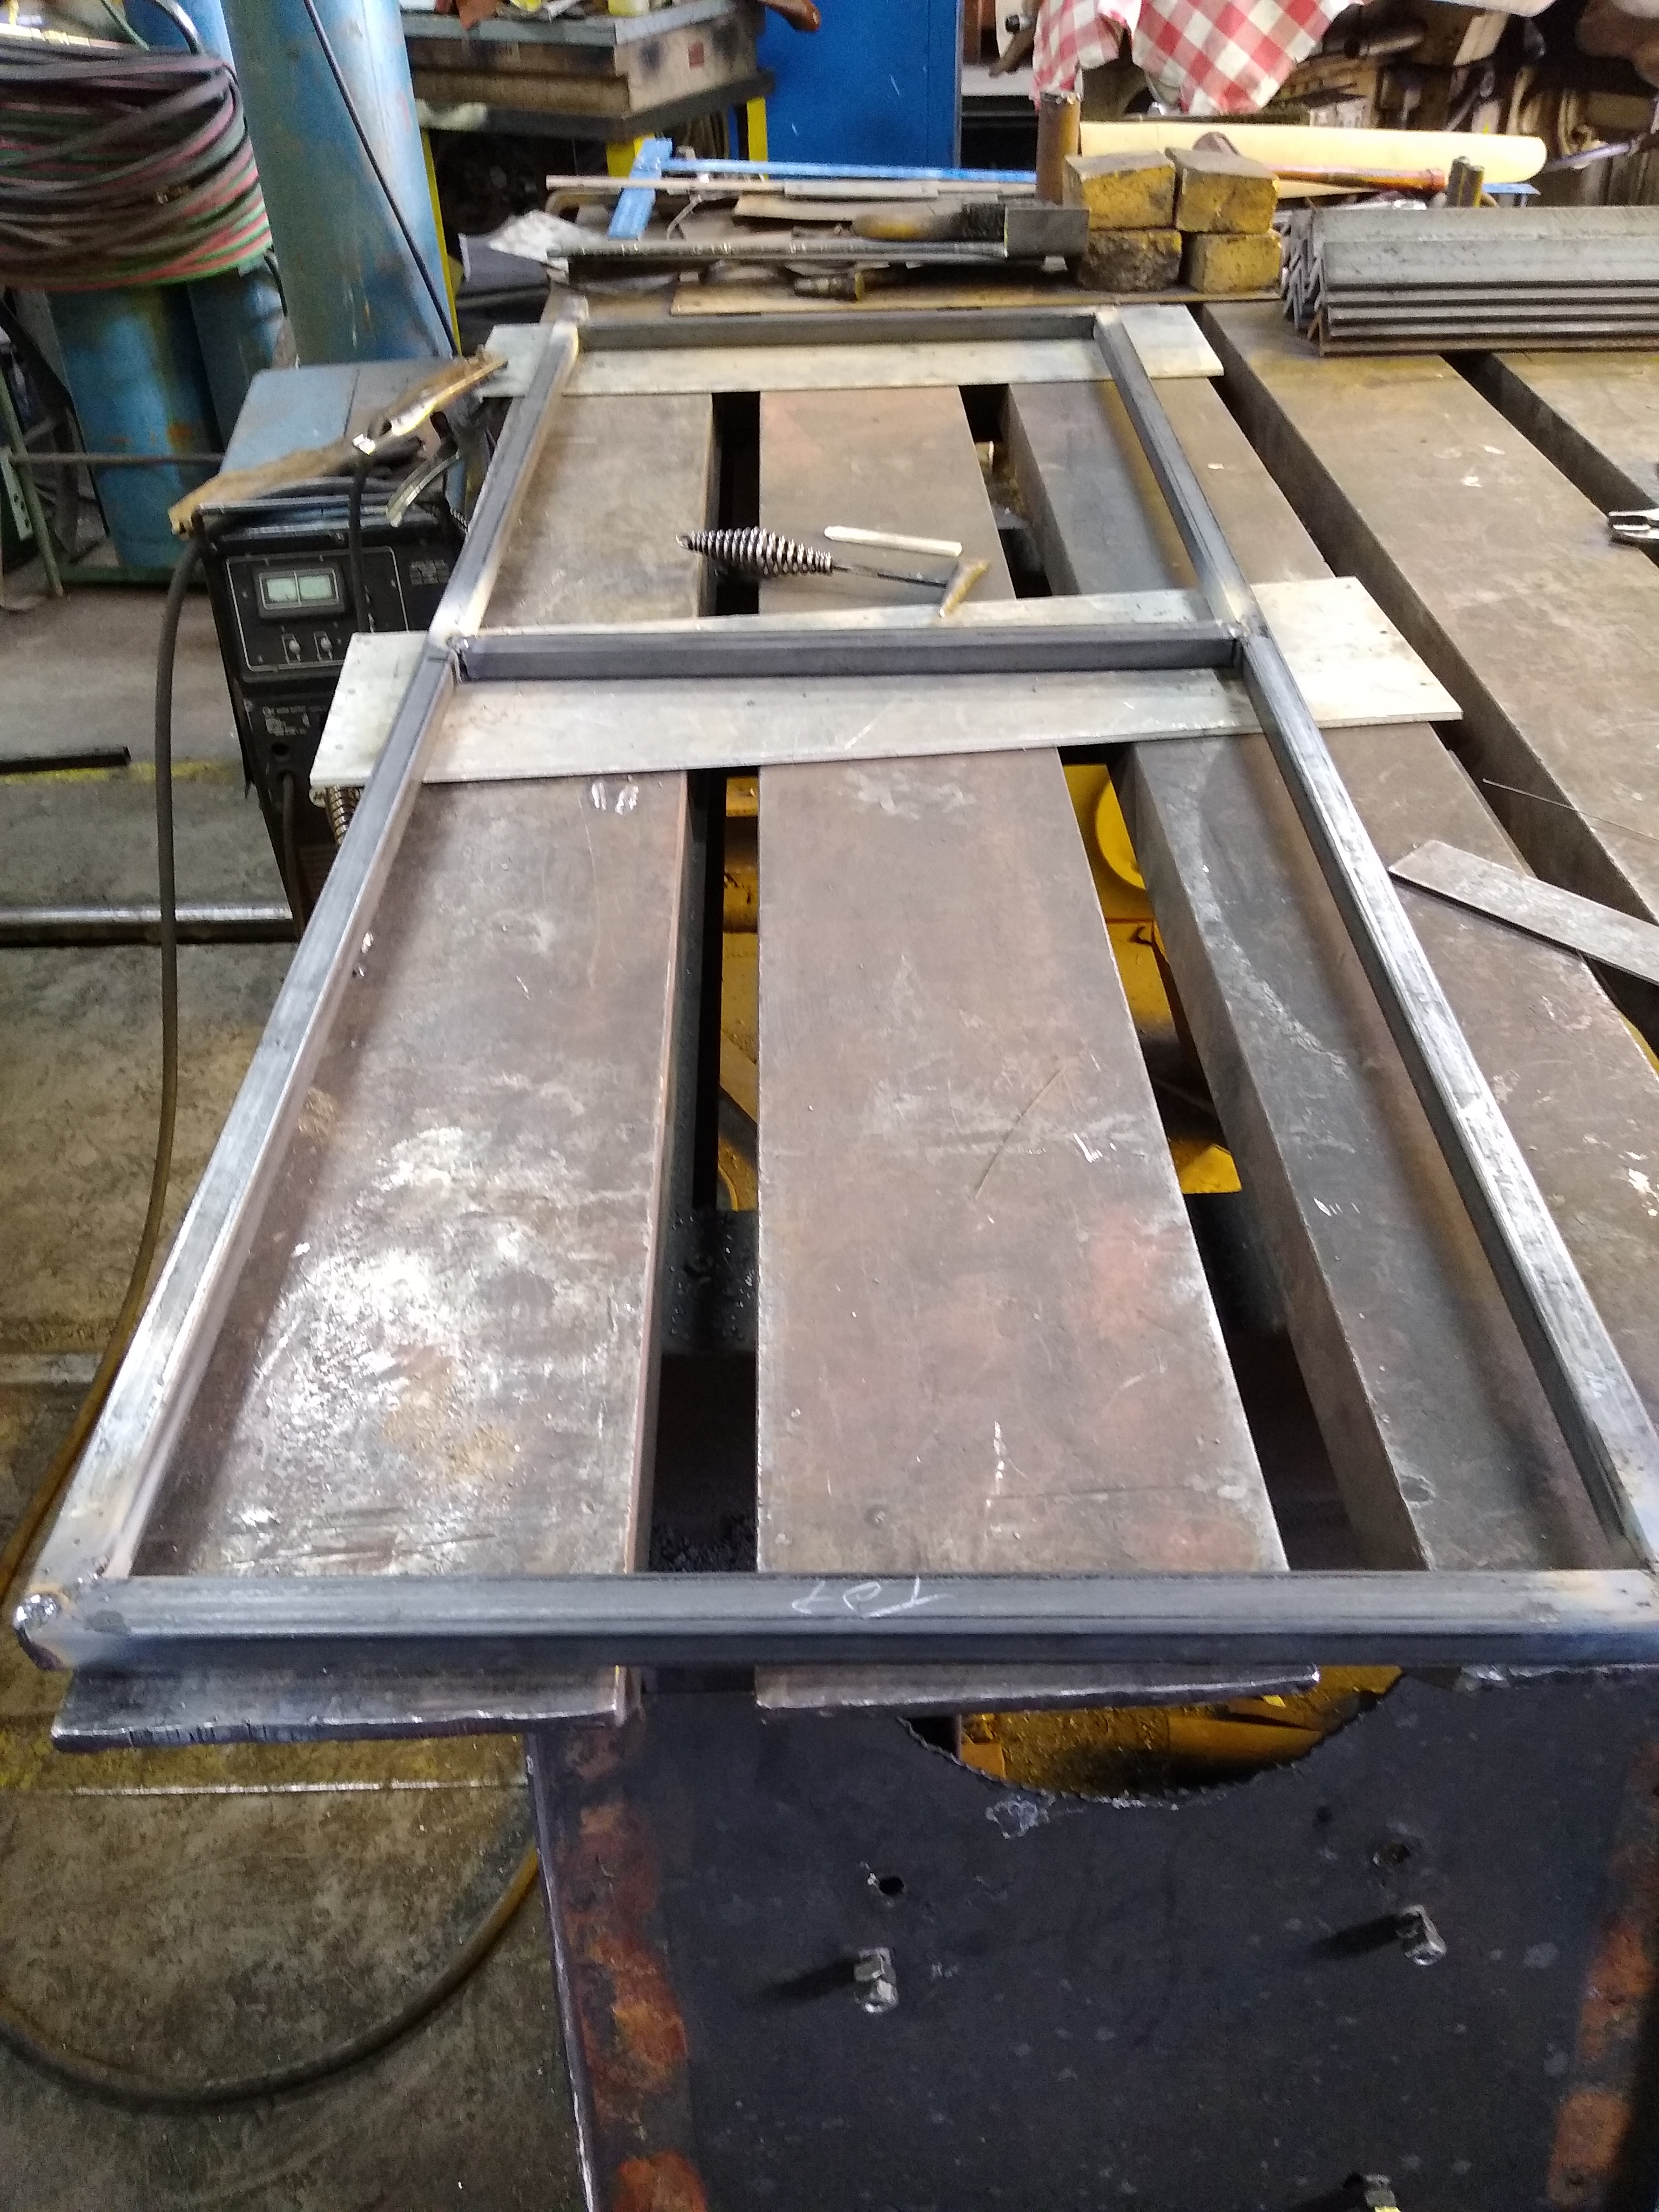
I welded up a utility frame to hold the propane tank, water tanks (fresh and gray) and the electrical system. It is made with 1 inch by 1 inch by 1/8 inch square tube that is screwed to the floor.
At this point I reinstalled the ceiling, wall panels and overhead cabinets. While installing the ceiling and galley overhead cabinet I installed and wired in the lights. I used "hockey puck" lights on the ceiling and a standard kitchen light in the galley overhead cabinet. All lights are LED lights.
Installed the toilet enclosure on the passenger side. It is mounted on slides and slides under the bed deck when not in use. The enclosure holds a self contained Thetford "porta potty".
Now I could assemble the galley and install it in the van. This included running fresh water, propane and sink drain plumbing. Connect the refrigerator to the 120VAC and 12VDC circuits. Install water pump switch in front of the sink below the counter top. I used water jugs to hold the fresh and gray water.
At this point it is time to go camping and try some things out! Also, I'll learn what needs improvement and additions.
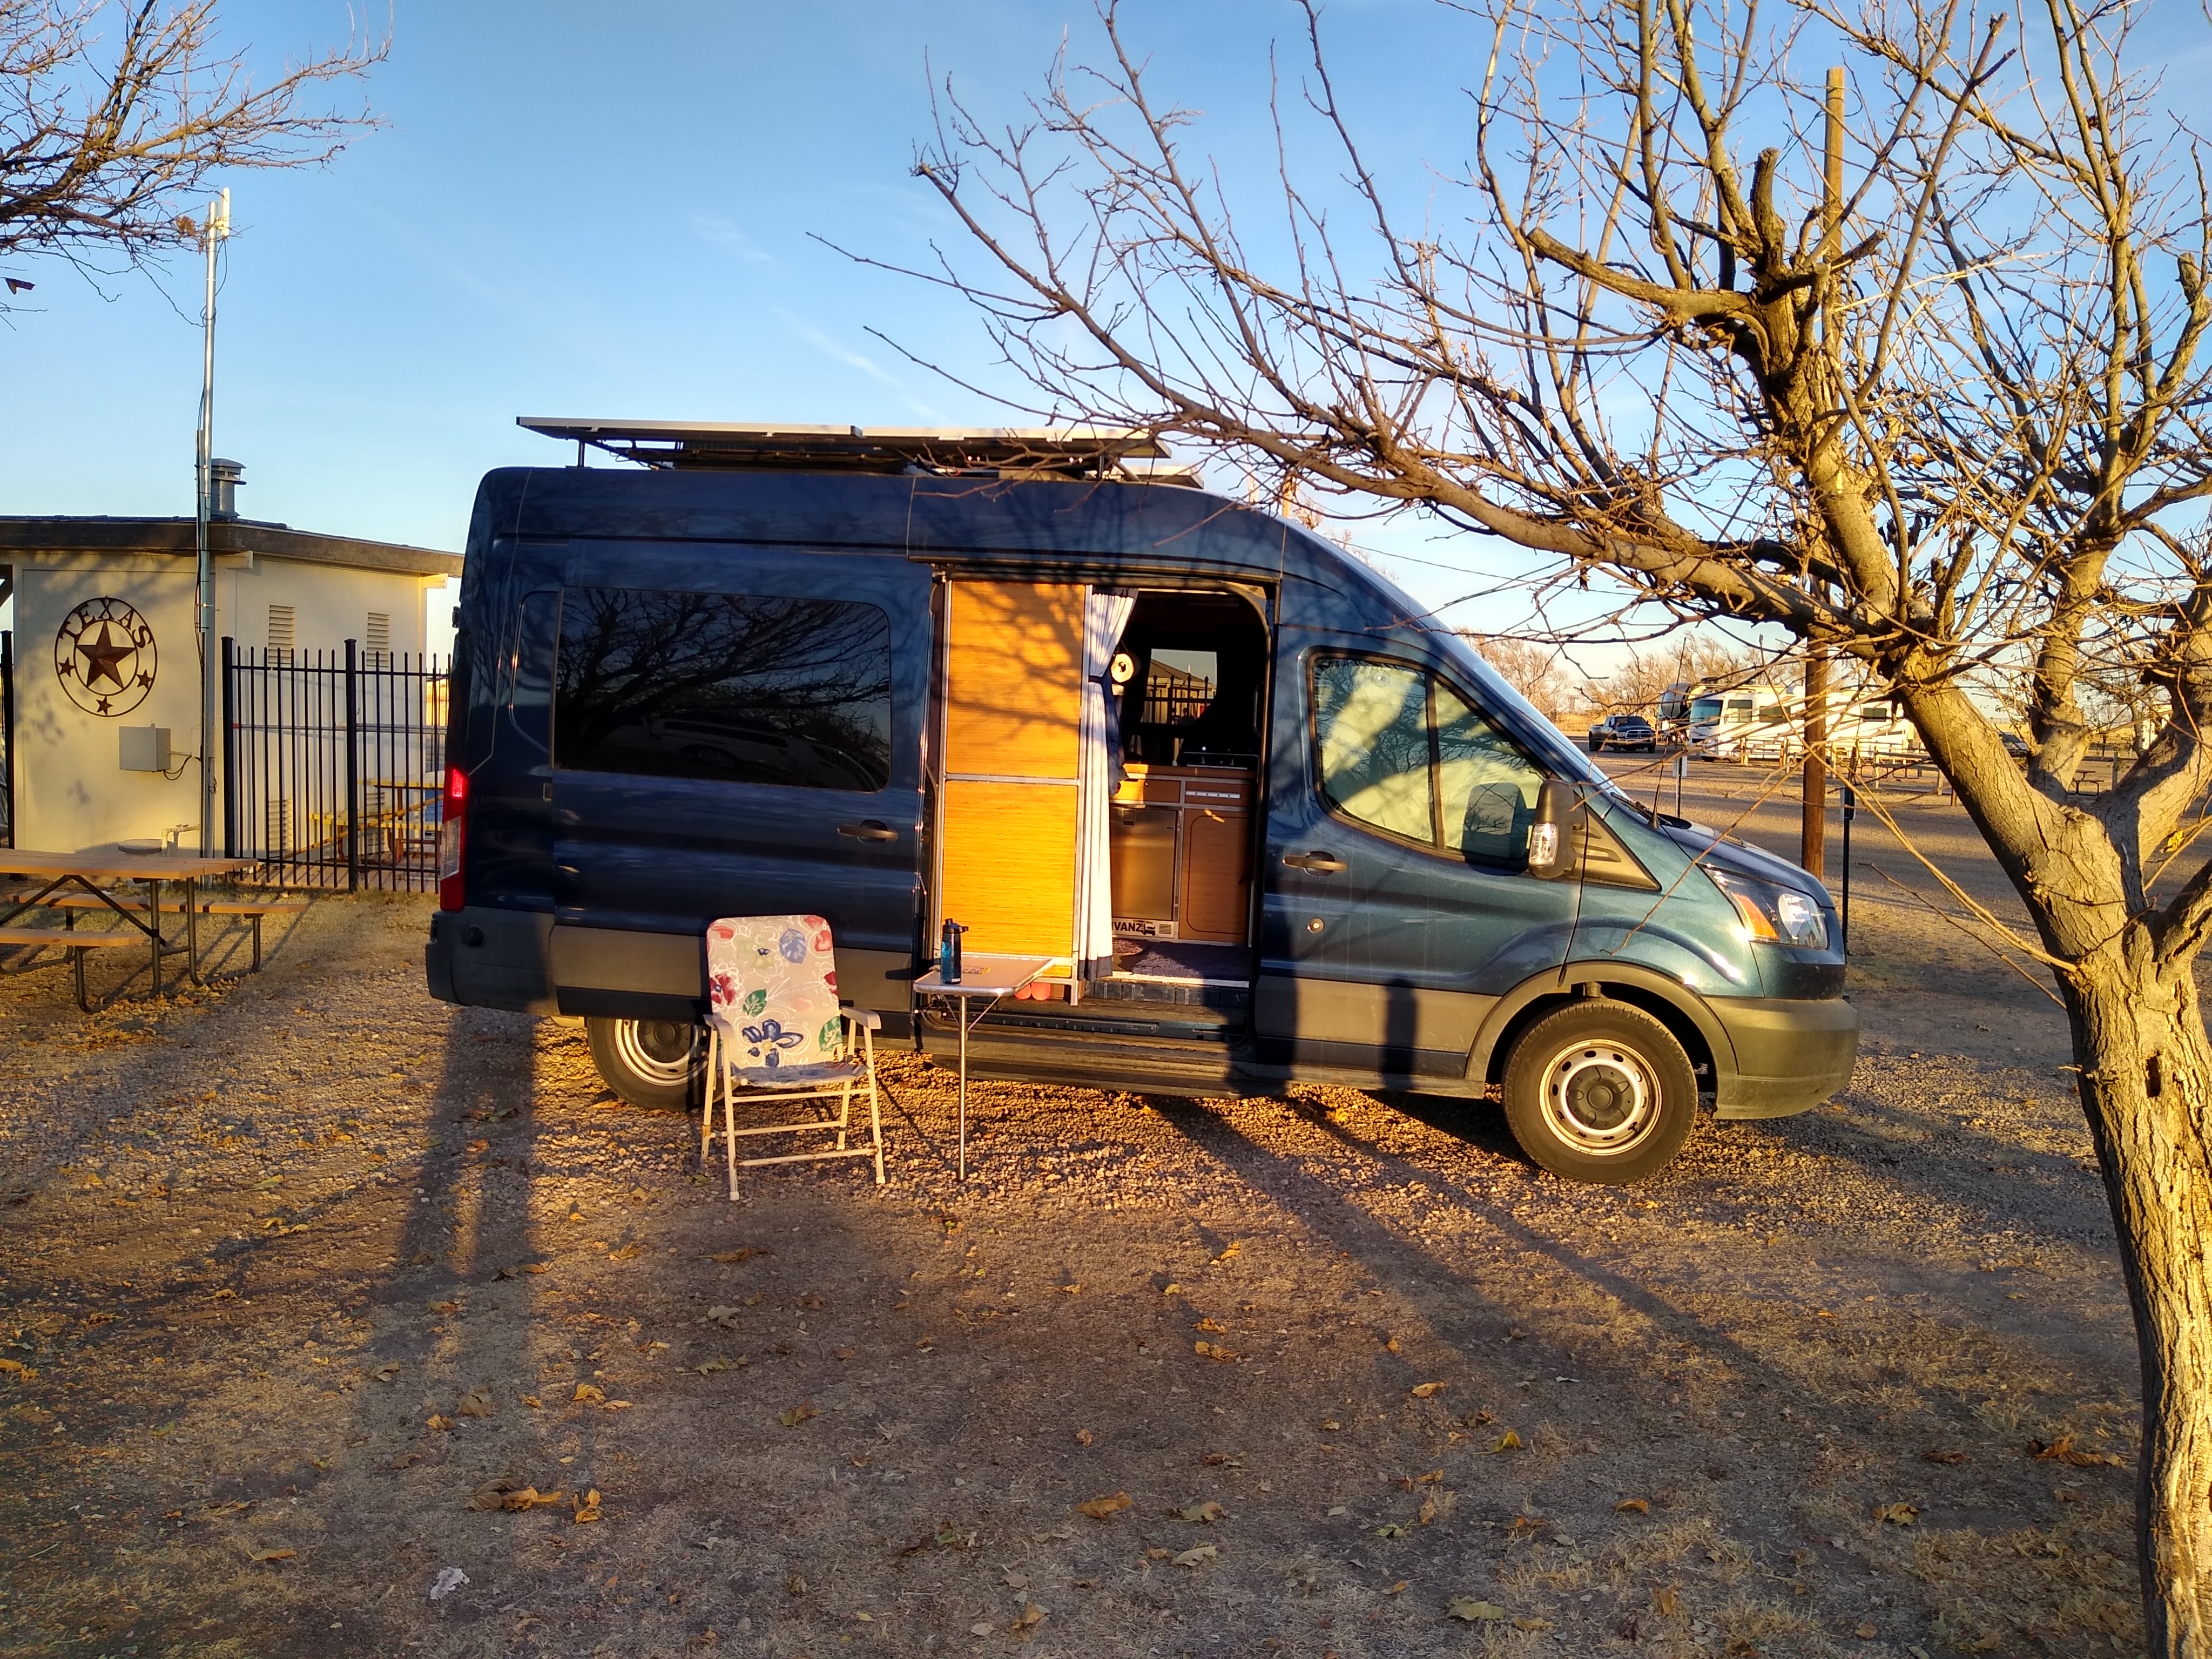
Exterior view.

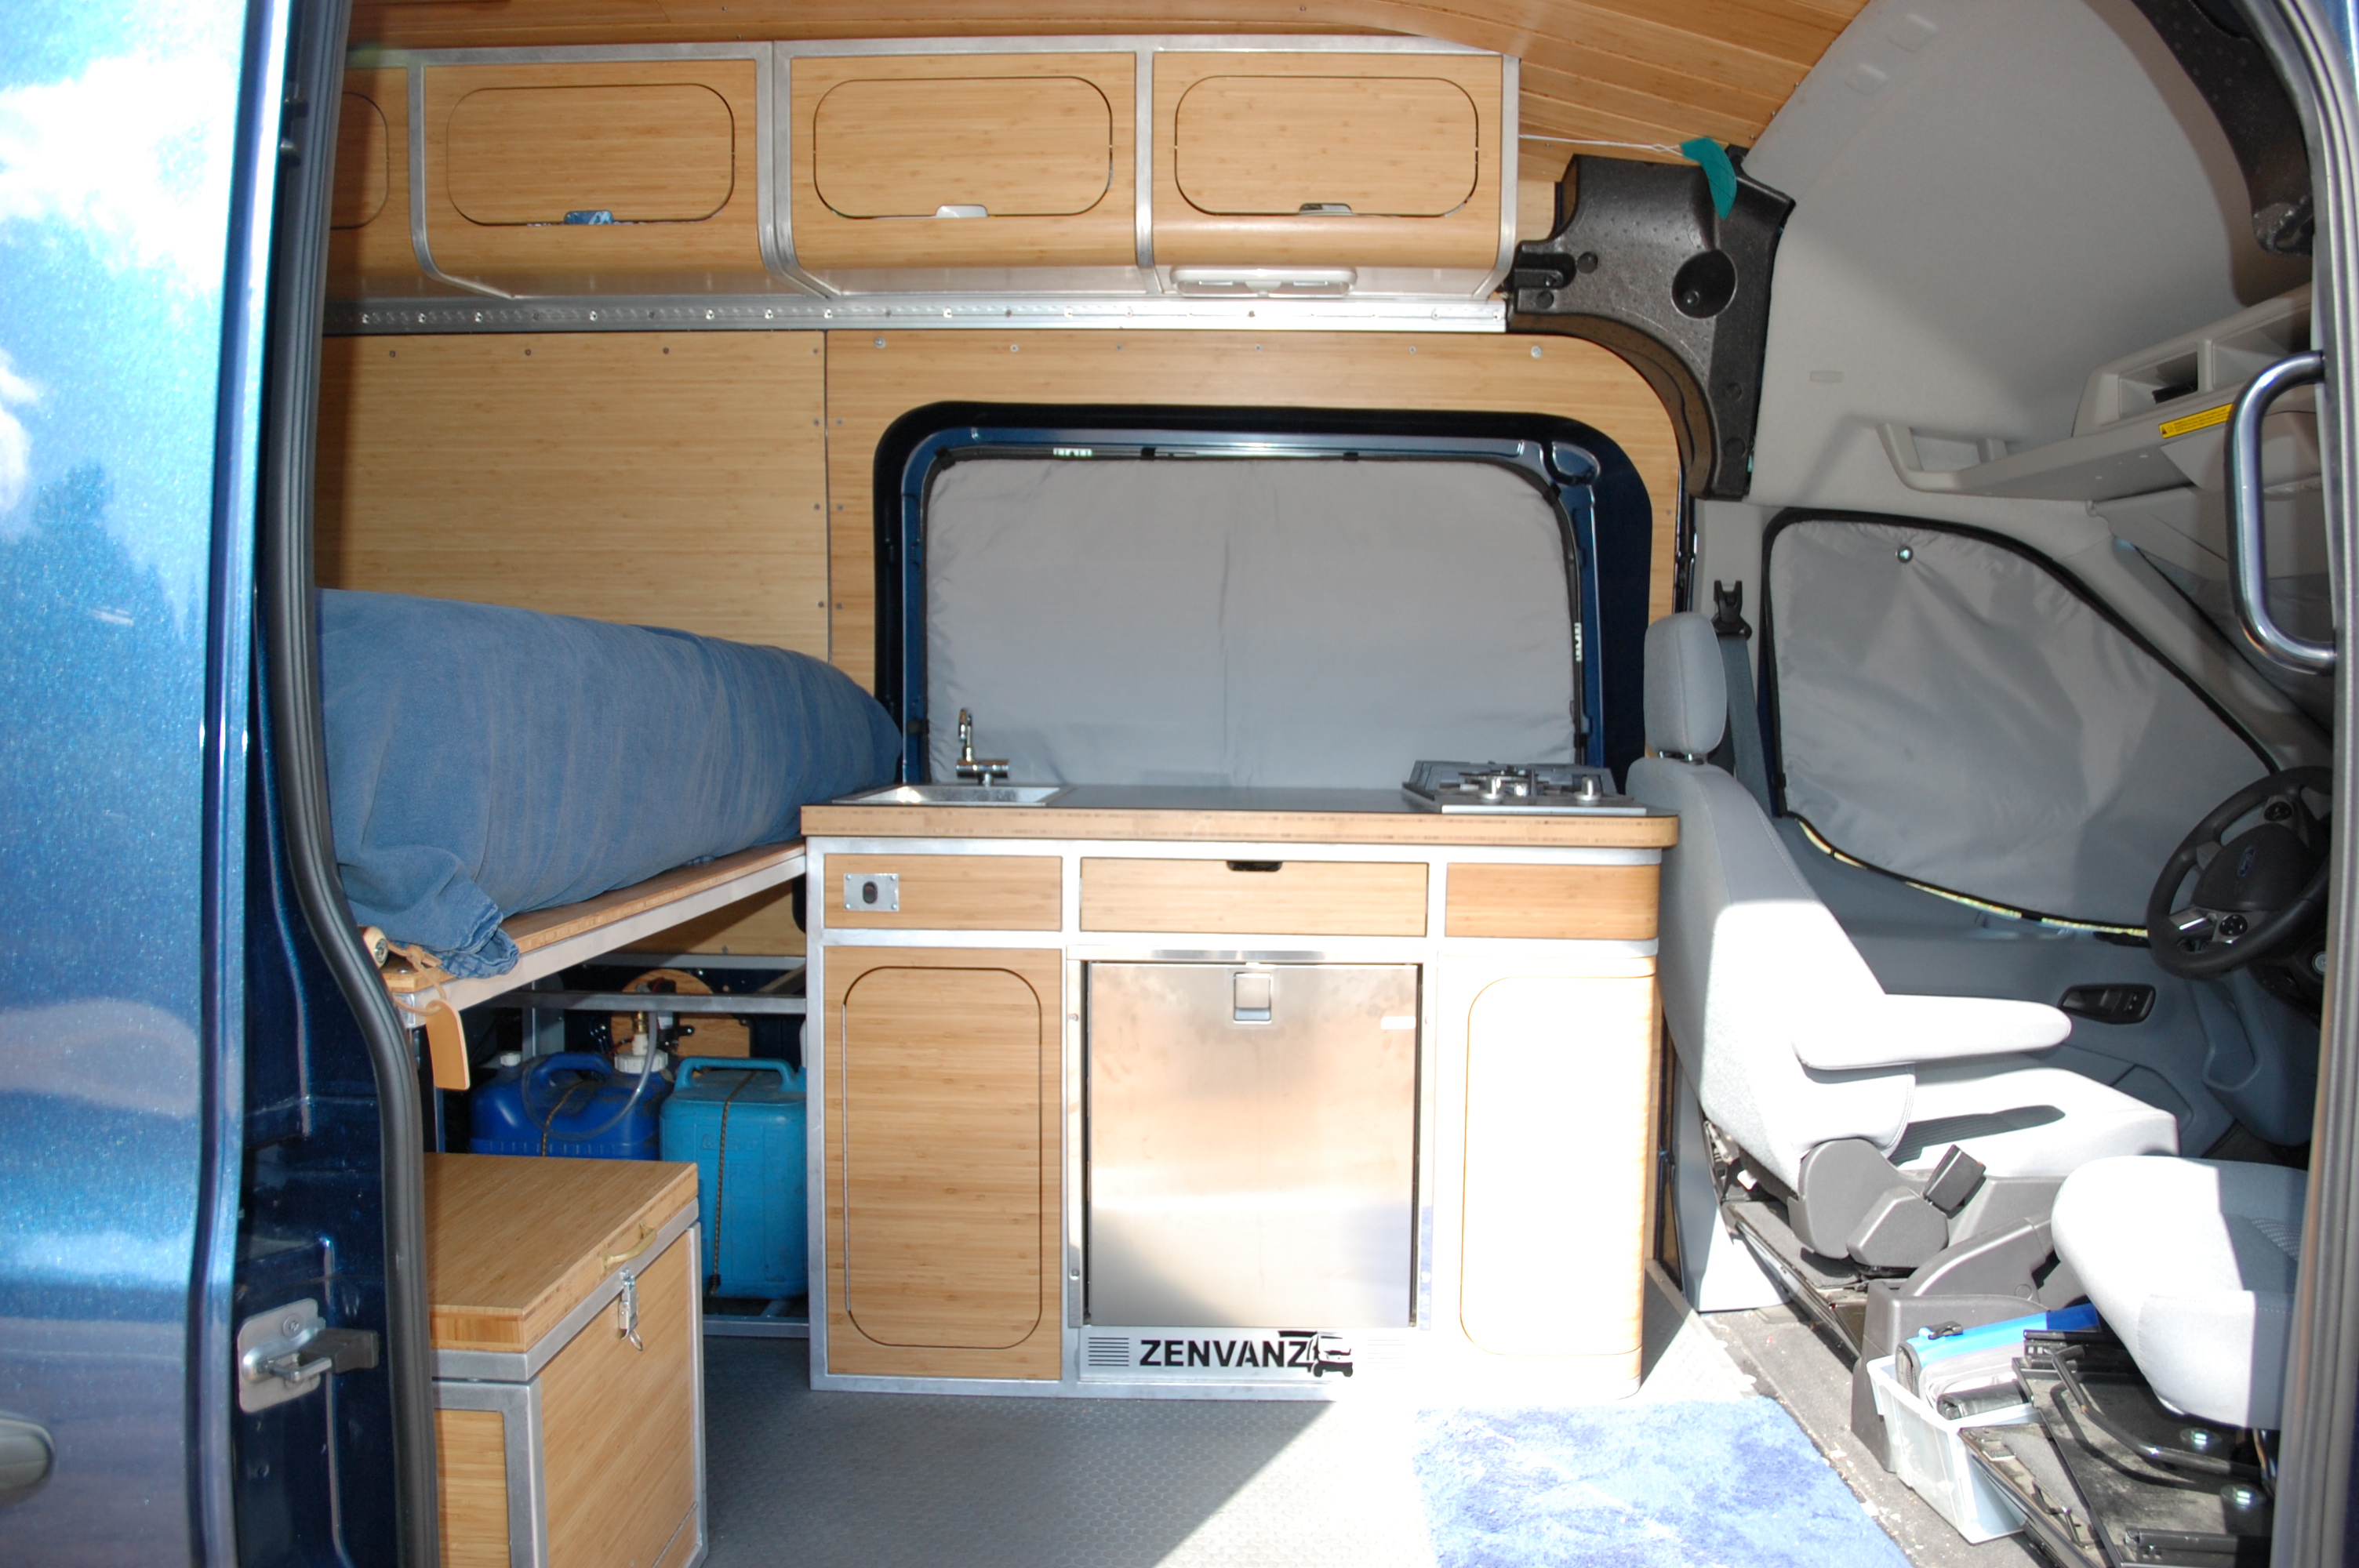
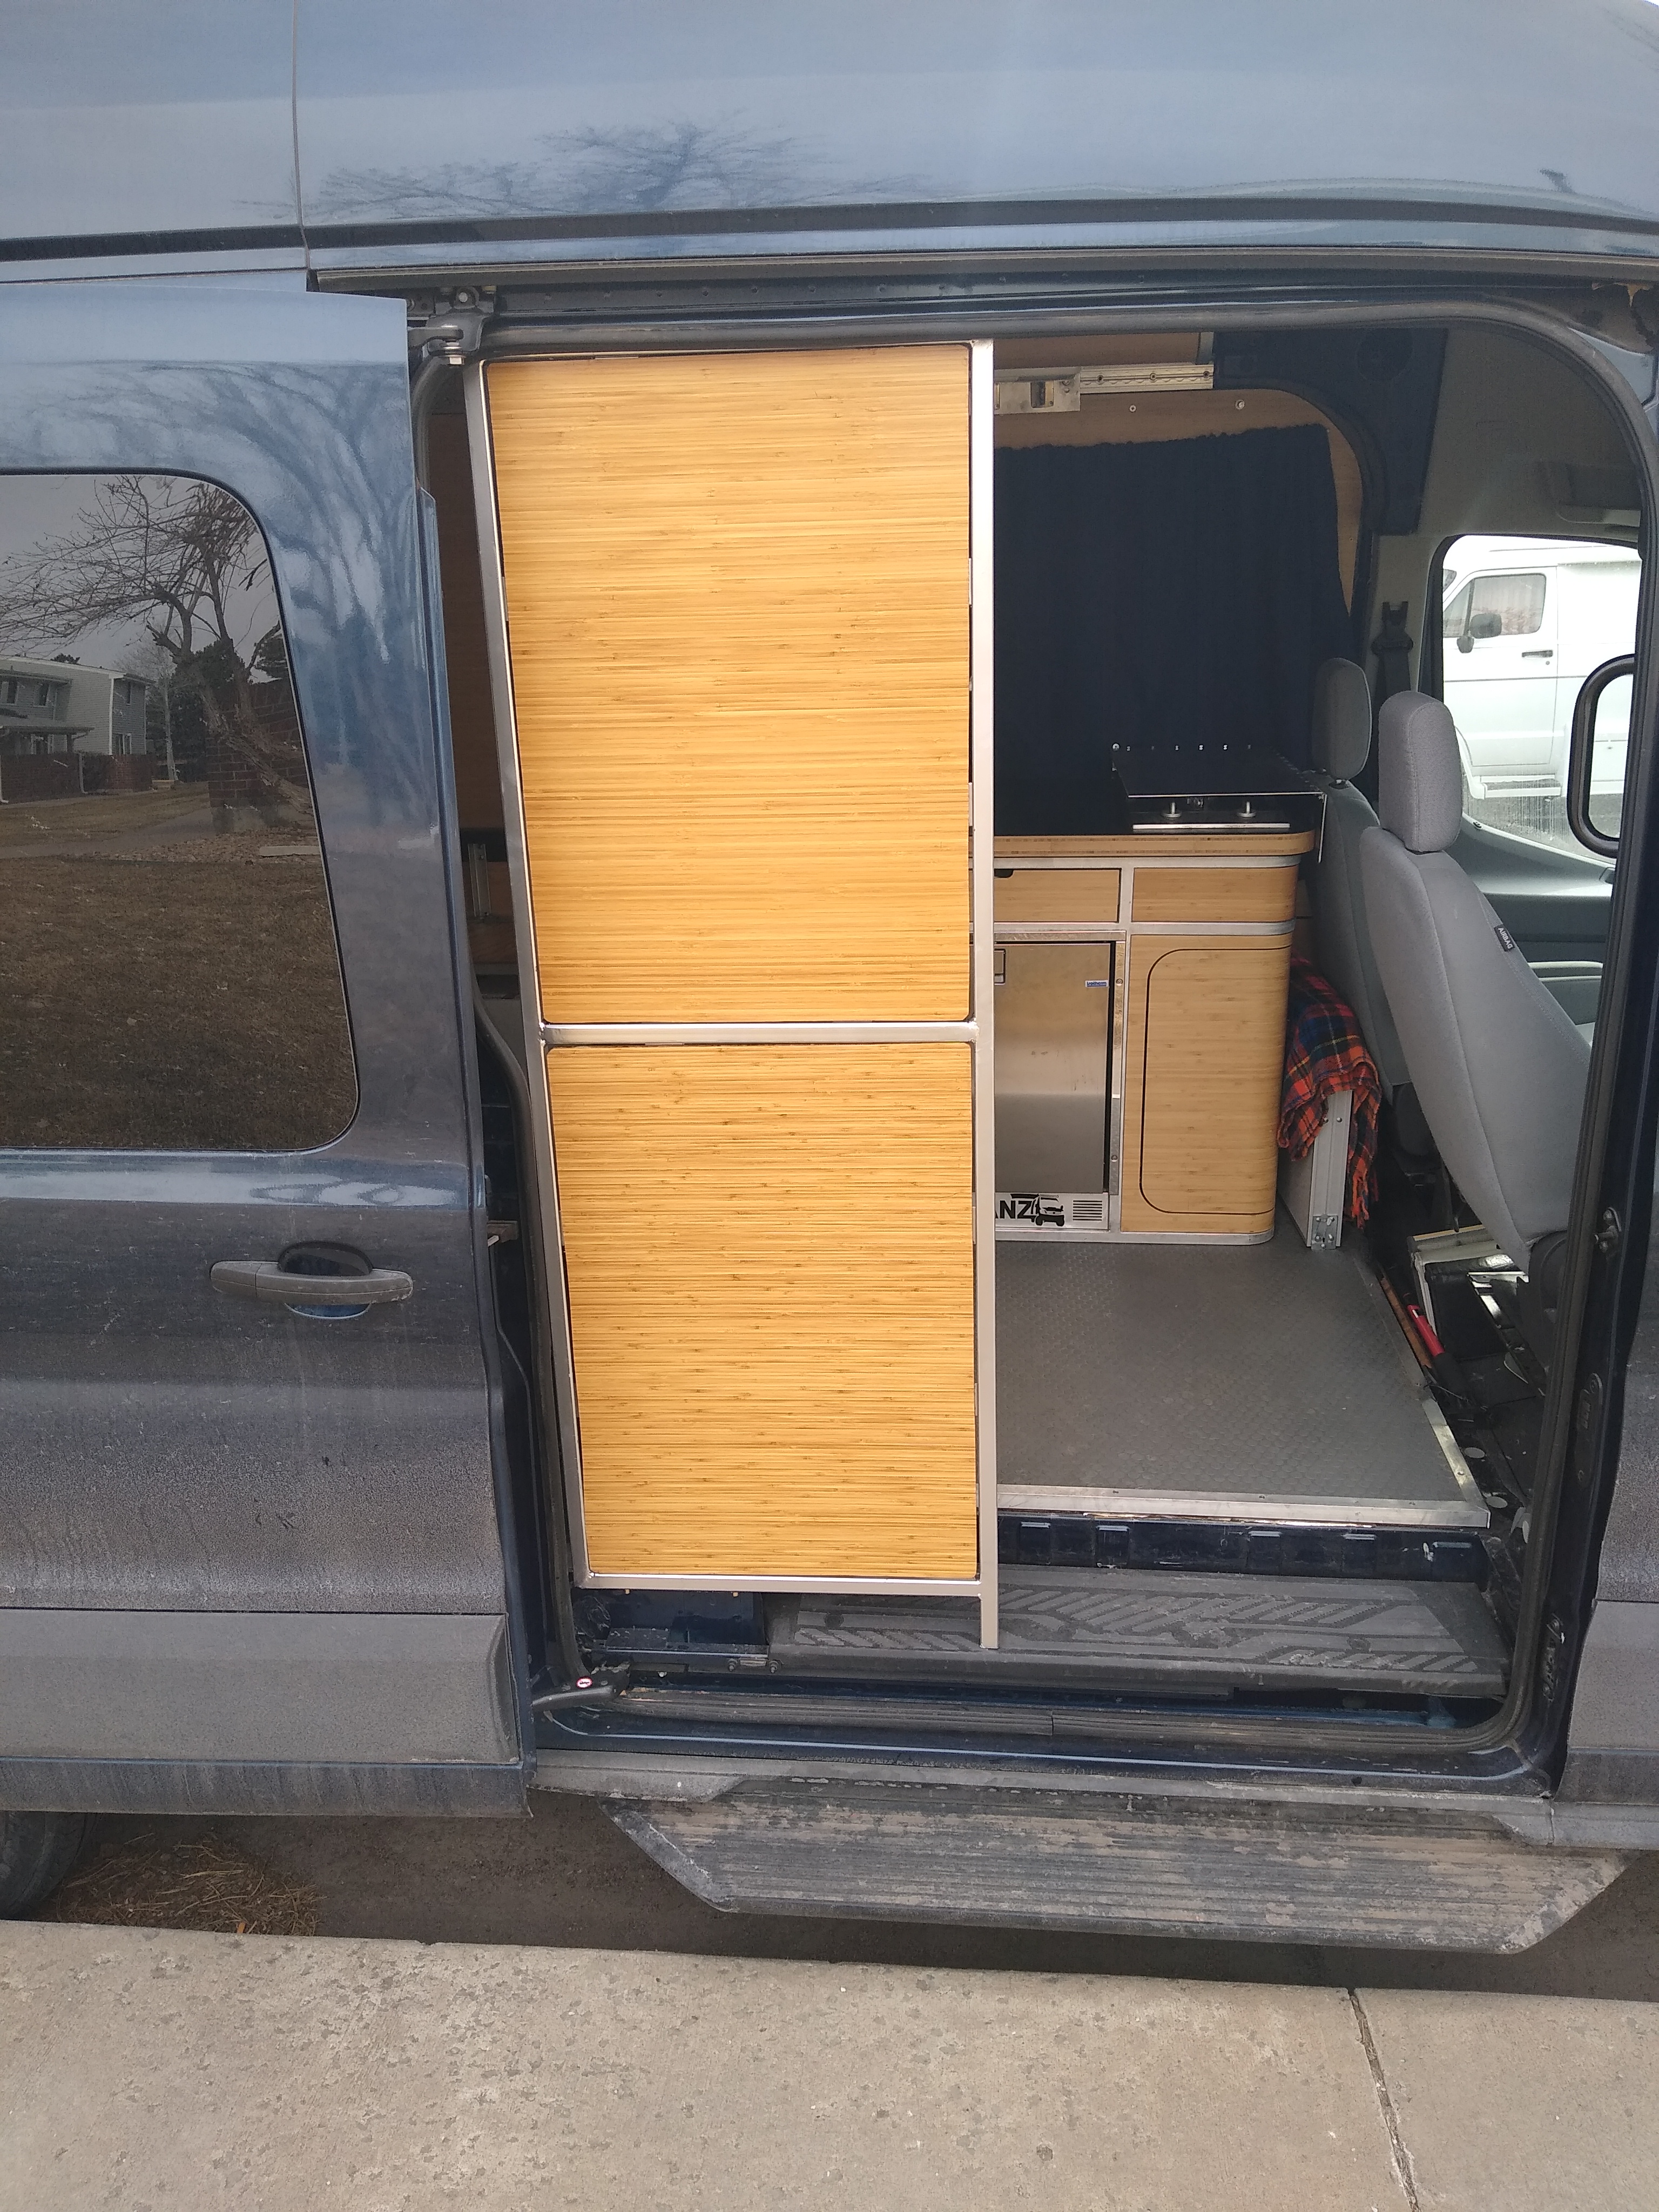
View of the galley. Note the rear facing passenger seat. The toilet enclosure is under the bed deck.
The Queen sized bed.

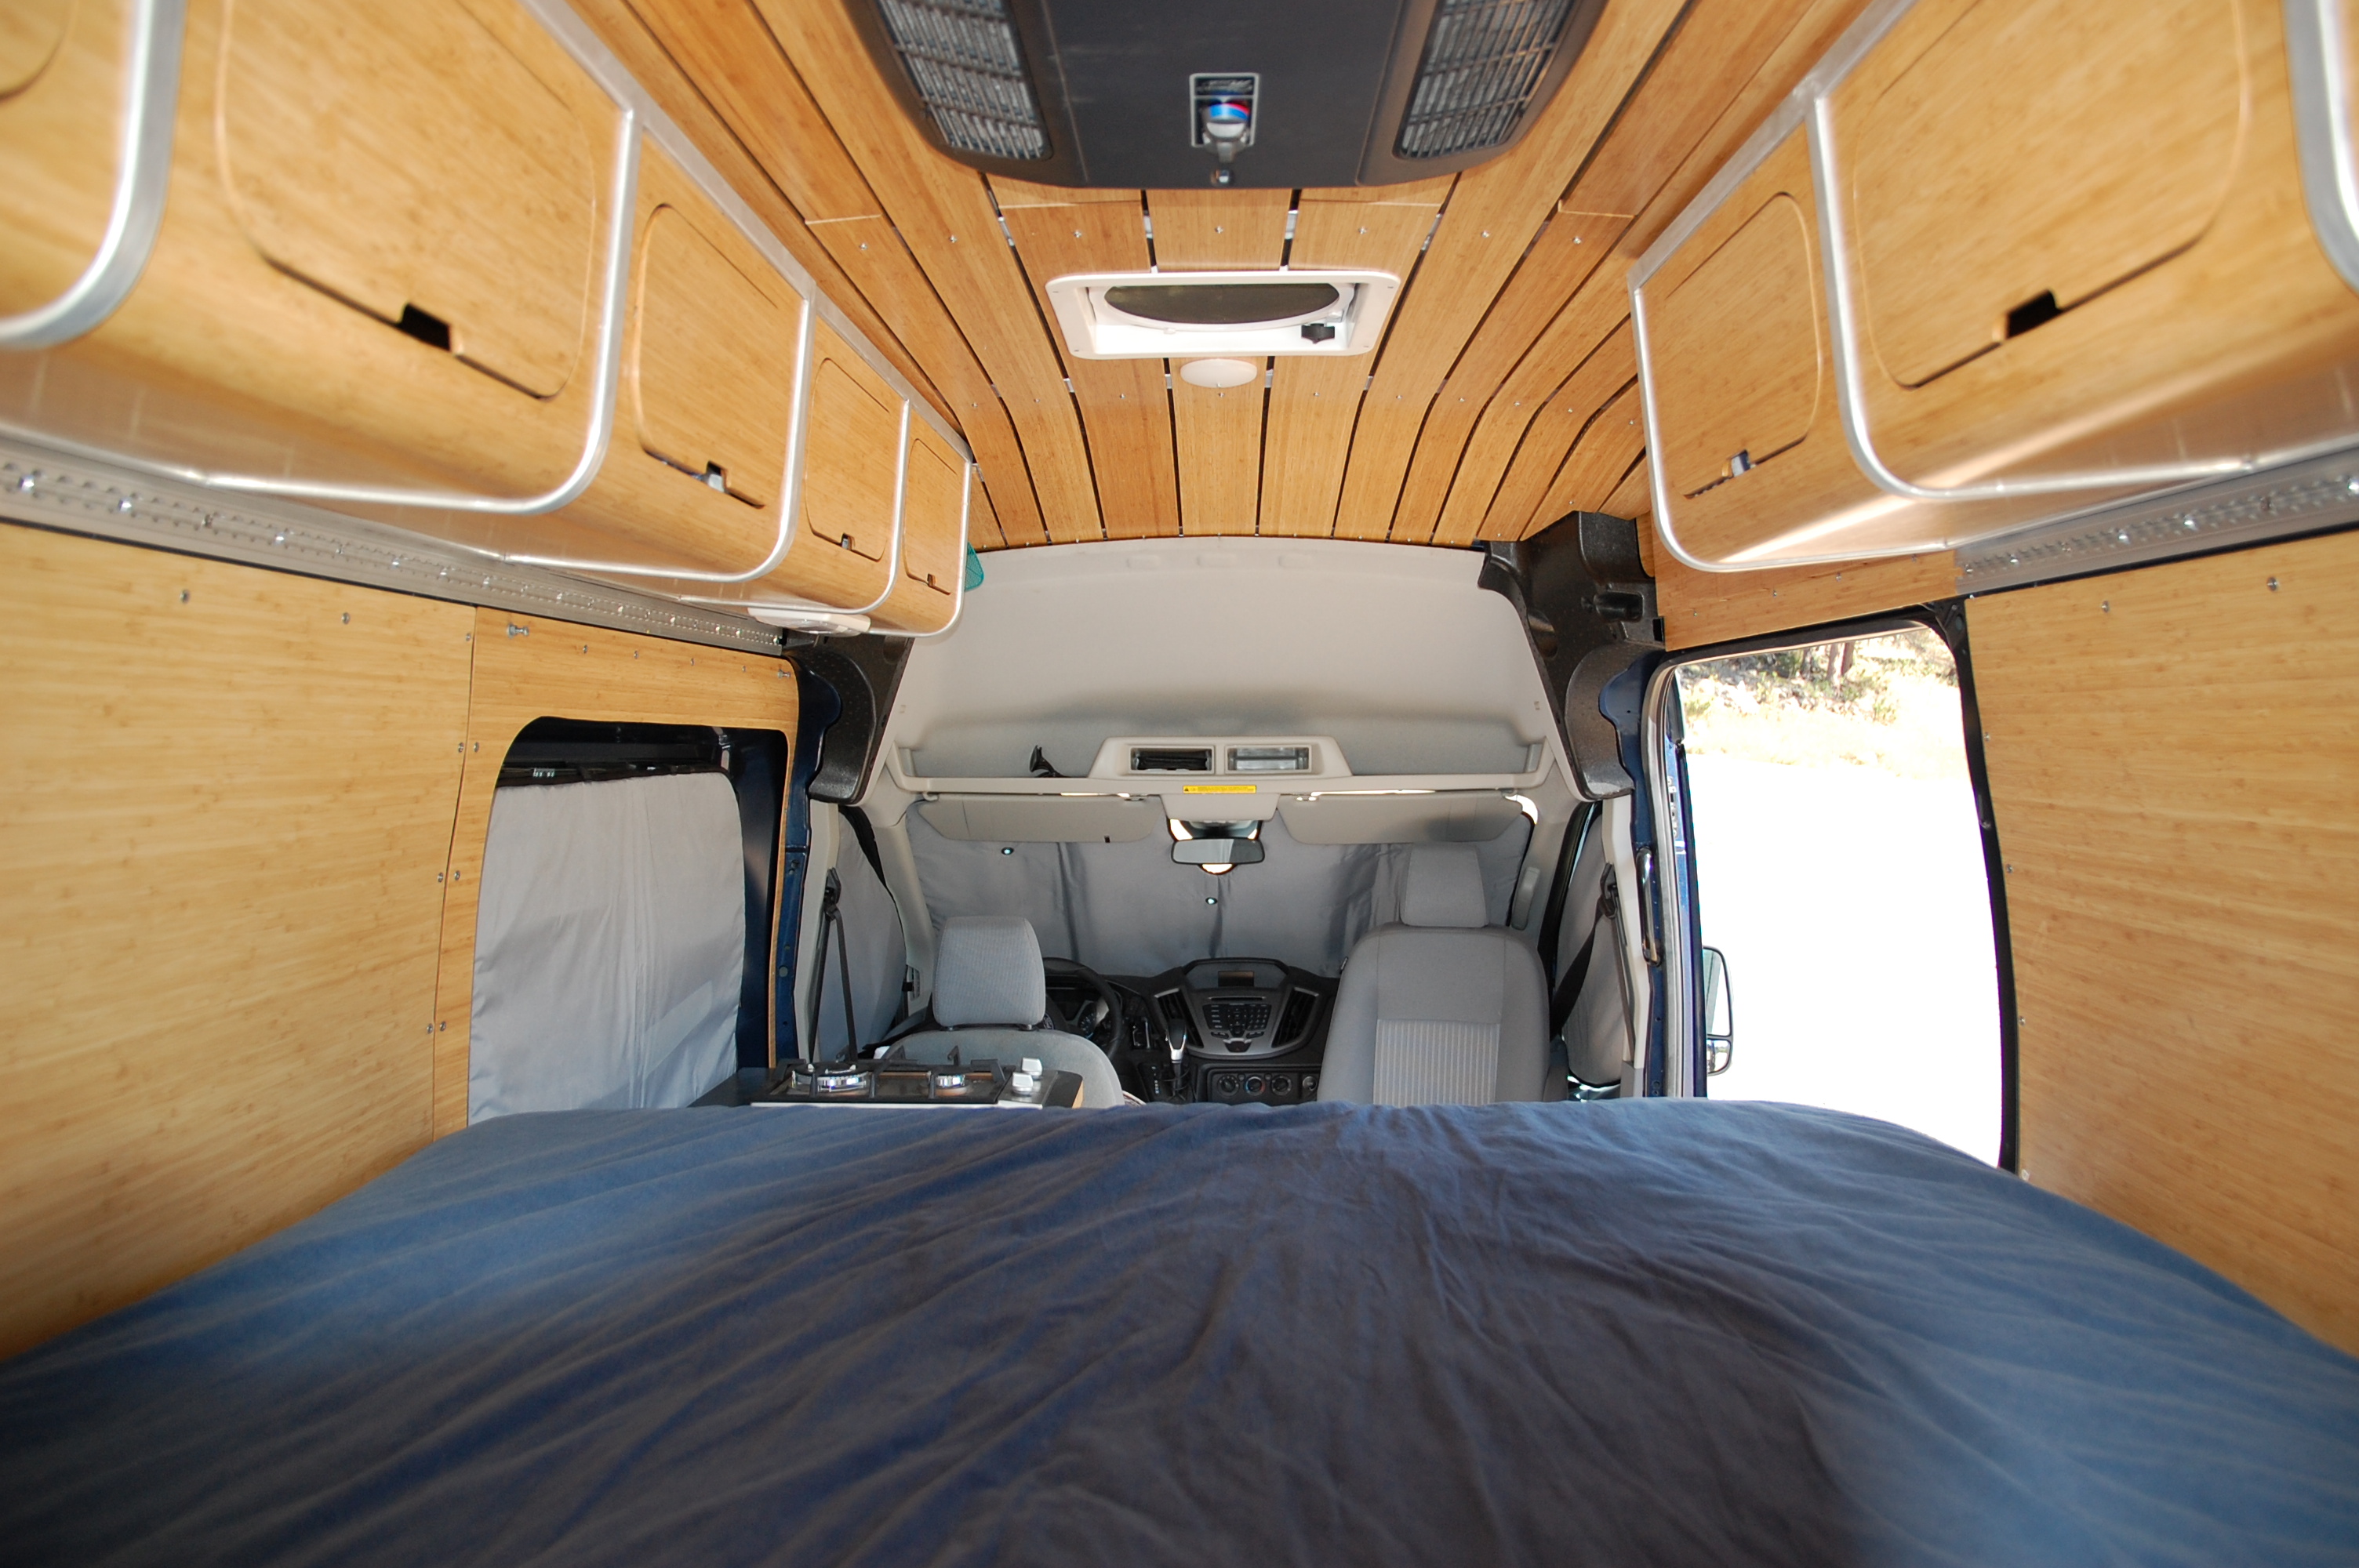
The Queen sized bed looking forward.
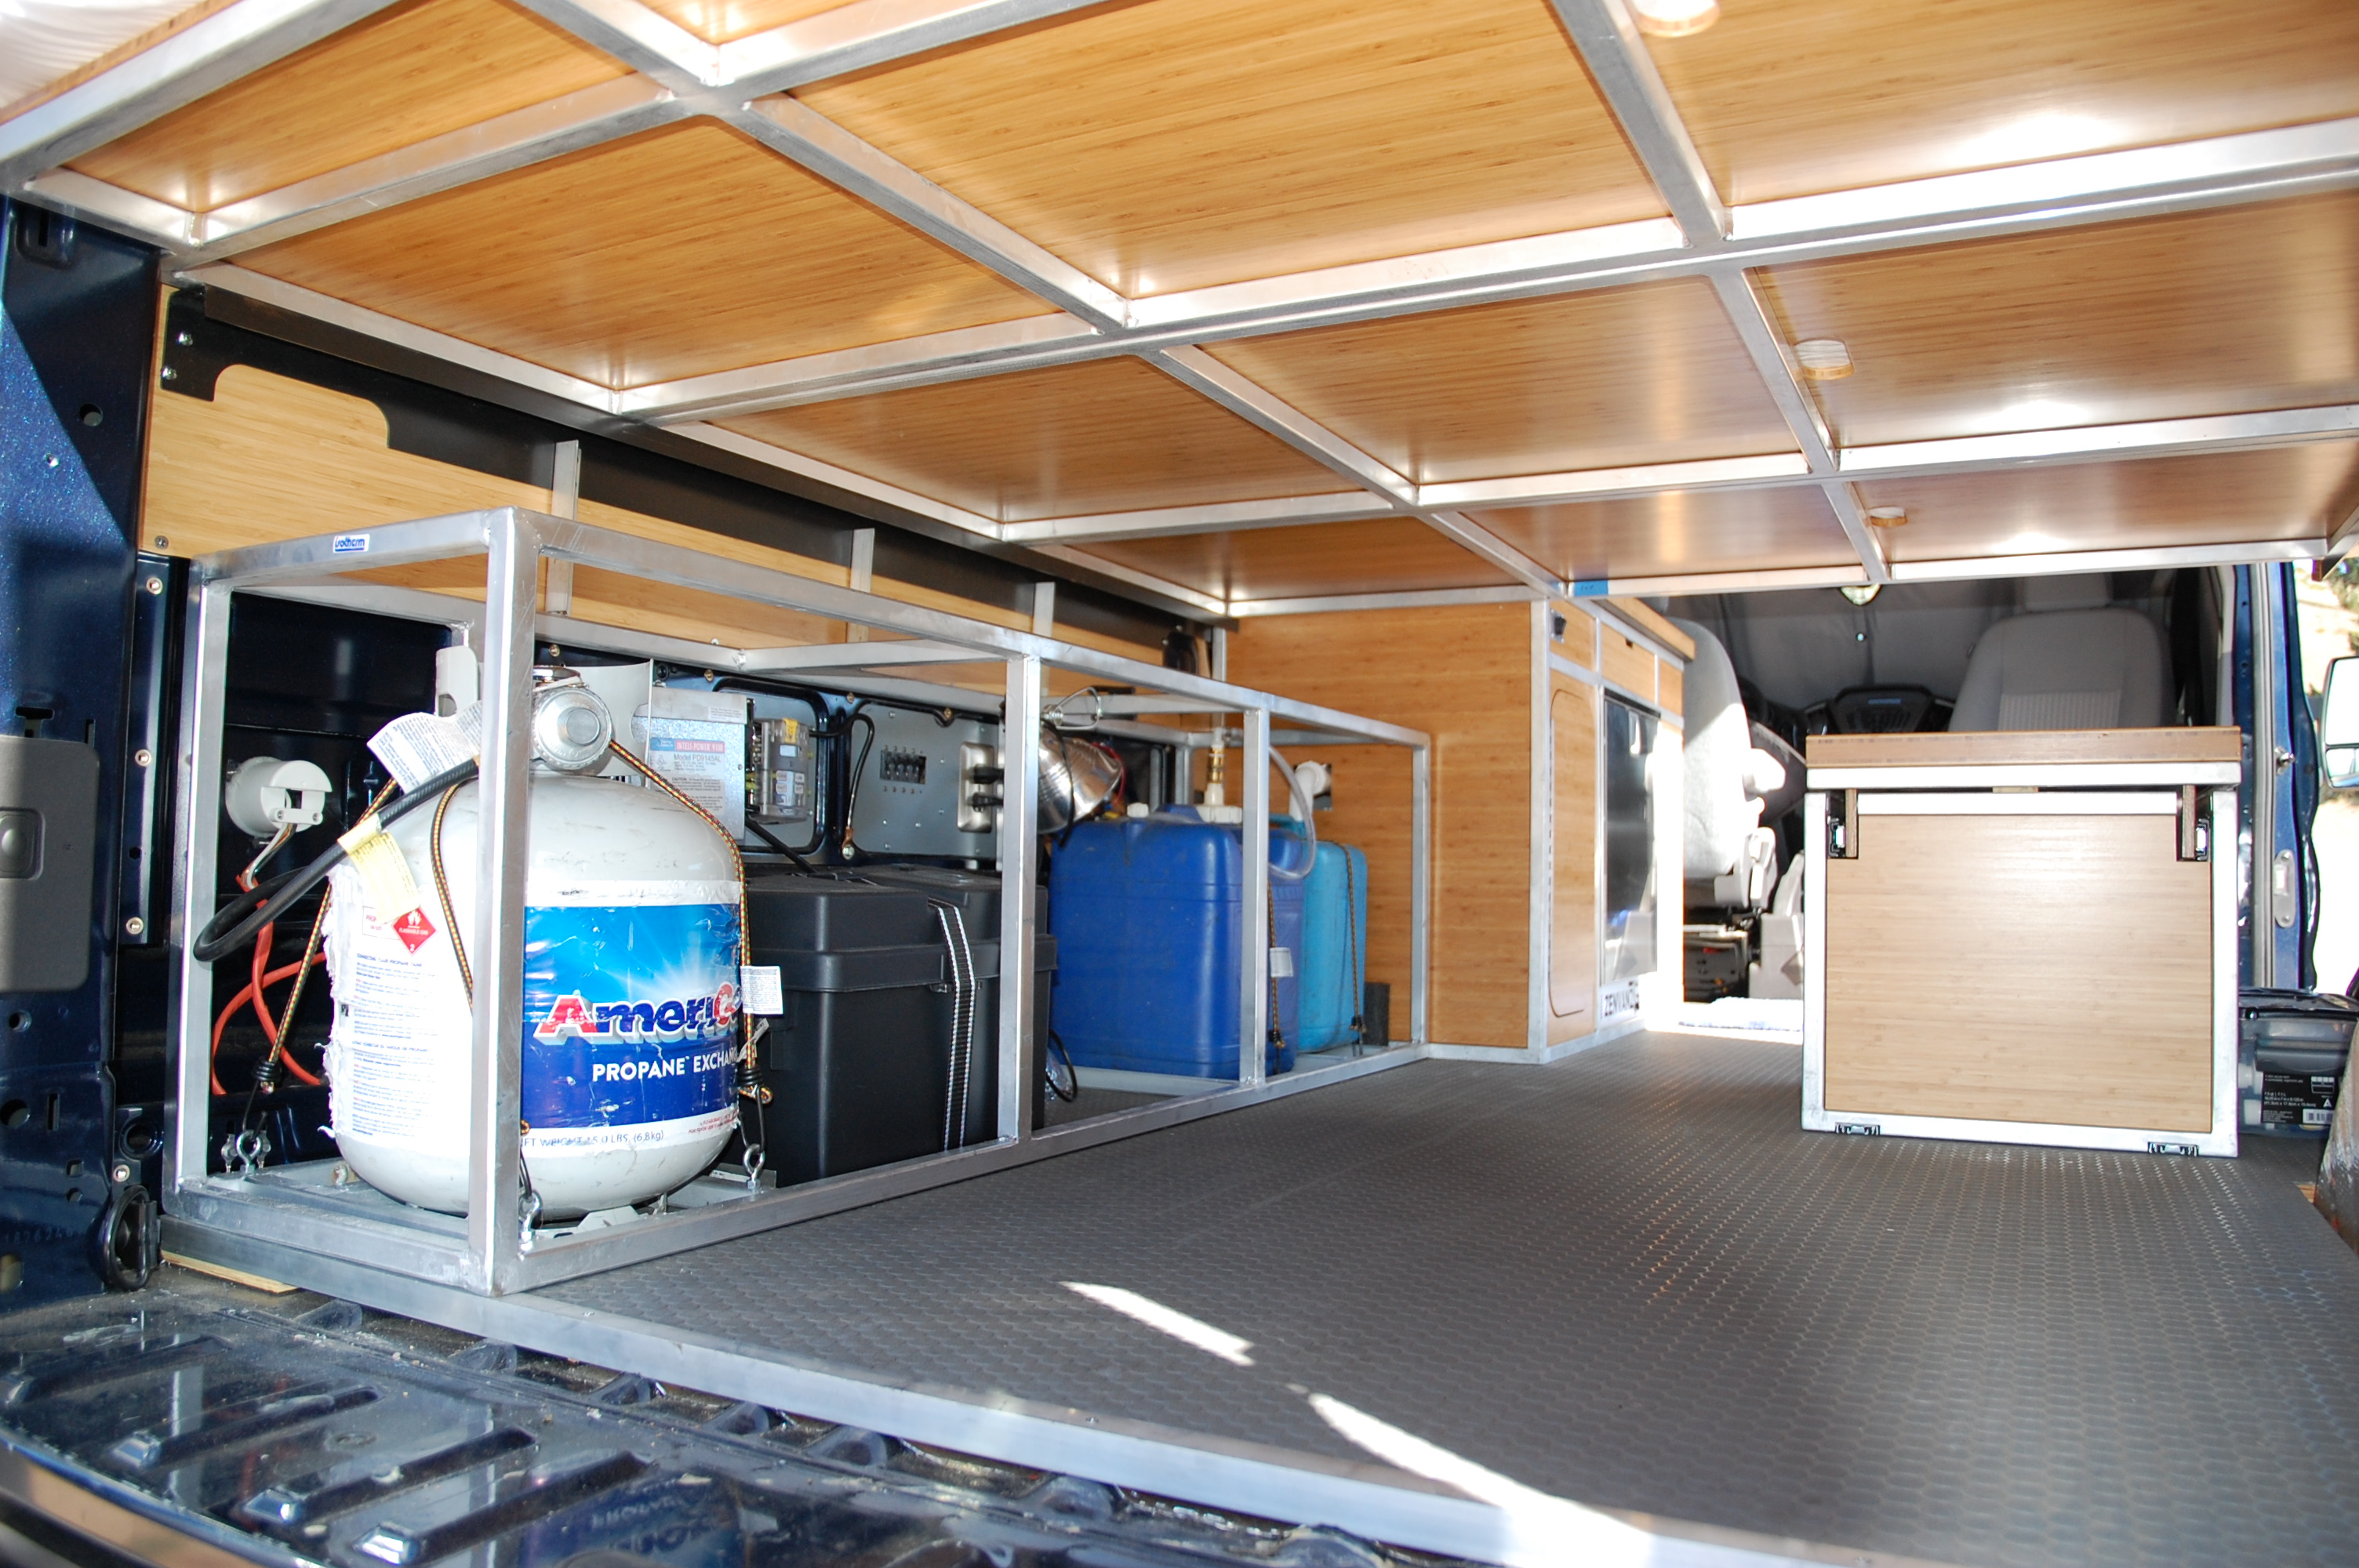
Basement under the bed deck. The utility rack is clearly visible.
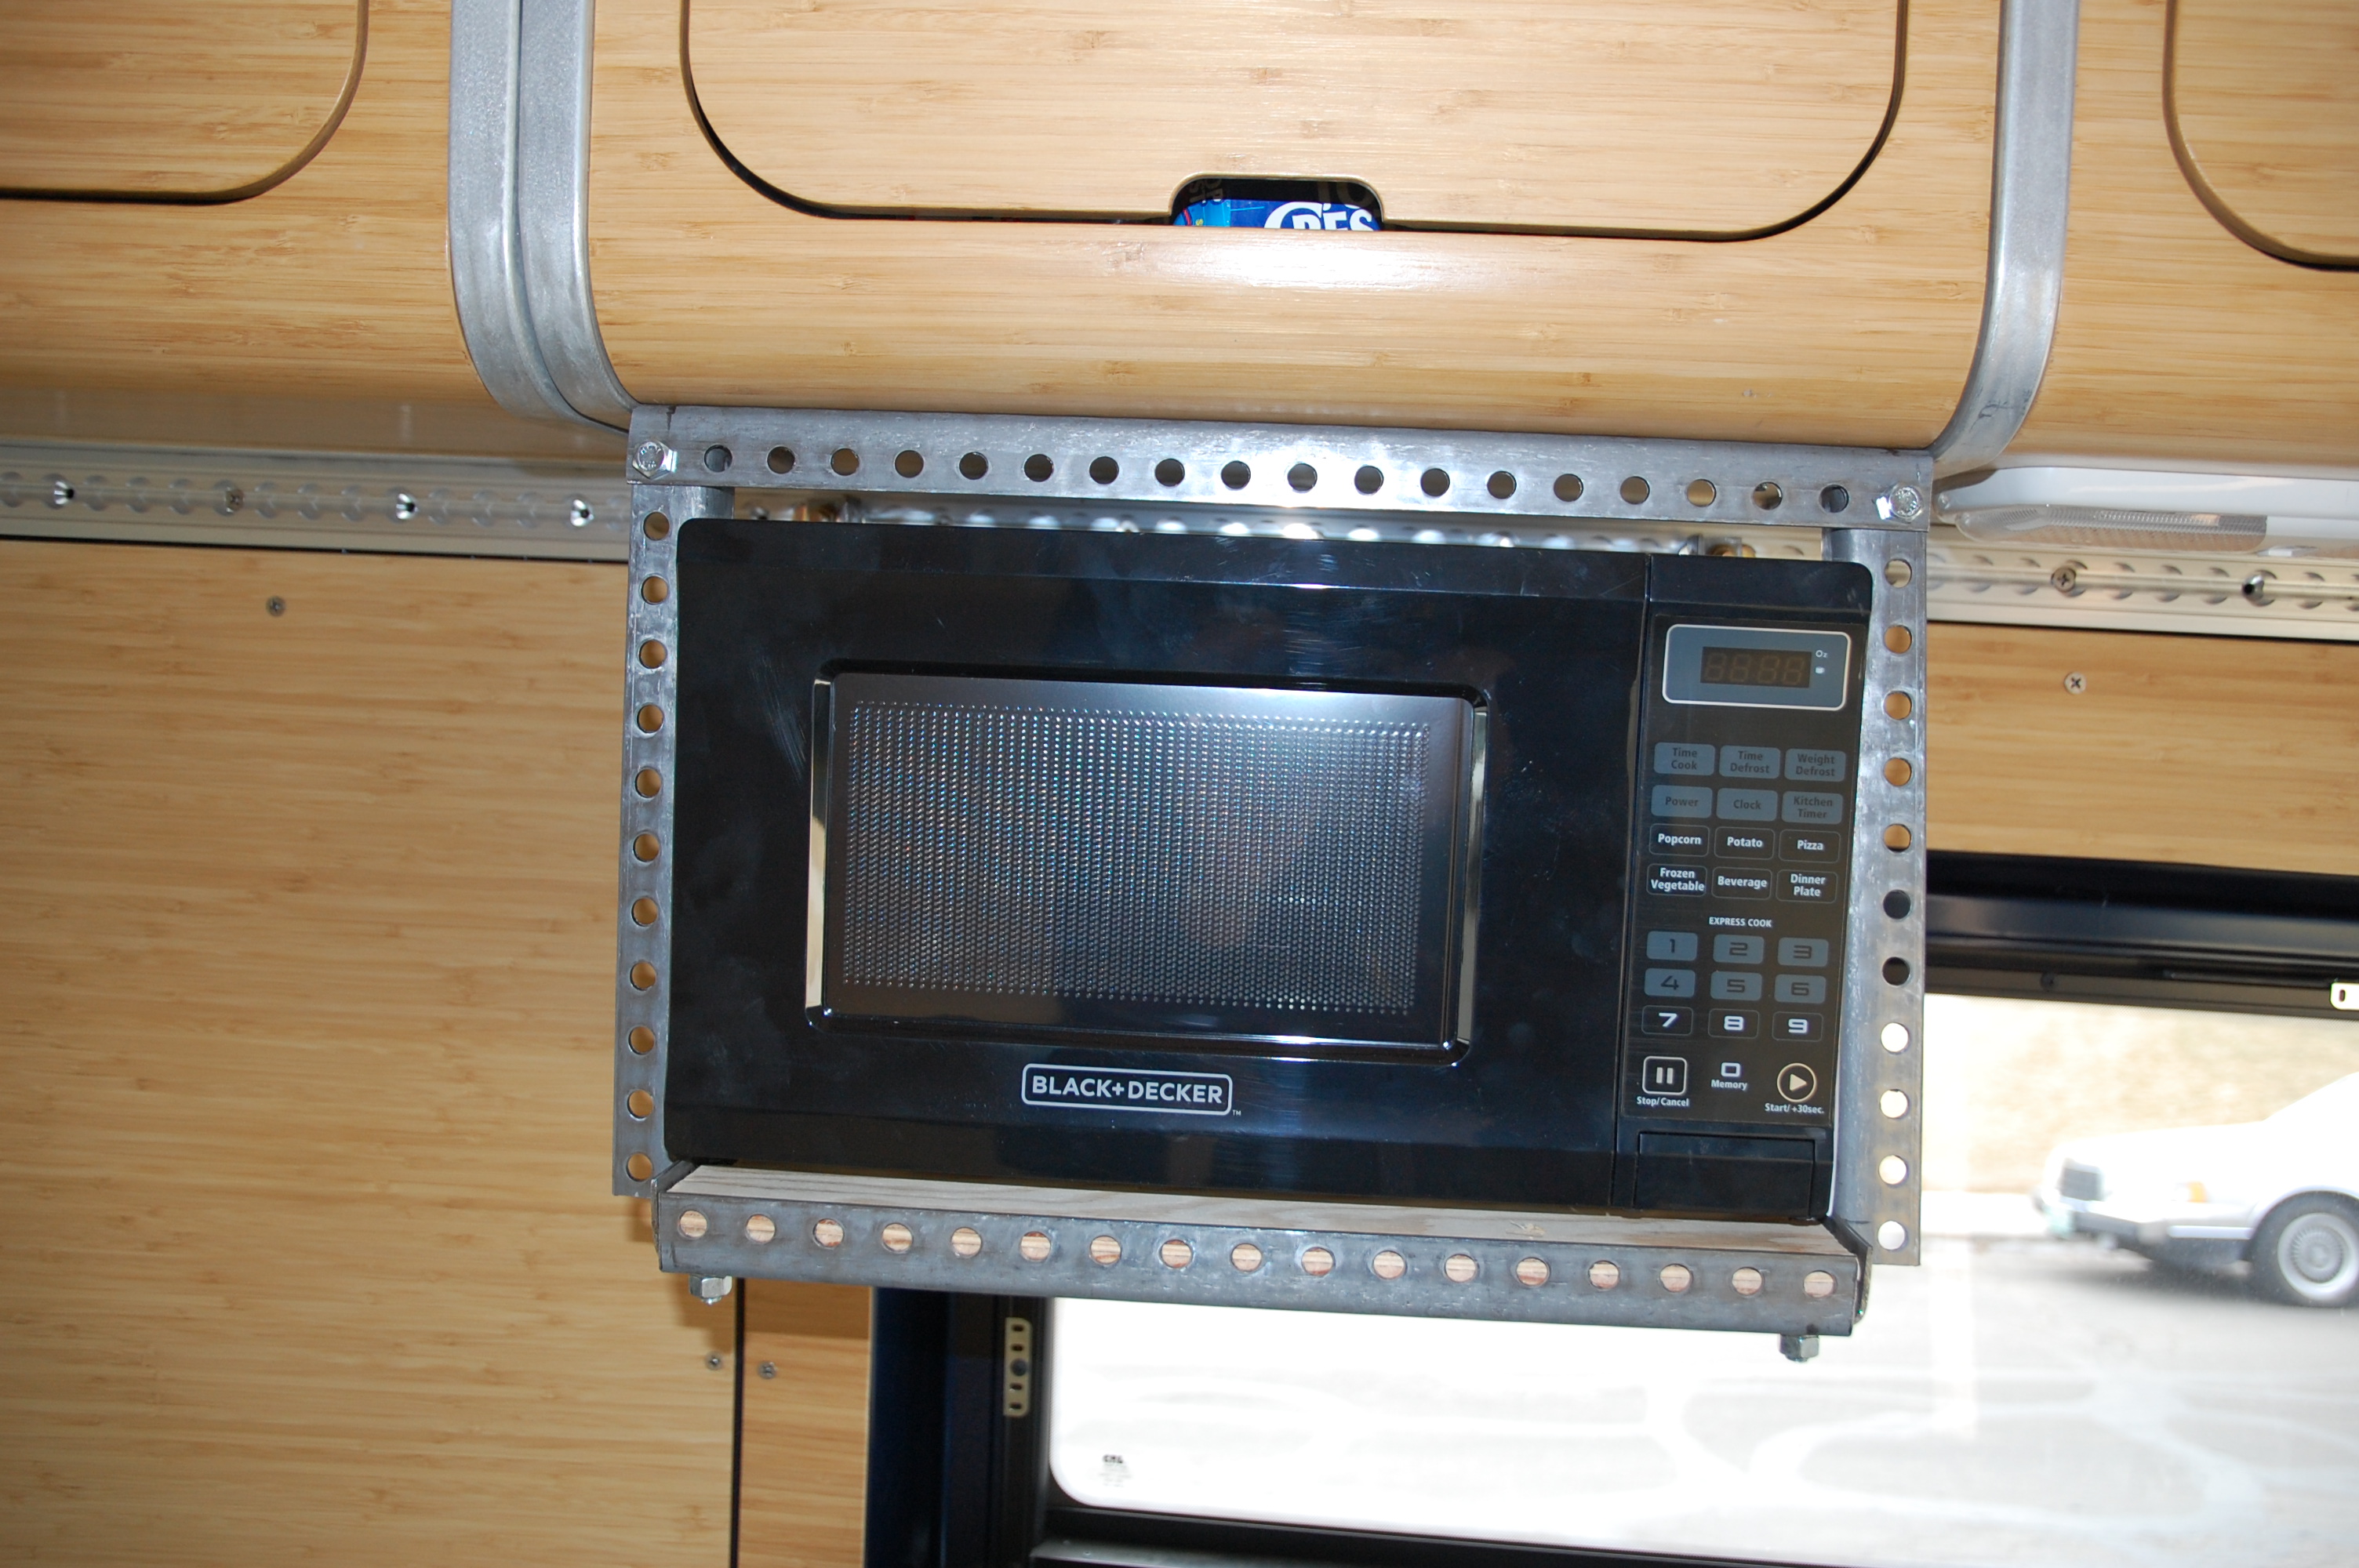
After some thought, a year or so, I decided to redo the microwave shelf using aluminum strap and a bamboo shelf to match the bamboo cabinets. Note that the camera angle make the images appear not to be square. Here is the shelf prior to mounting the microwave.

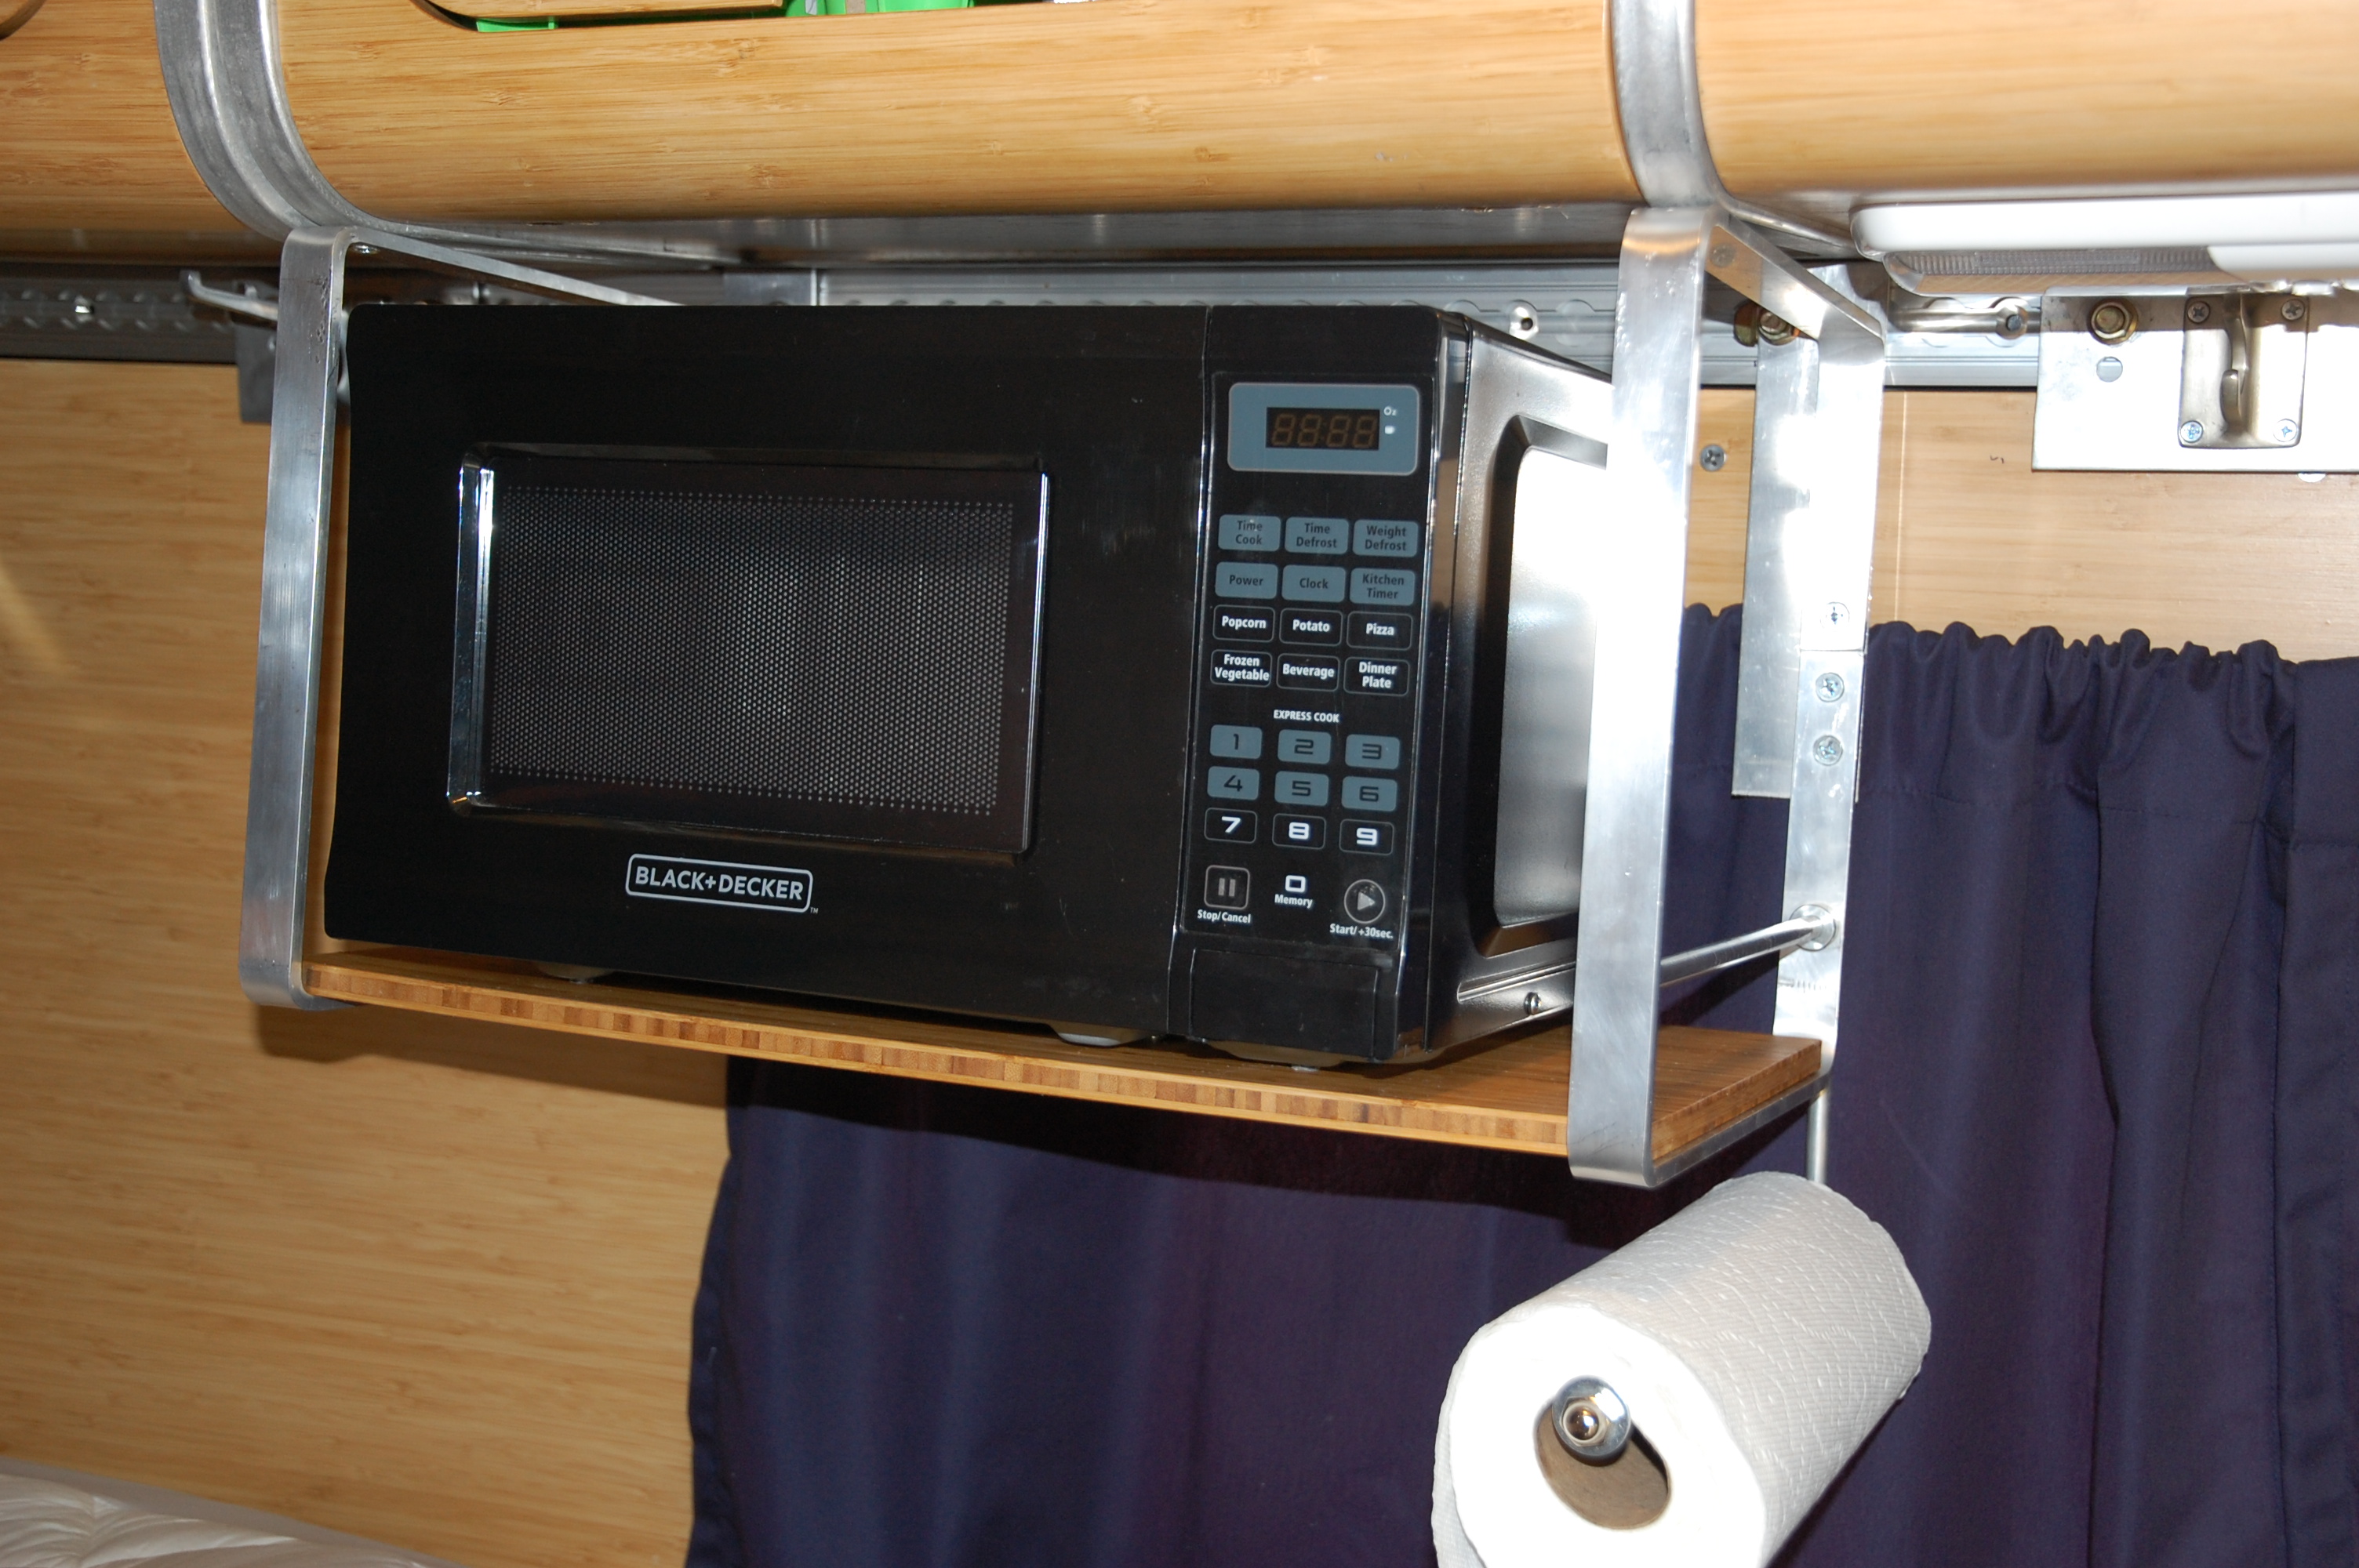
With the microwave mounted and the paper towel holder.
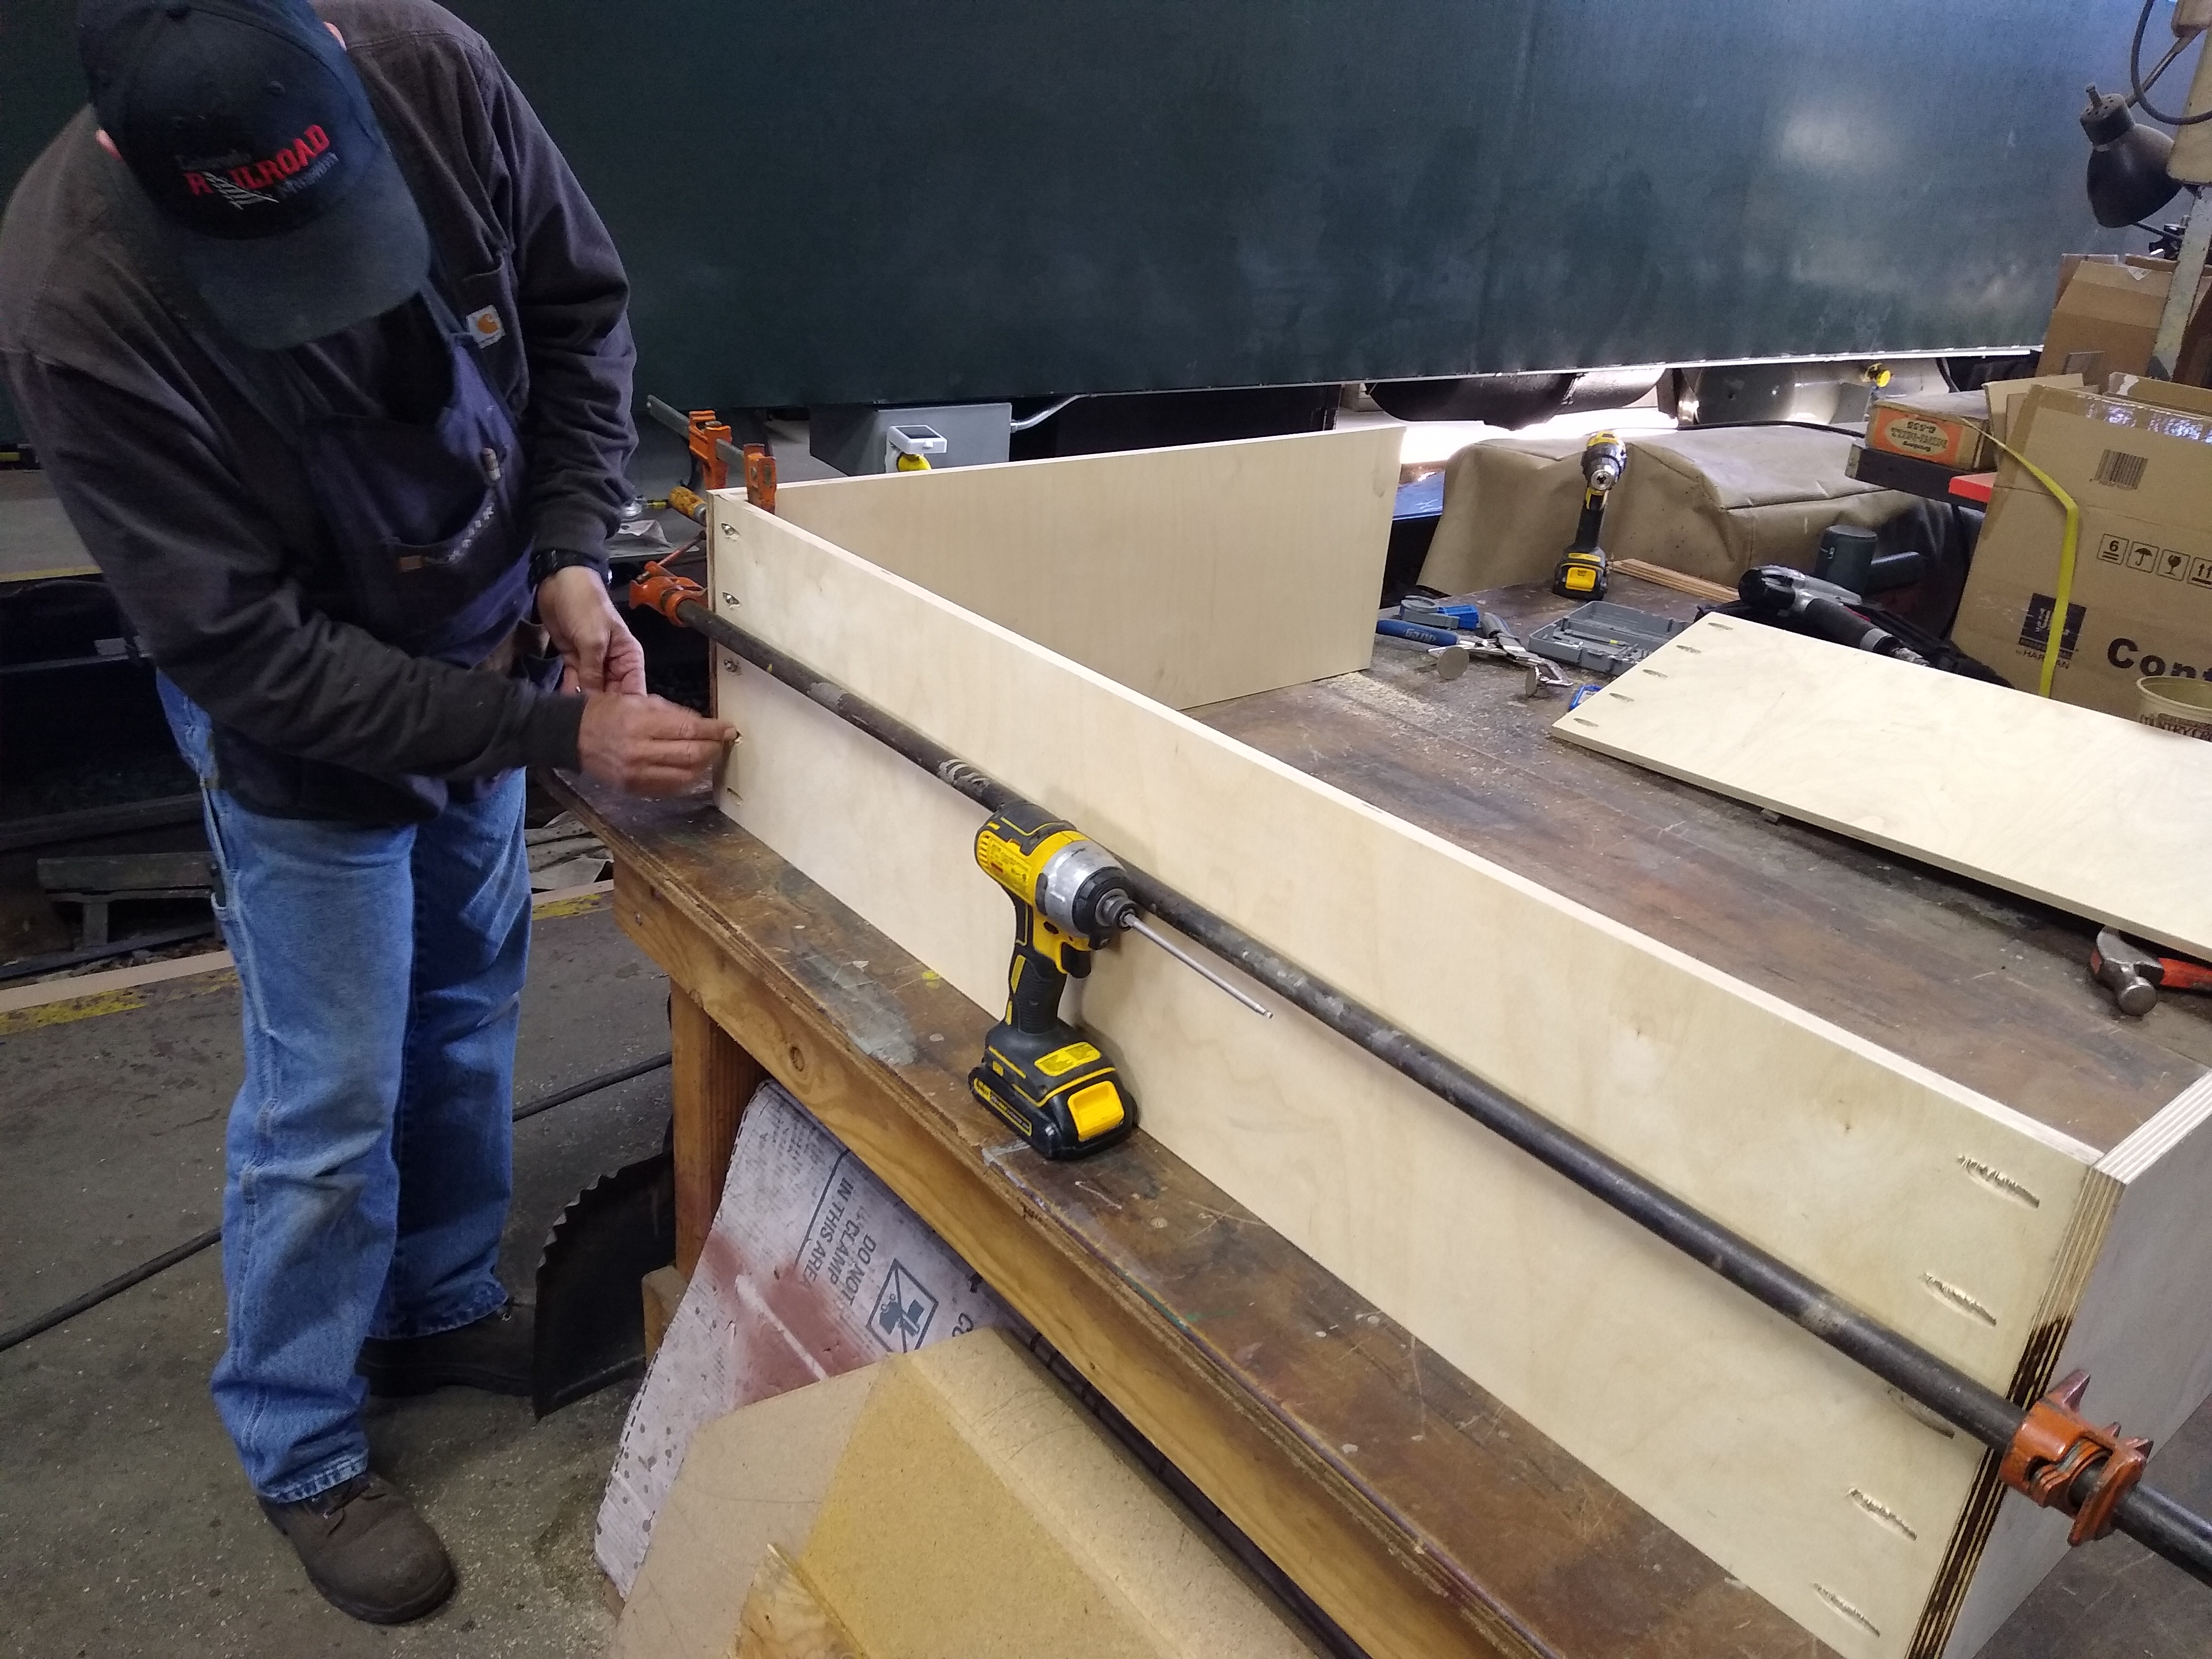
Drawer assembly:


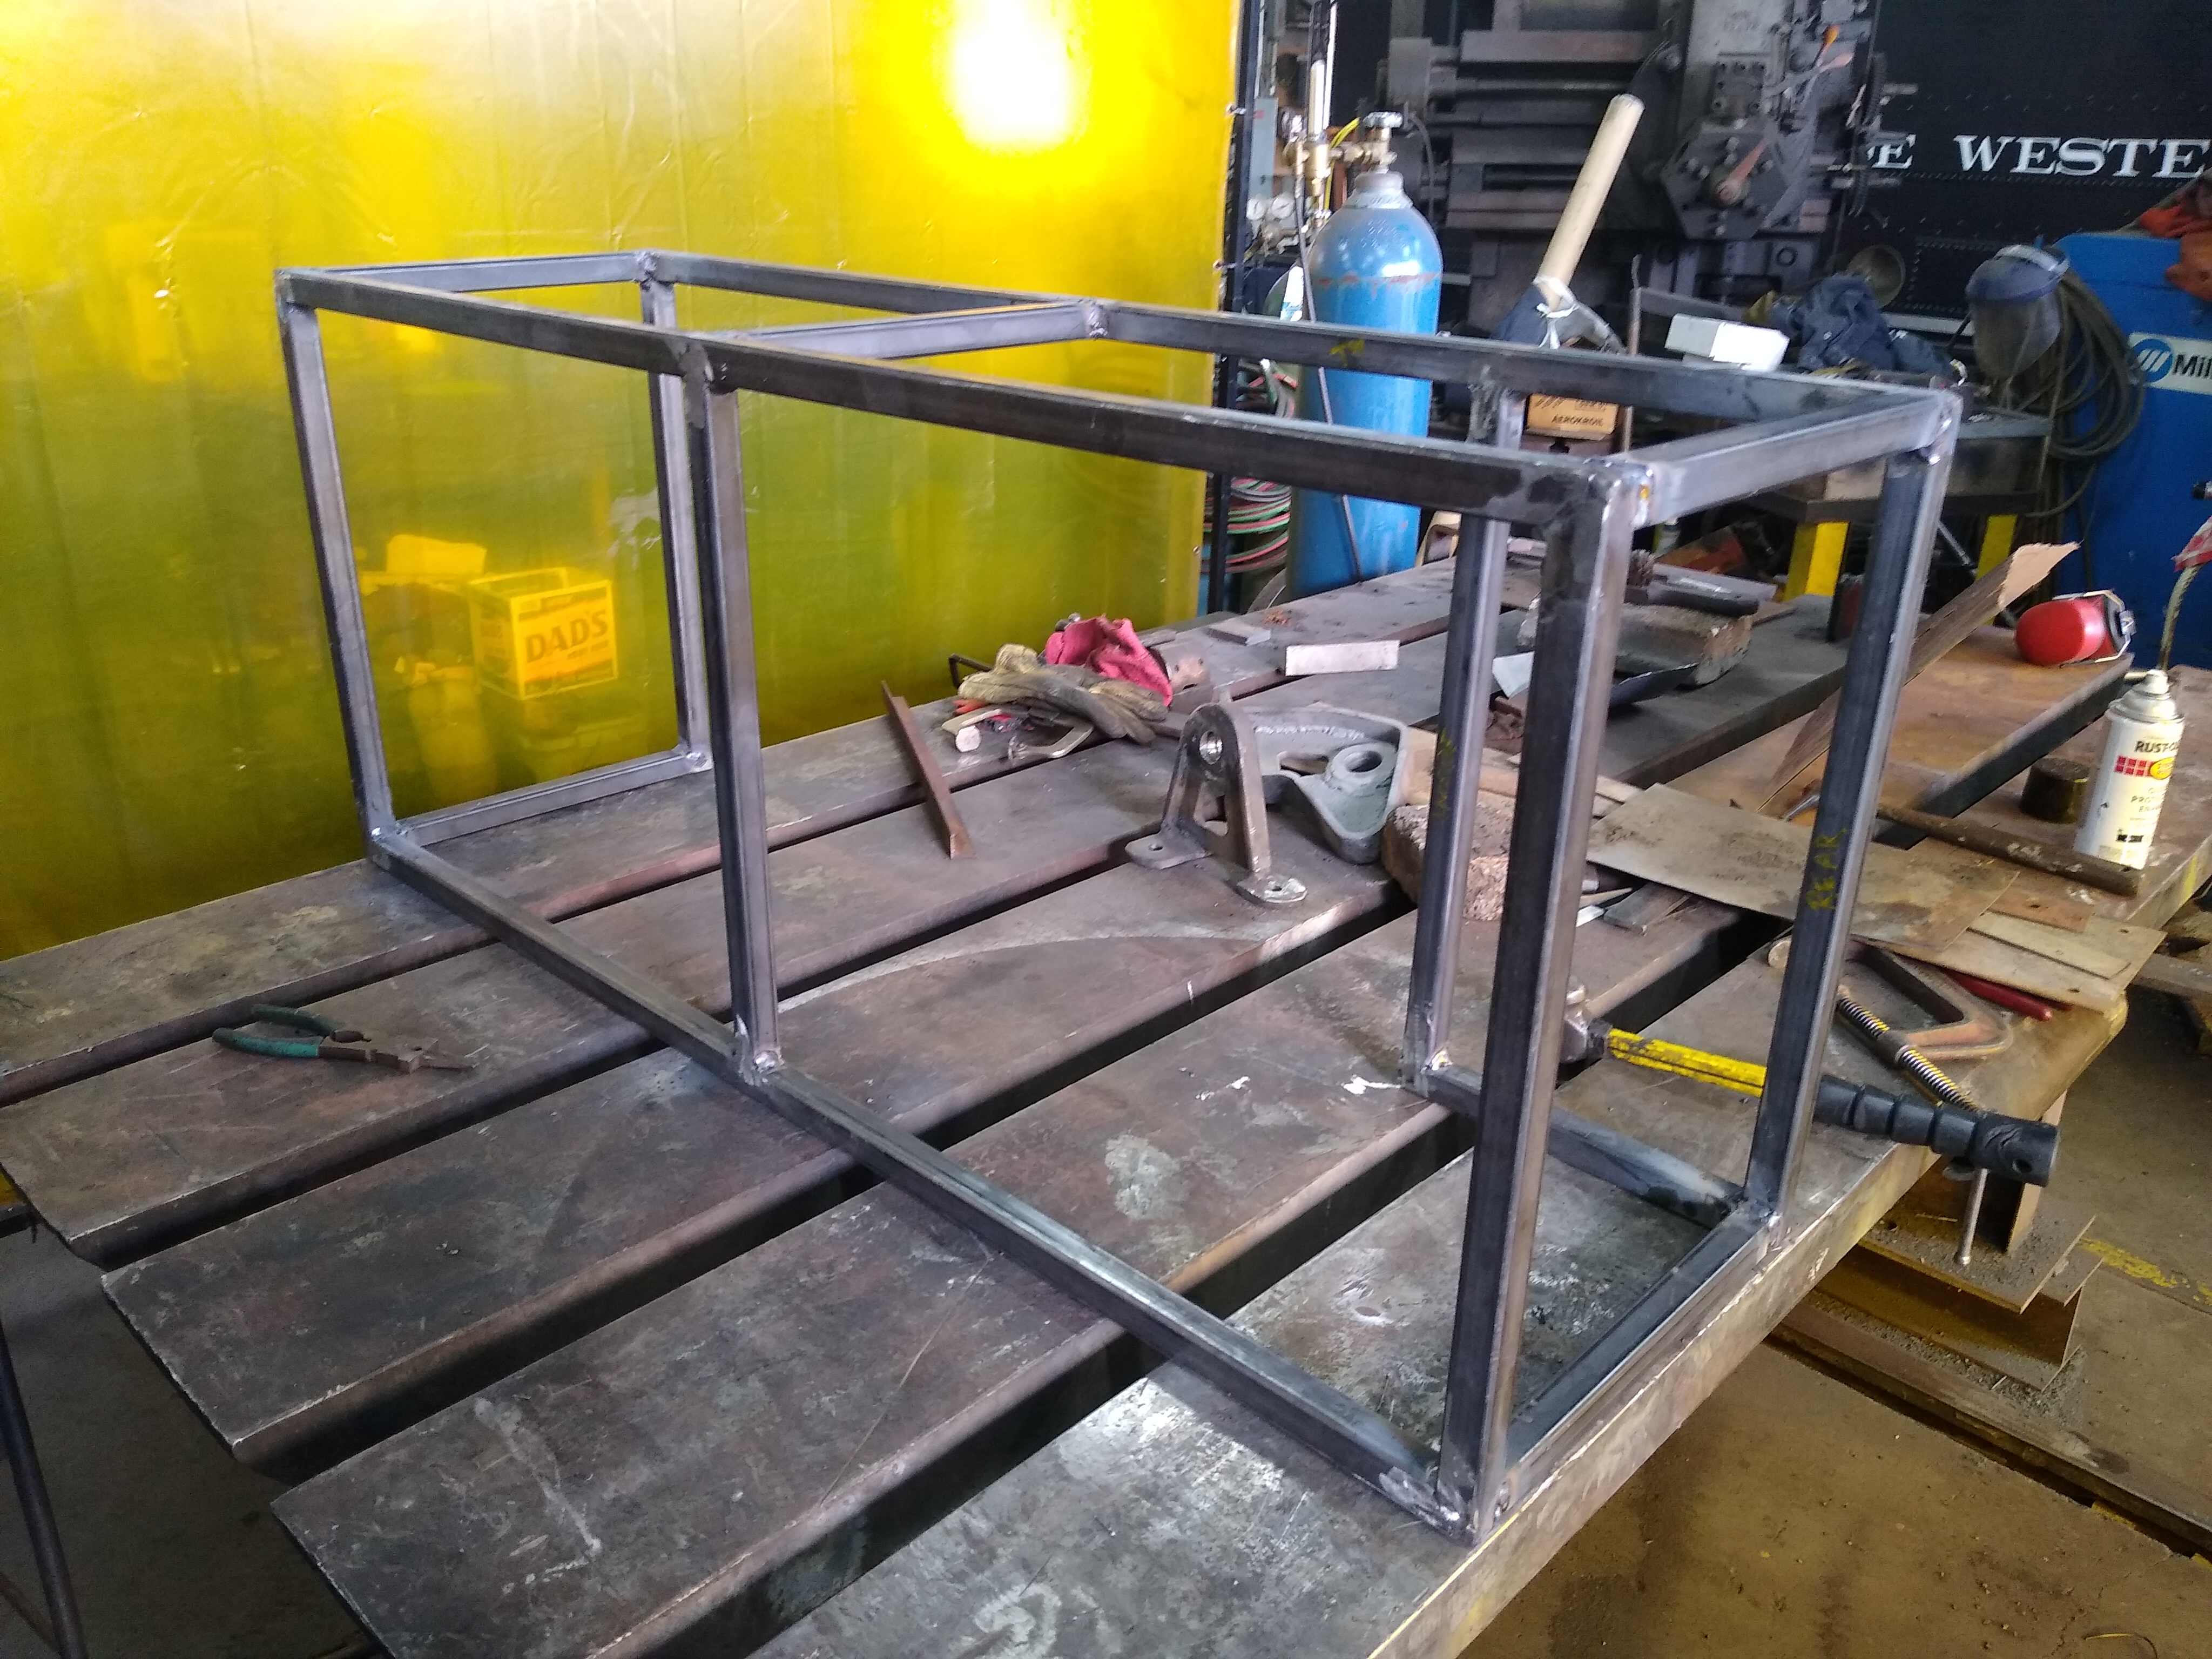
Then I had to weld up a rack to hold one side of the drawer slides. The utility rack will hold the other. It is made with the same material as the utility rack and is screwed to the floor.
Drawer during installation shown extended.
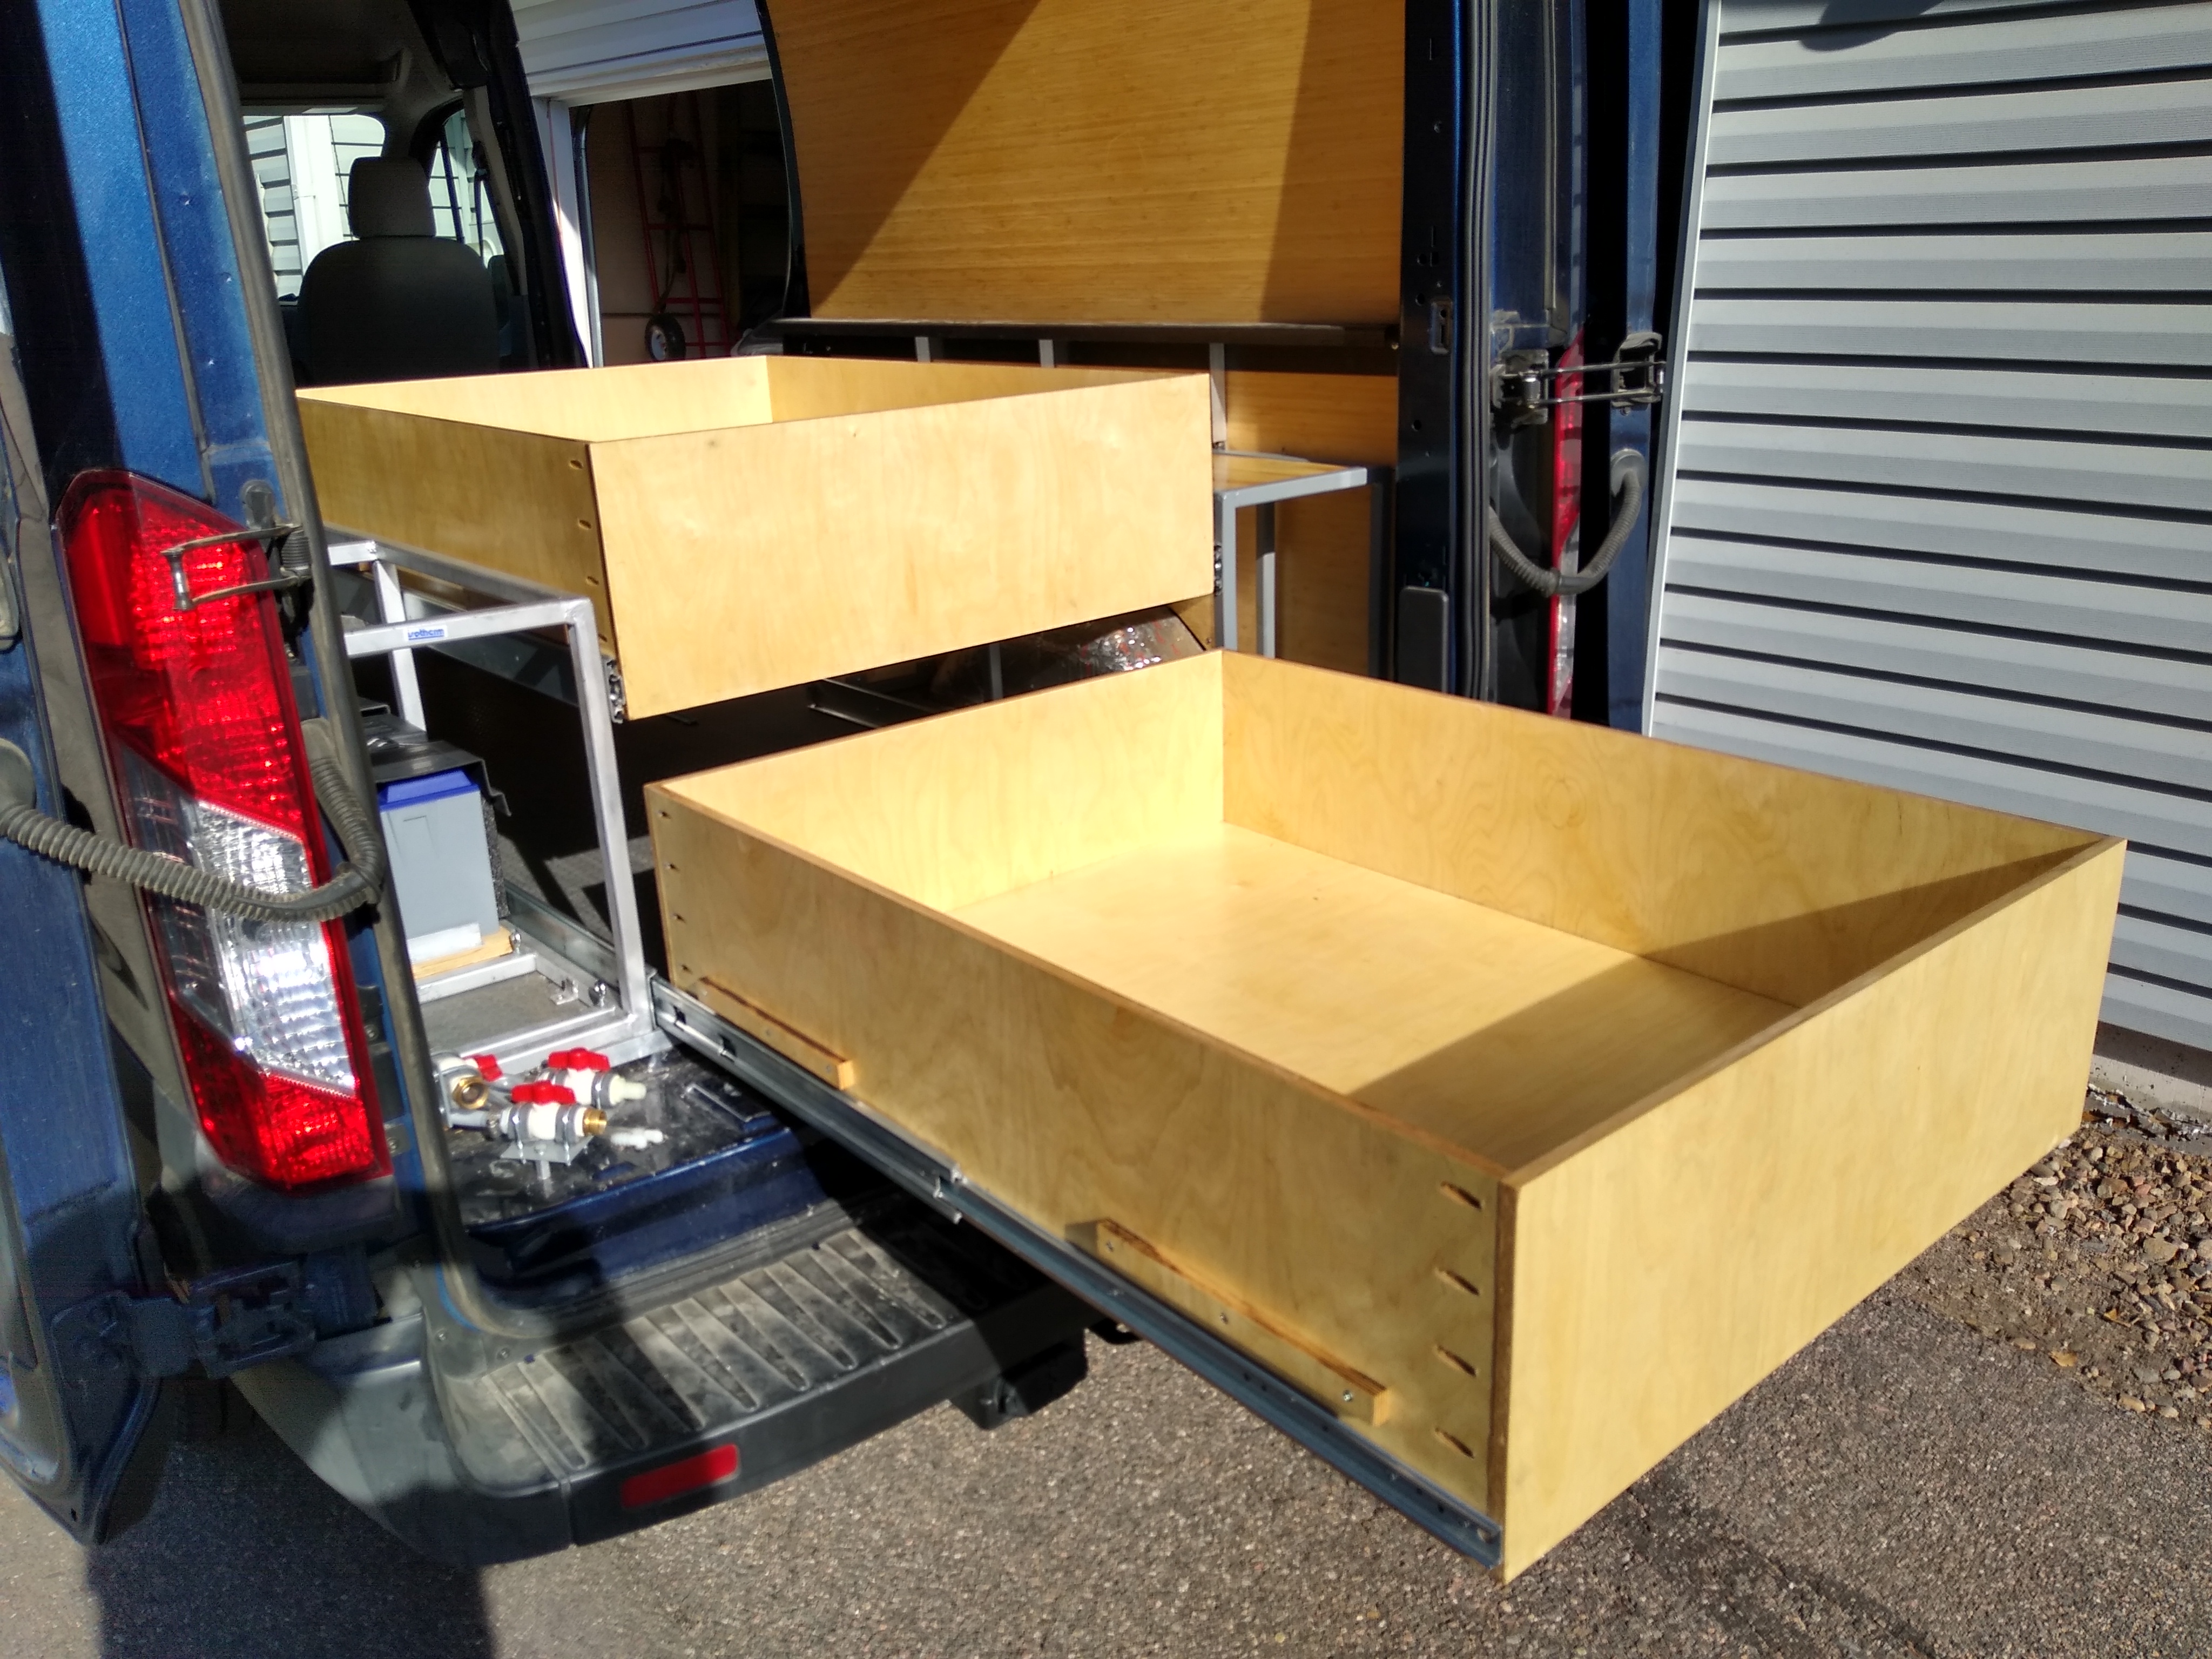
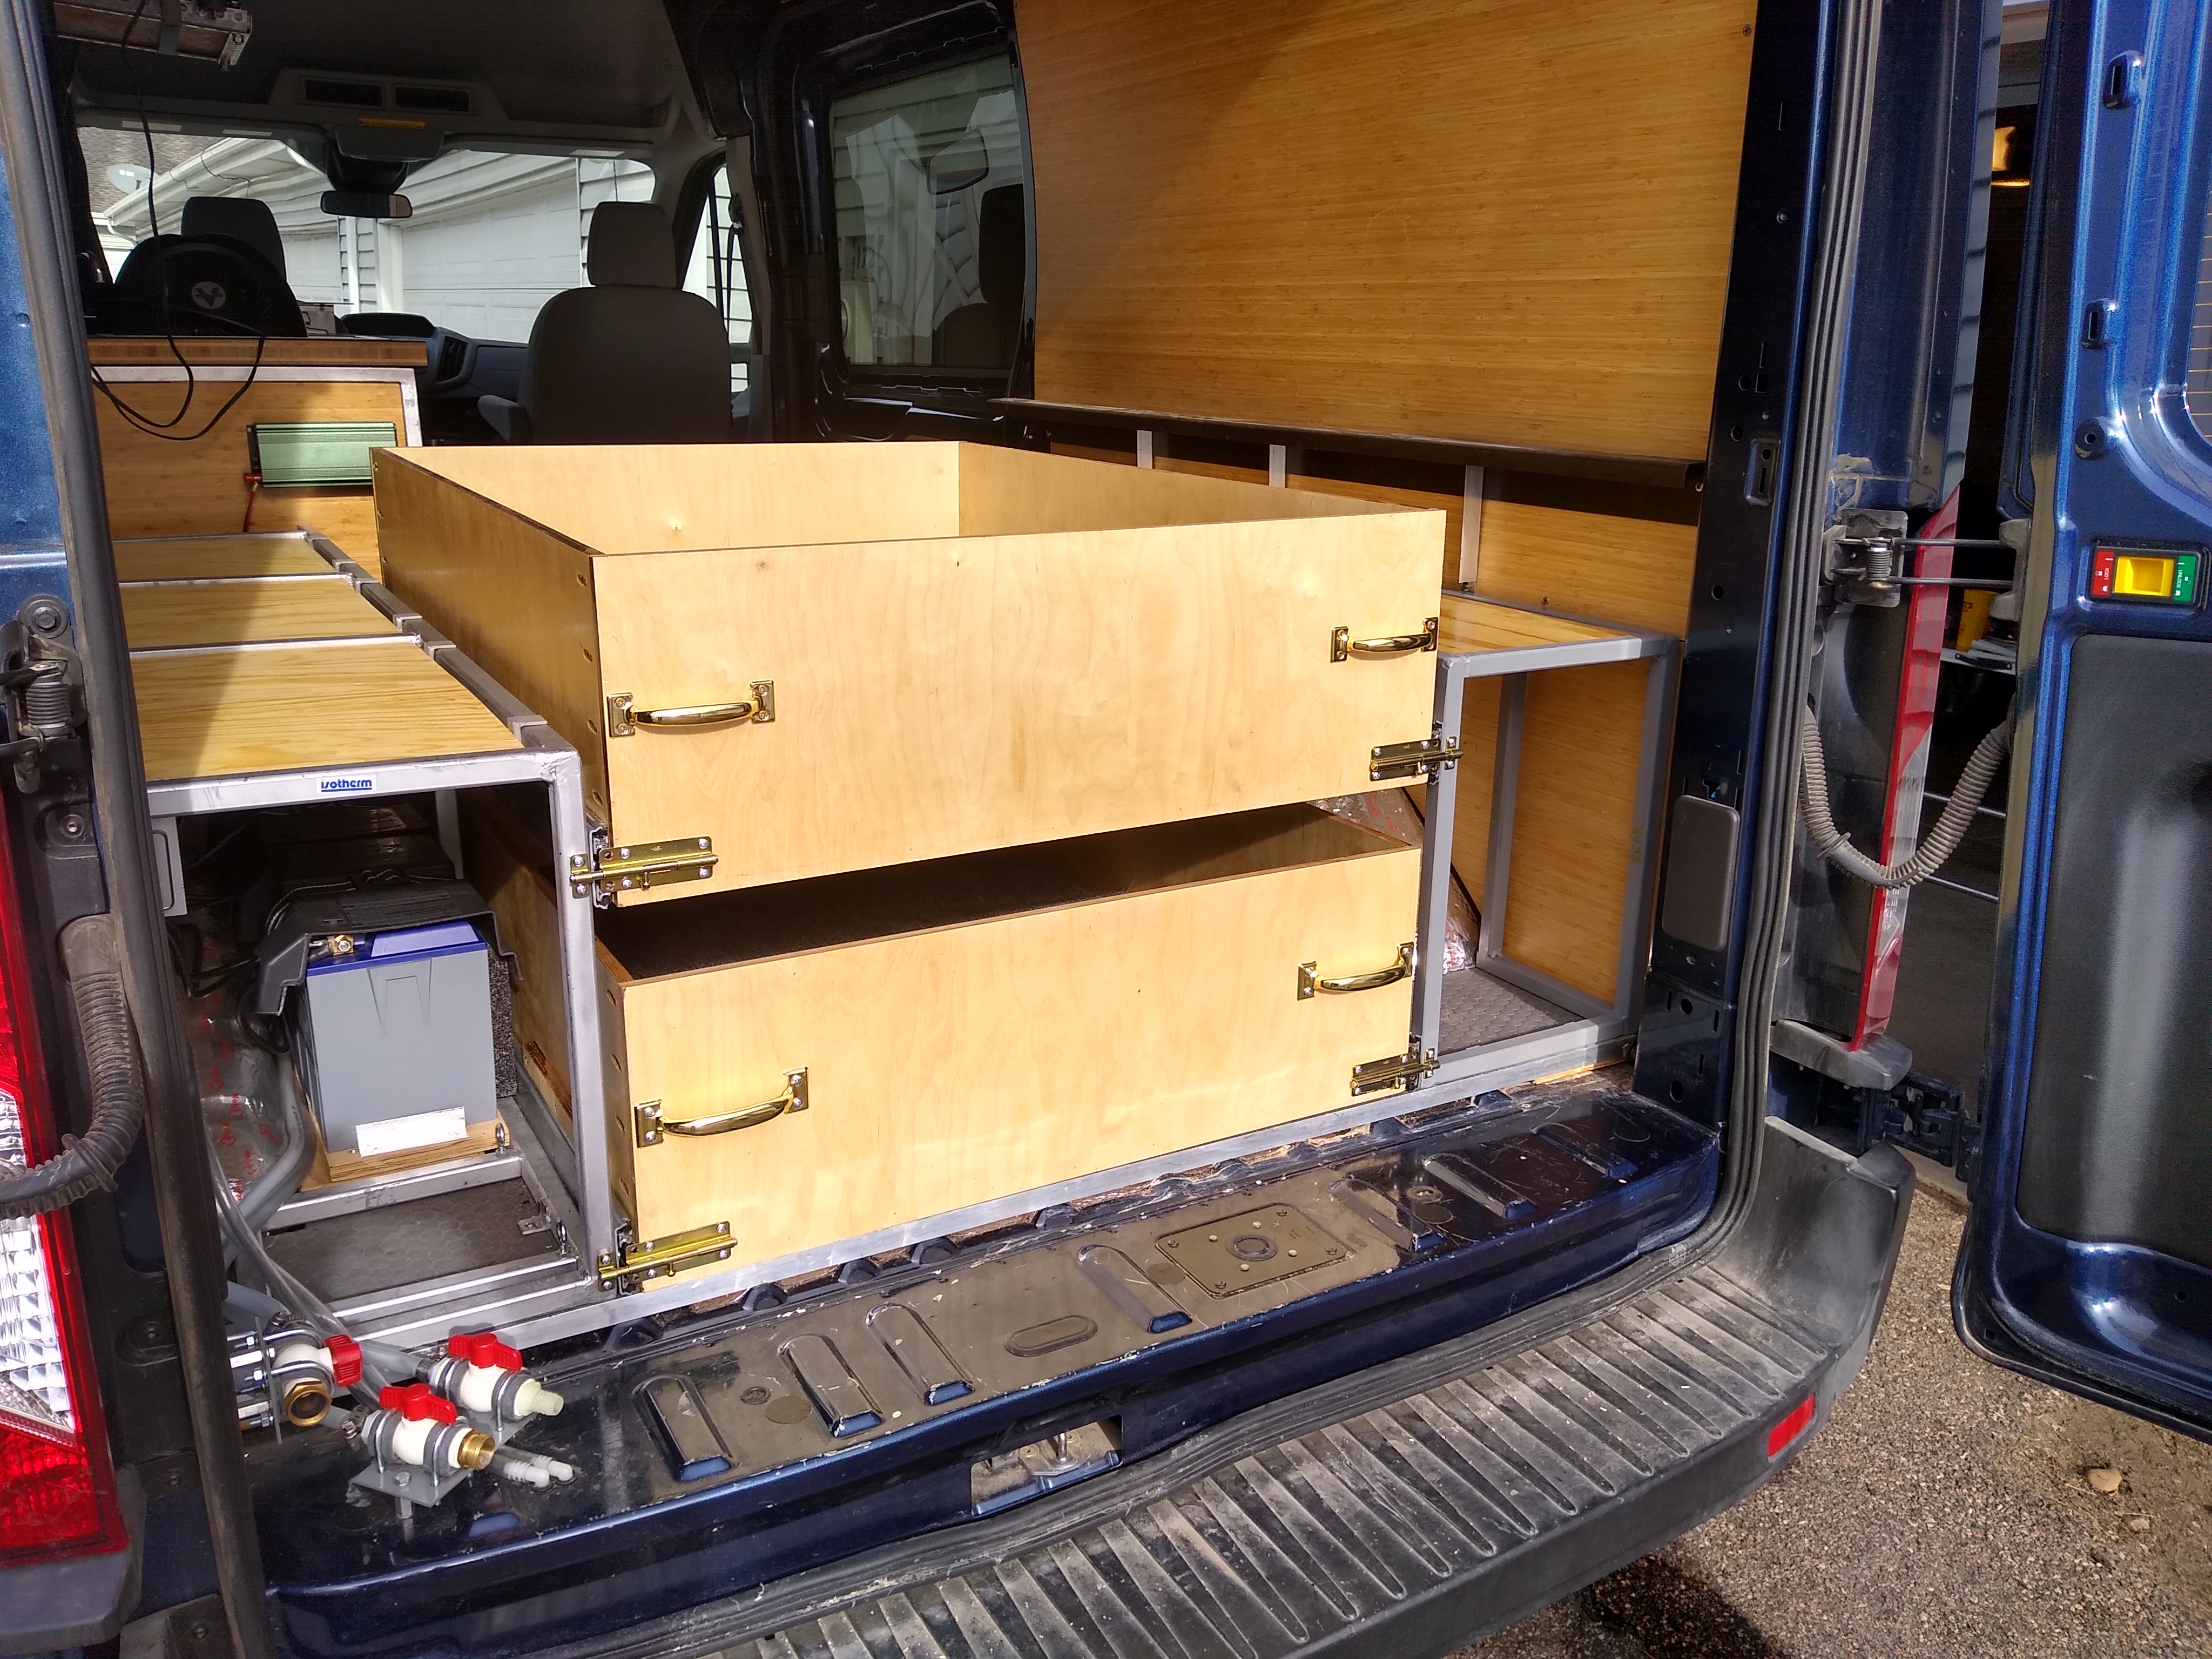
Drawer with pulls and locks installed. The water fill and drains, installed earlier, are shown to the left of the drawers. Also, the inverter is visible on the side of the galley. Wooden lids were added to the racks to make a storage shelf. The lids on the utility rack are removable for maintenance.
Shown as a back splash.

Shown closed for extra counter space.
Being welded together.
Being test installed in doorway.
Painted and installed with Bamboo panels.
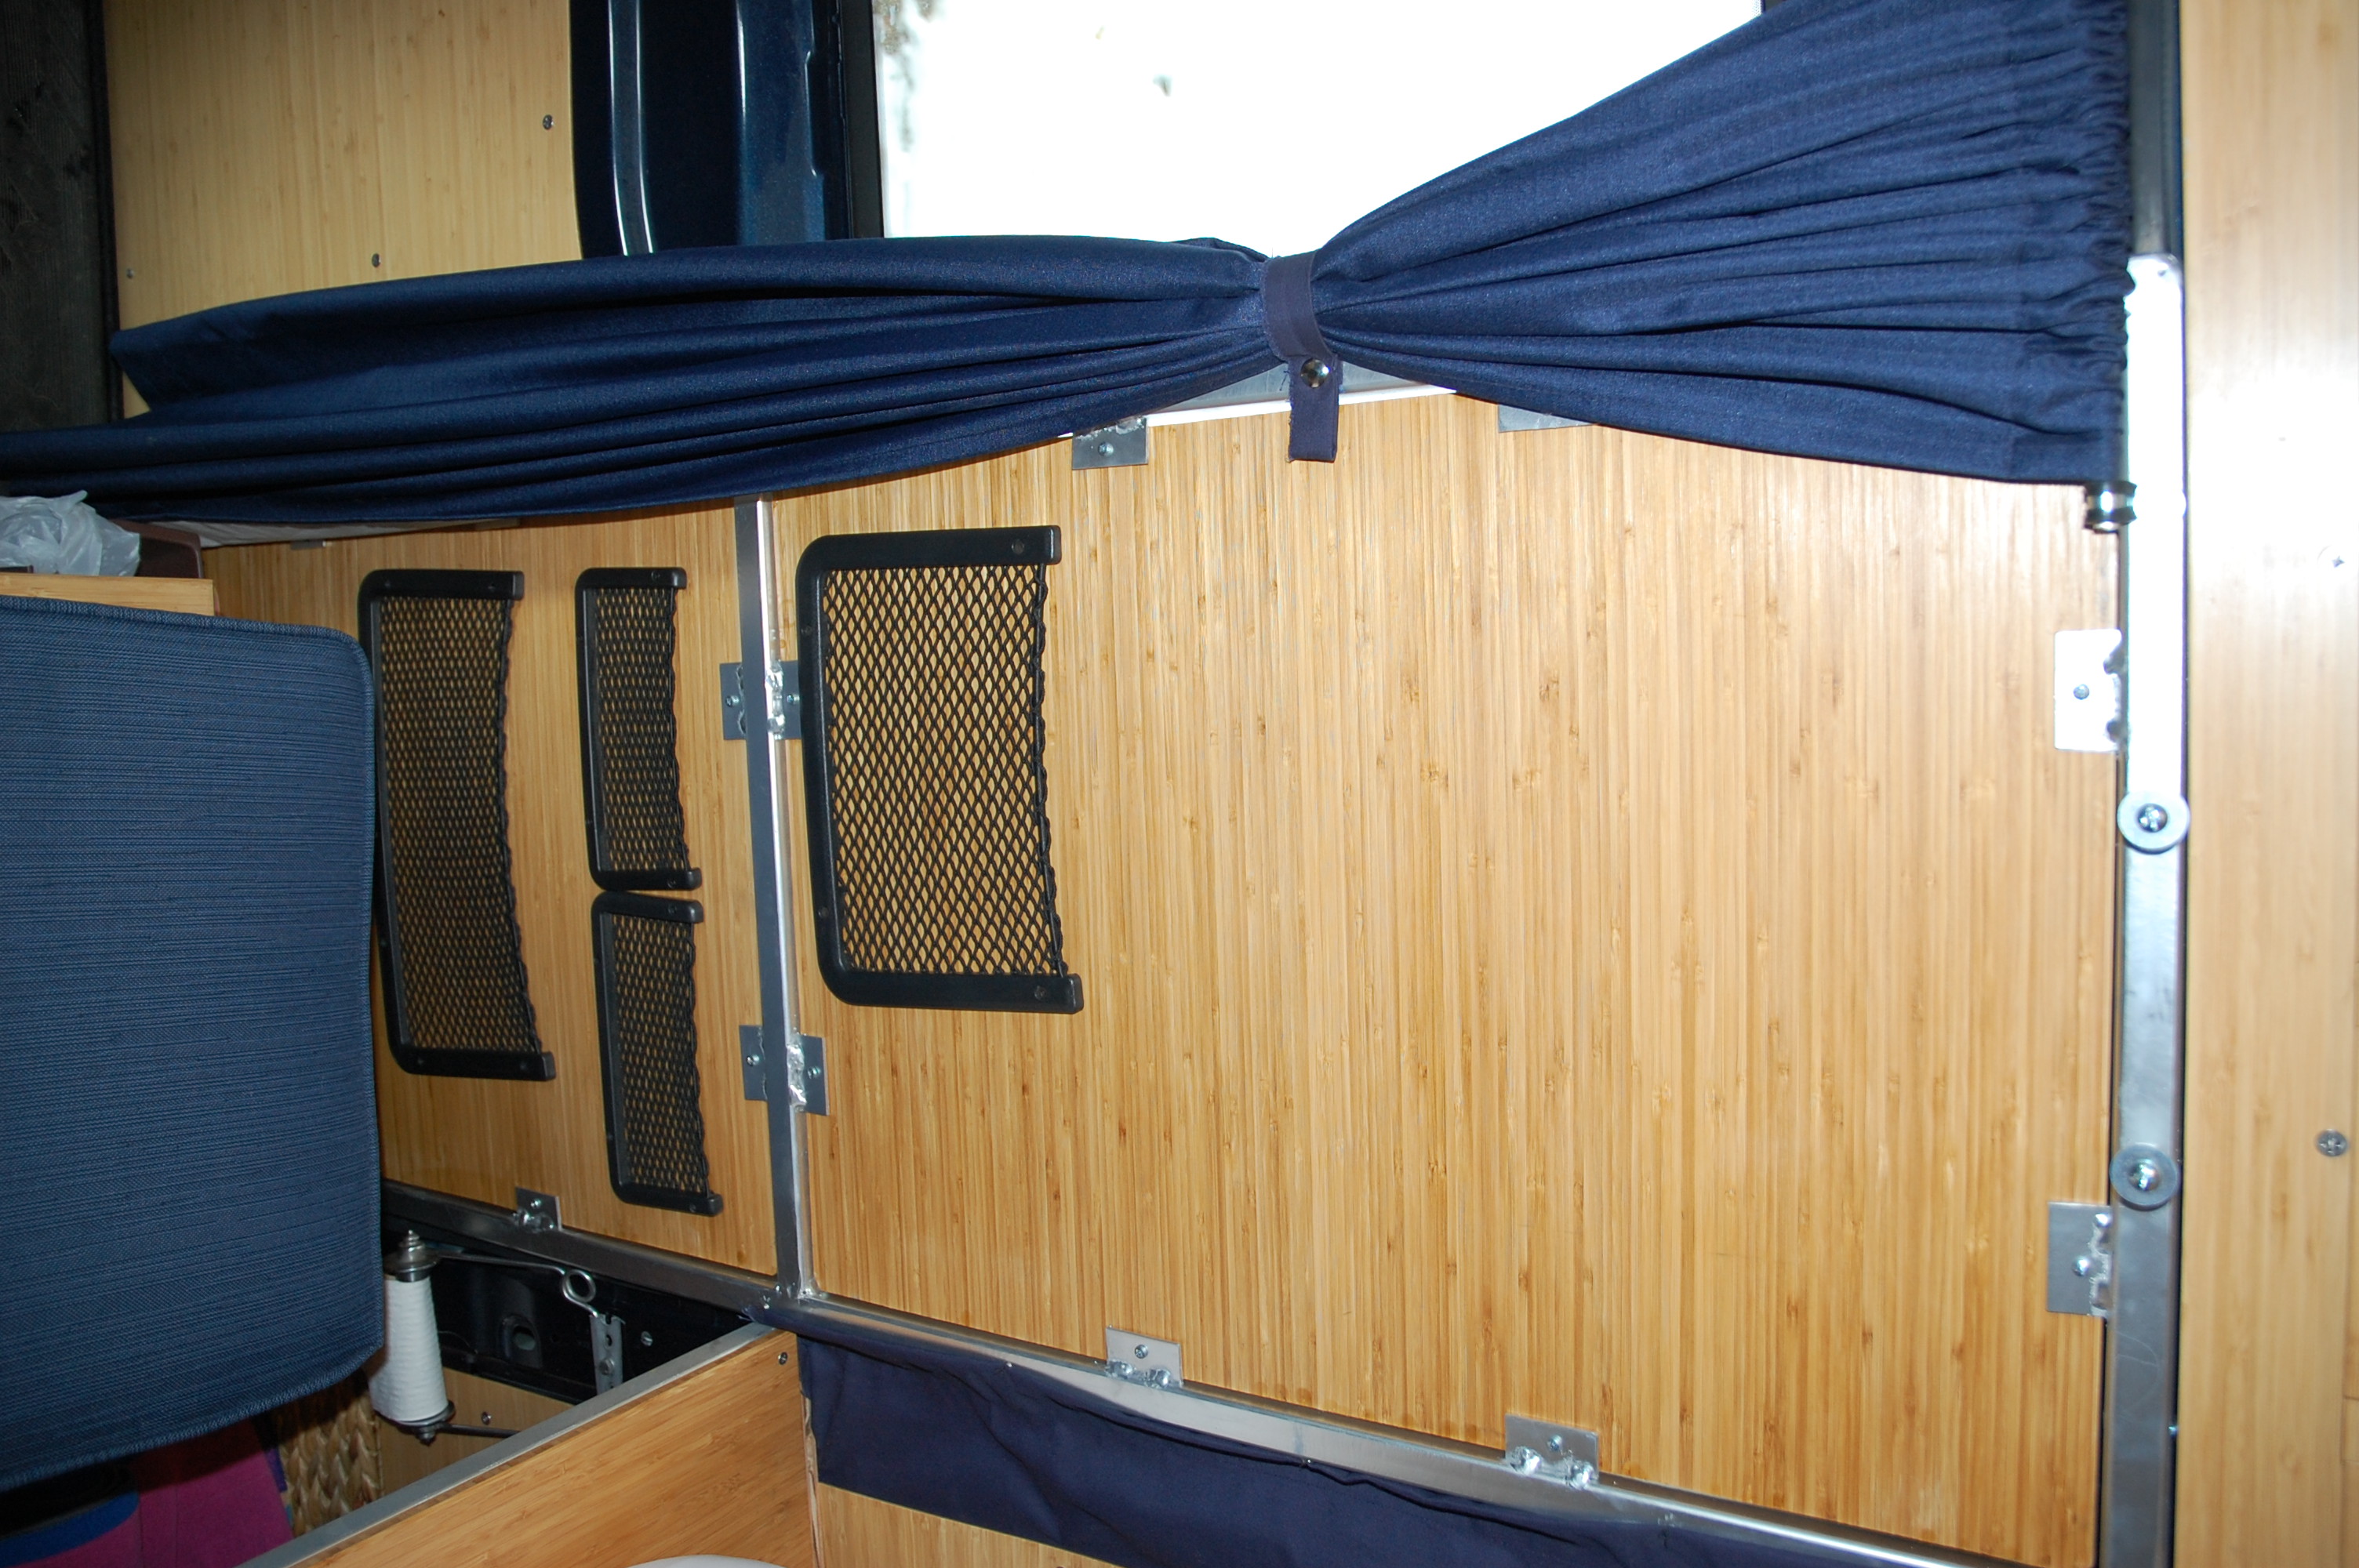
This is the backside of the wall. This shows the privacy curtain, elastic storage bins and the toilet enclosure cushion.
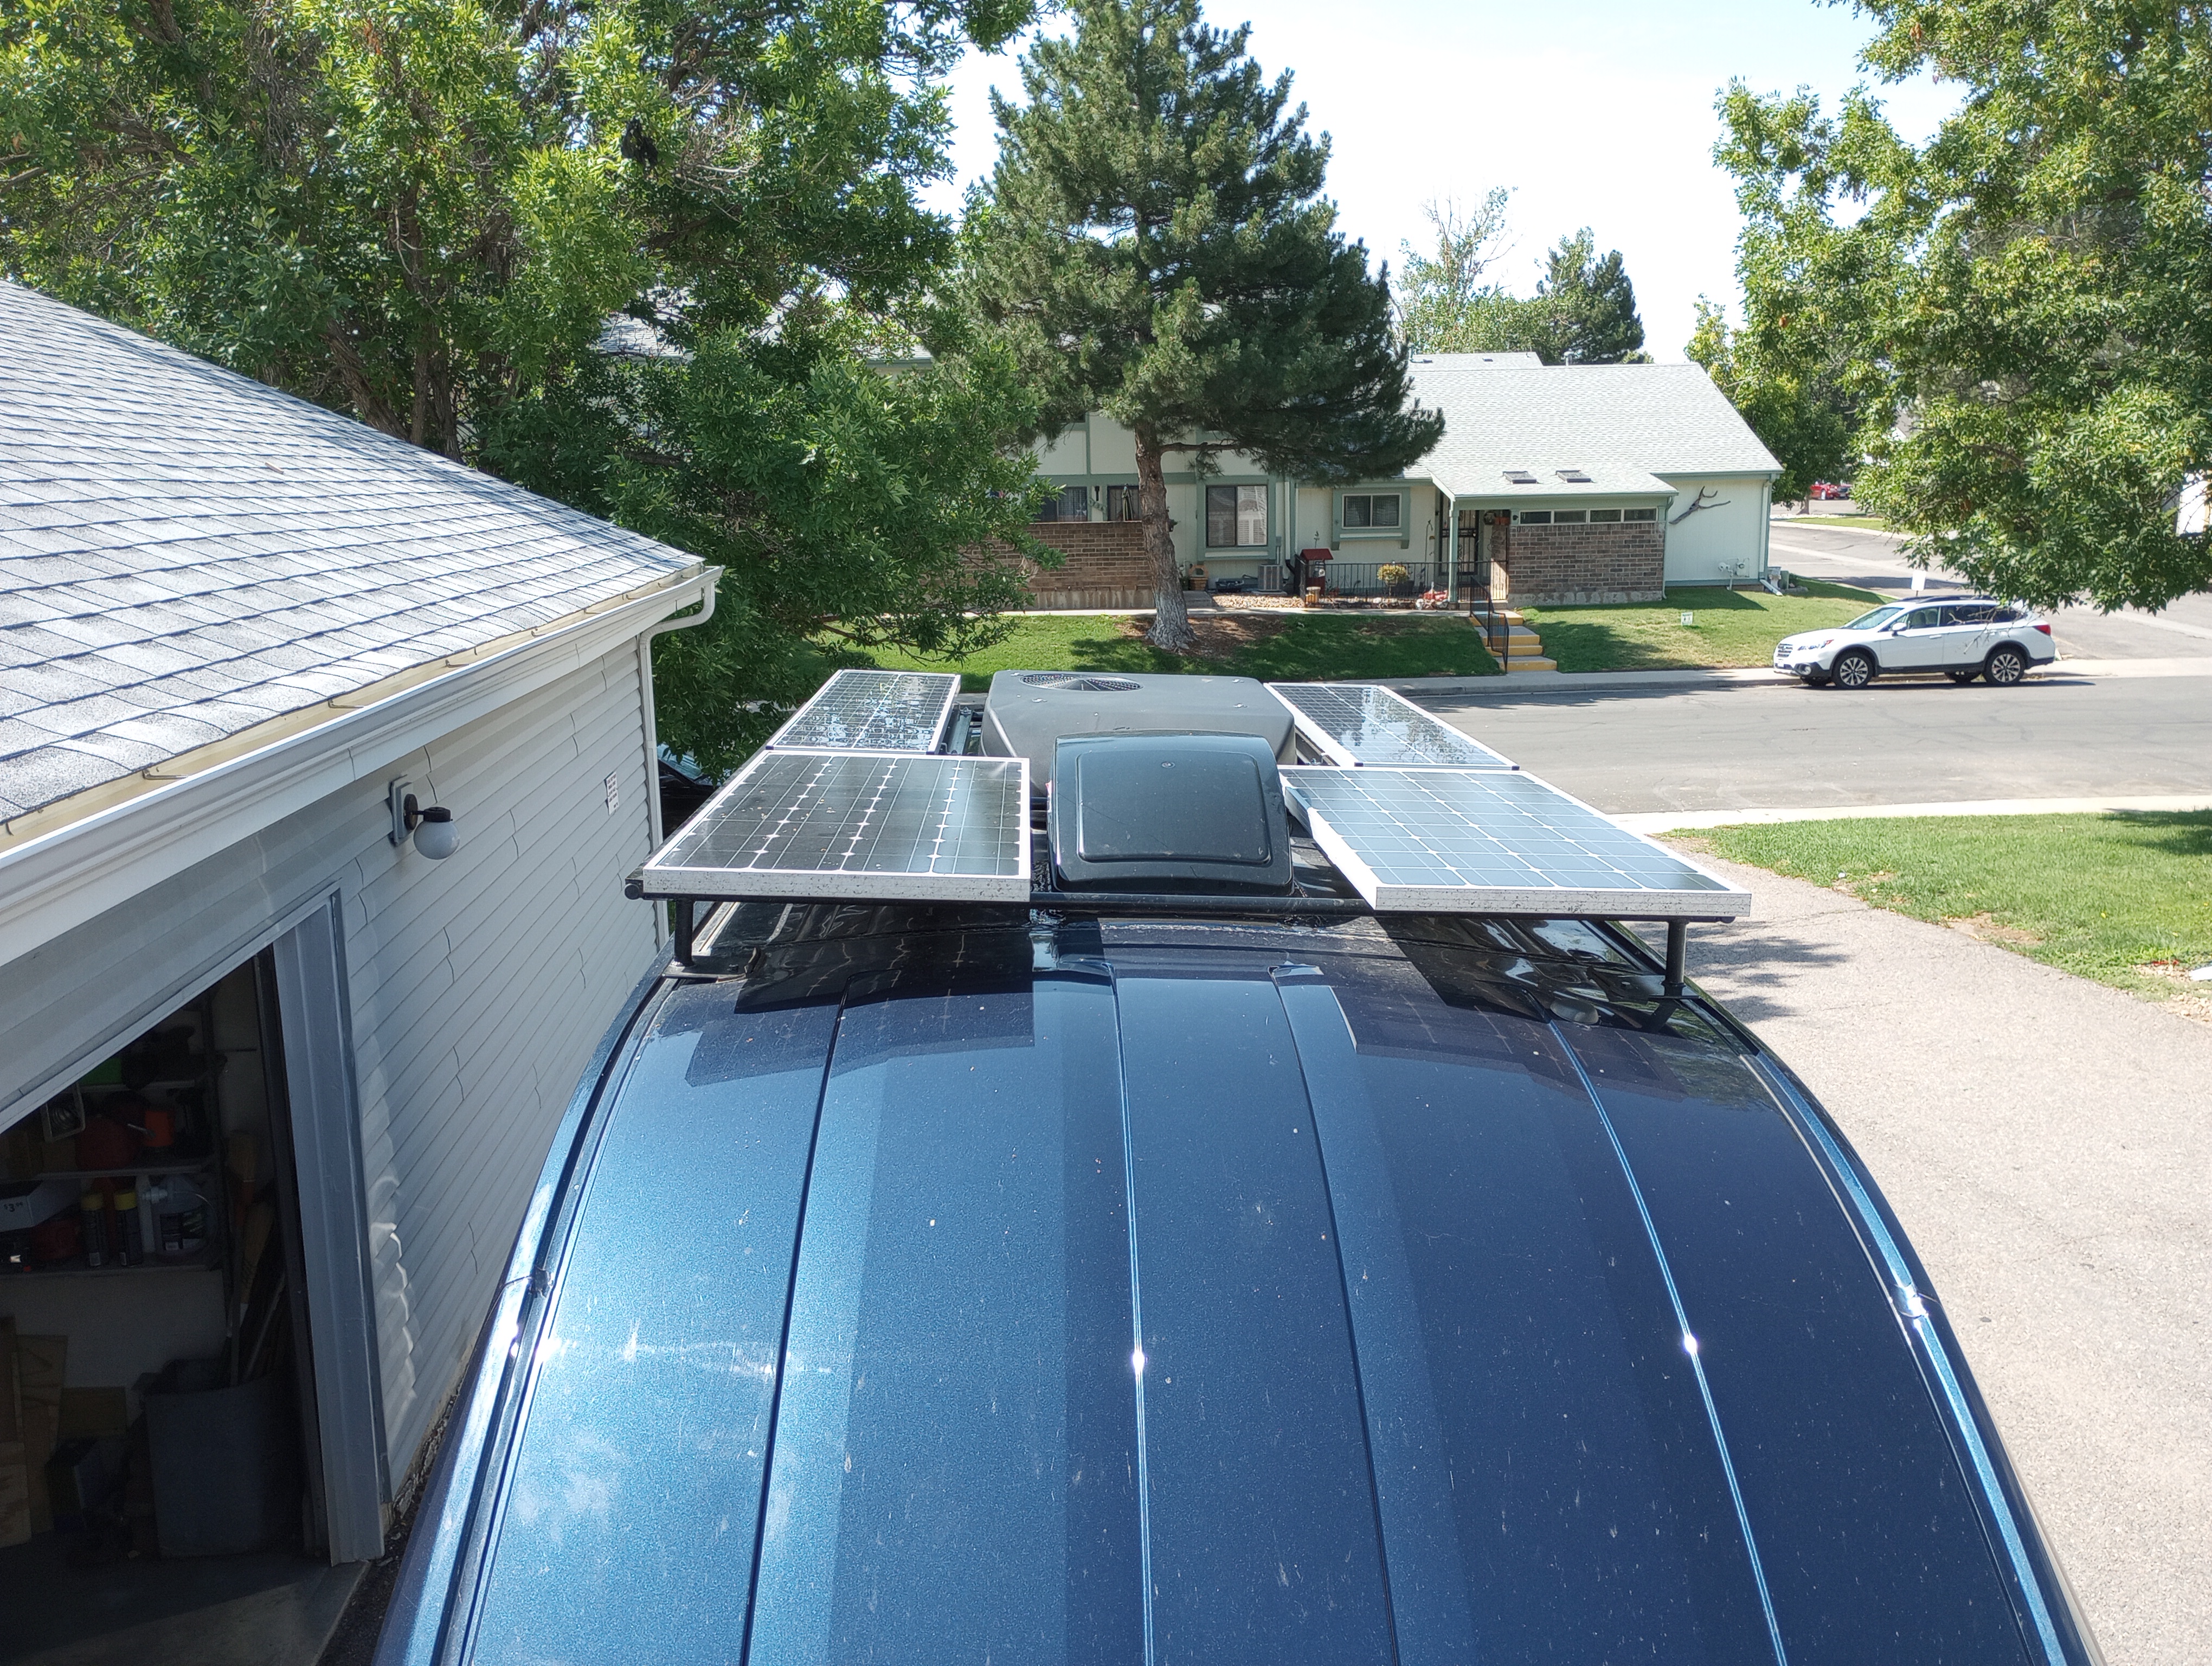
The solar panel rack shown in the truck shop. It is mounted using the stock Ford mount points.
The power pass through mounted using the factory access point.

The Zamp panels being installed.
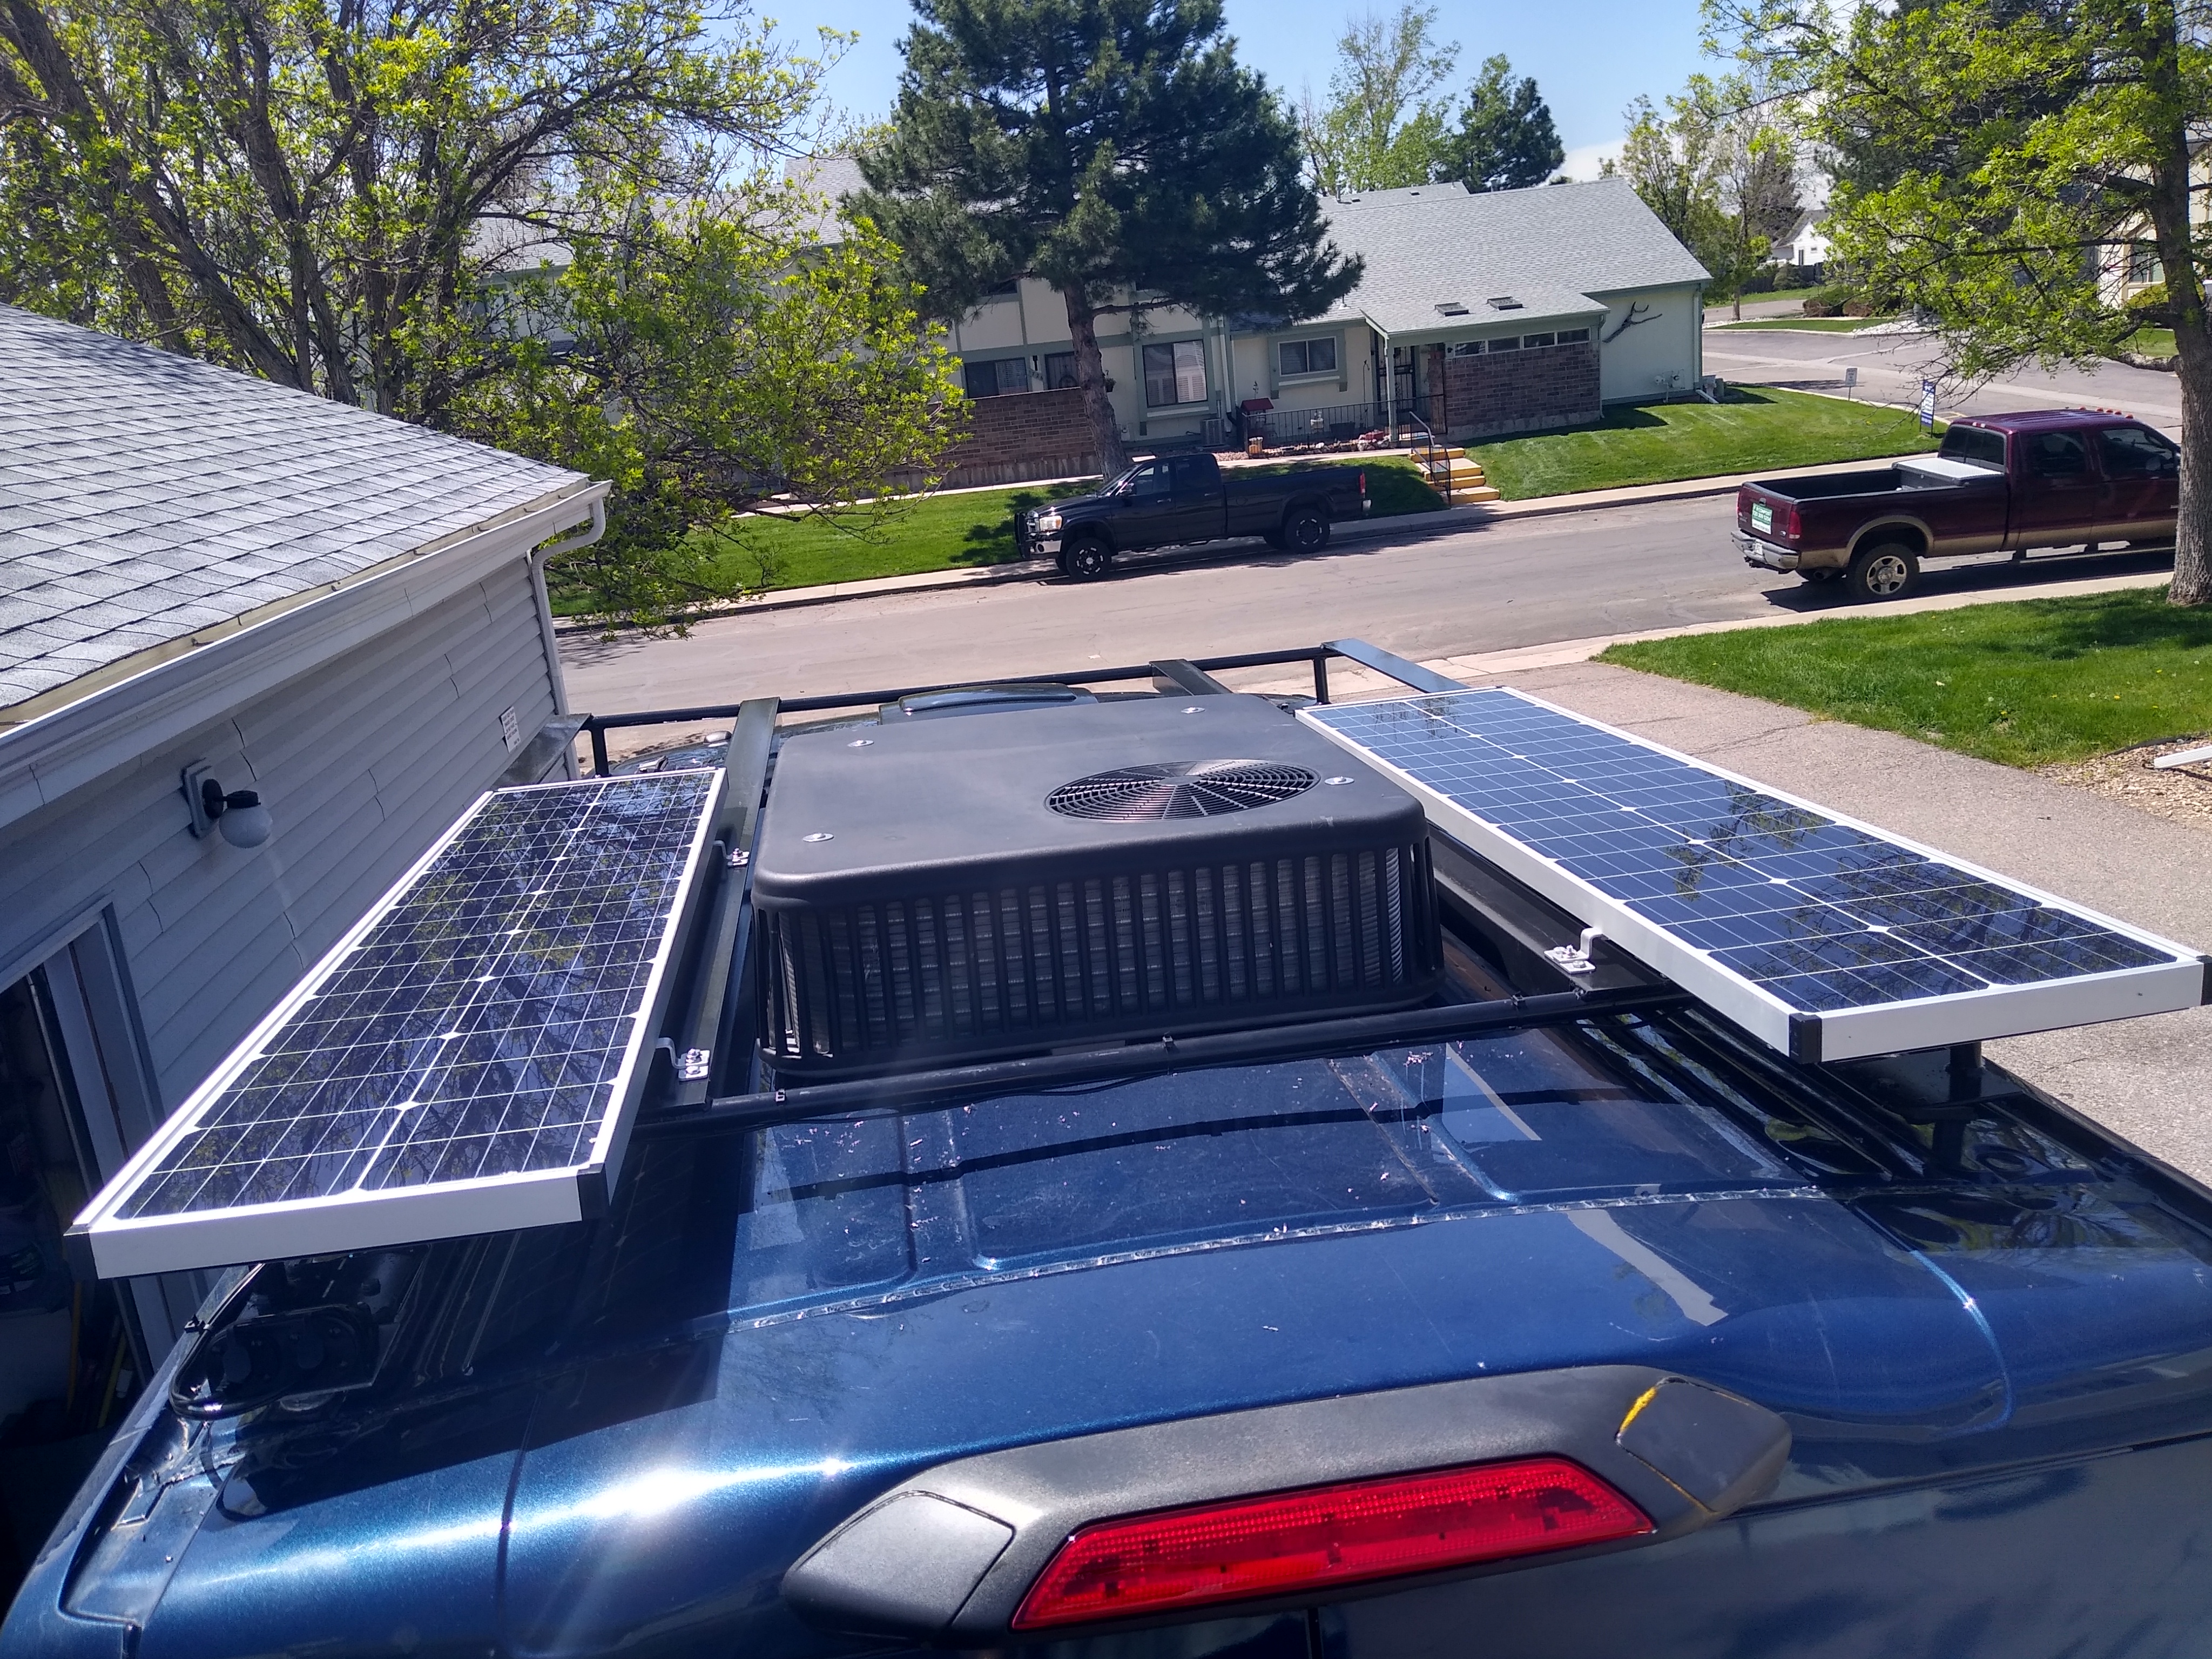
The Renogy panels installed in front of the Zamp panels.
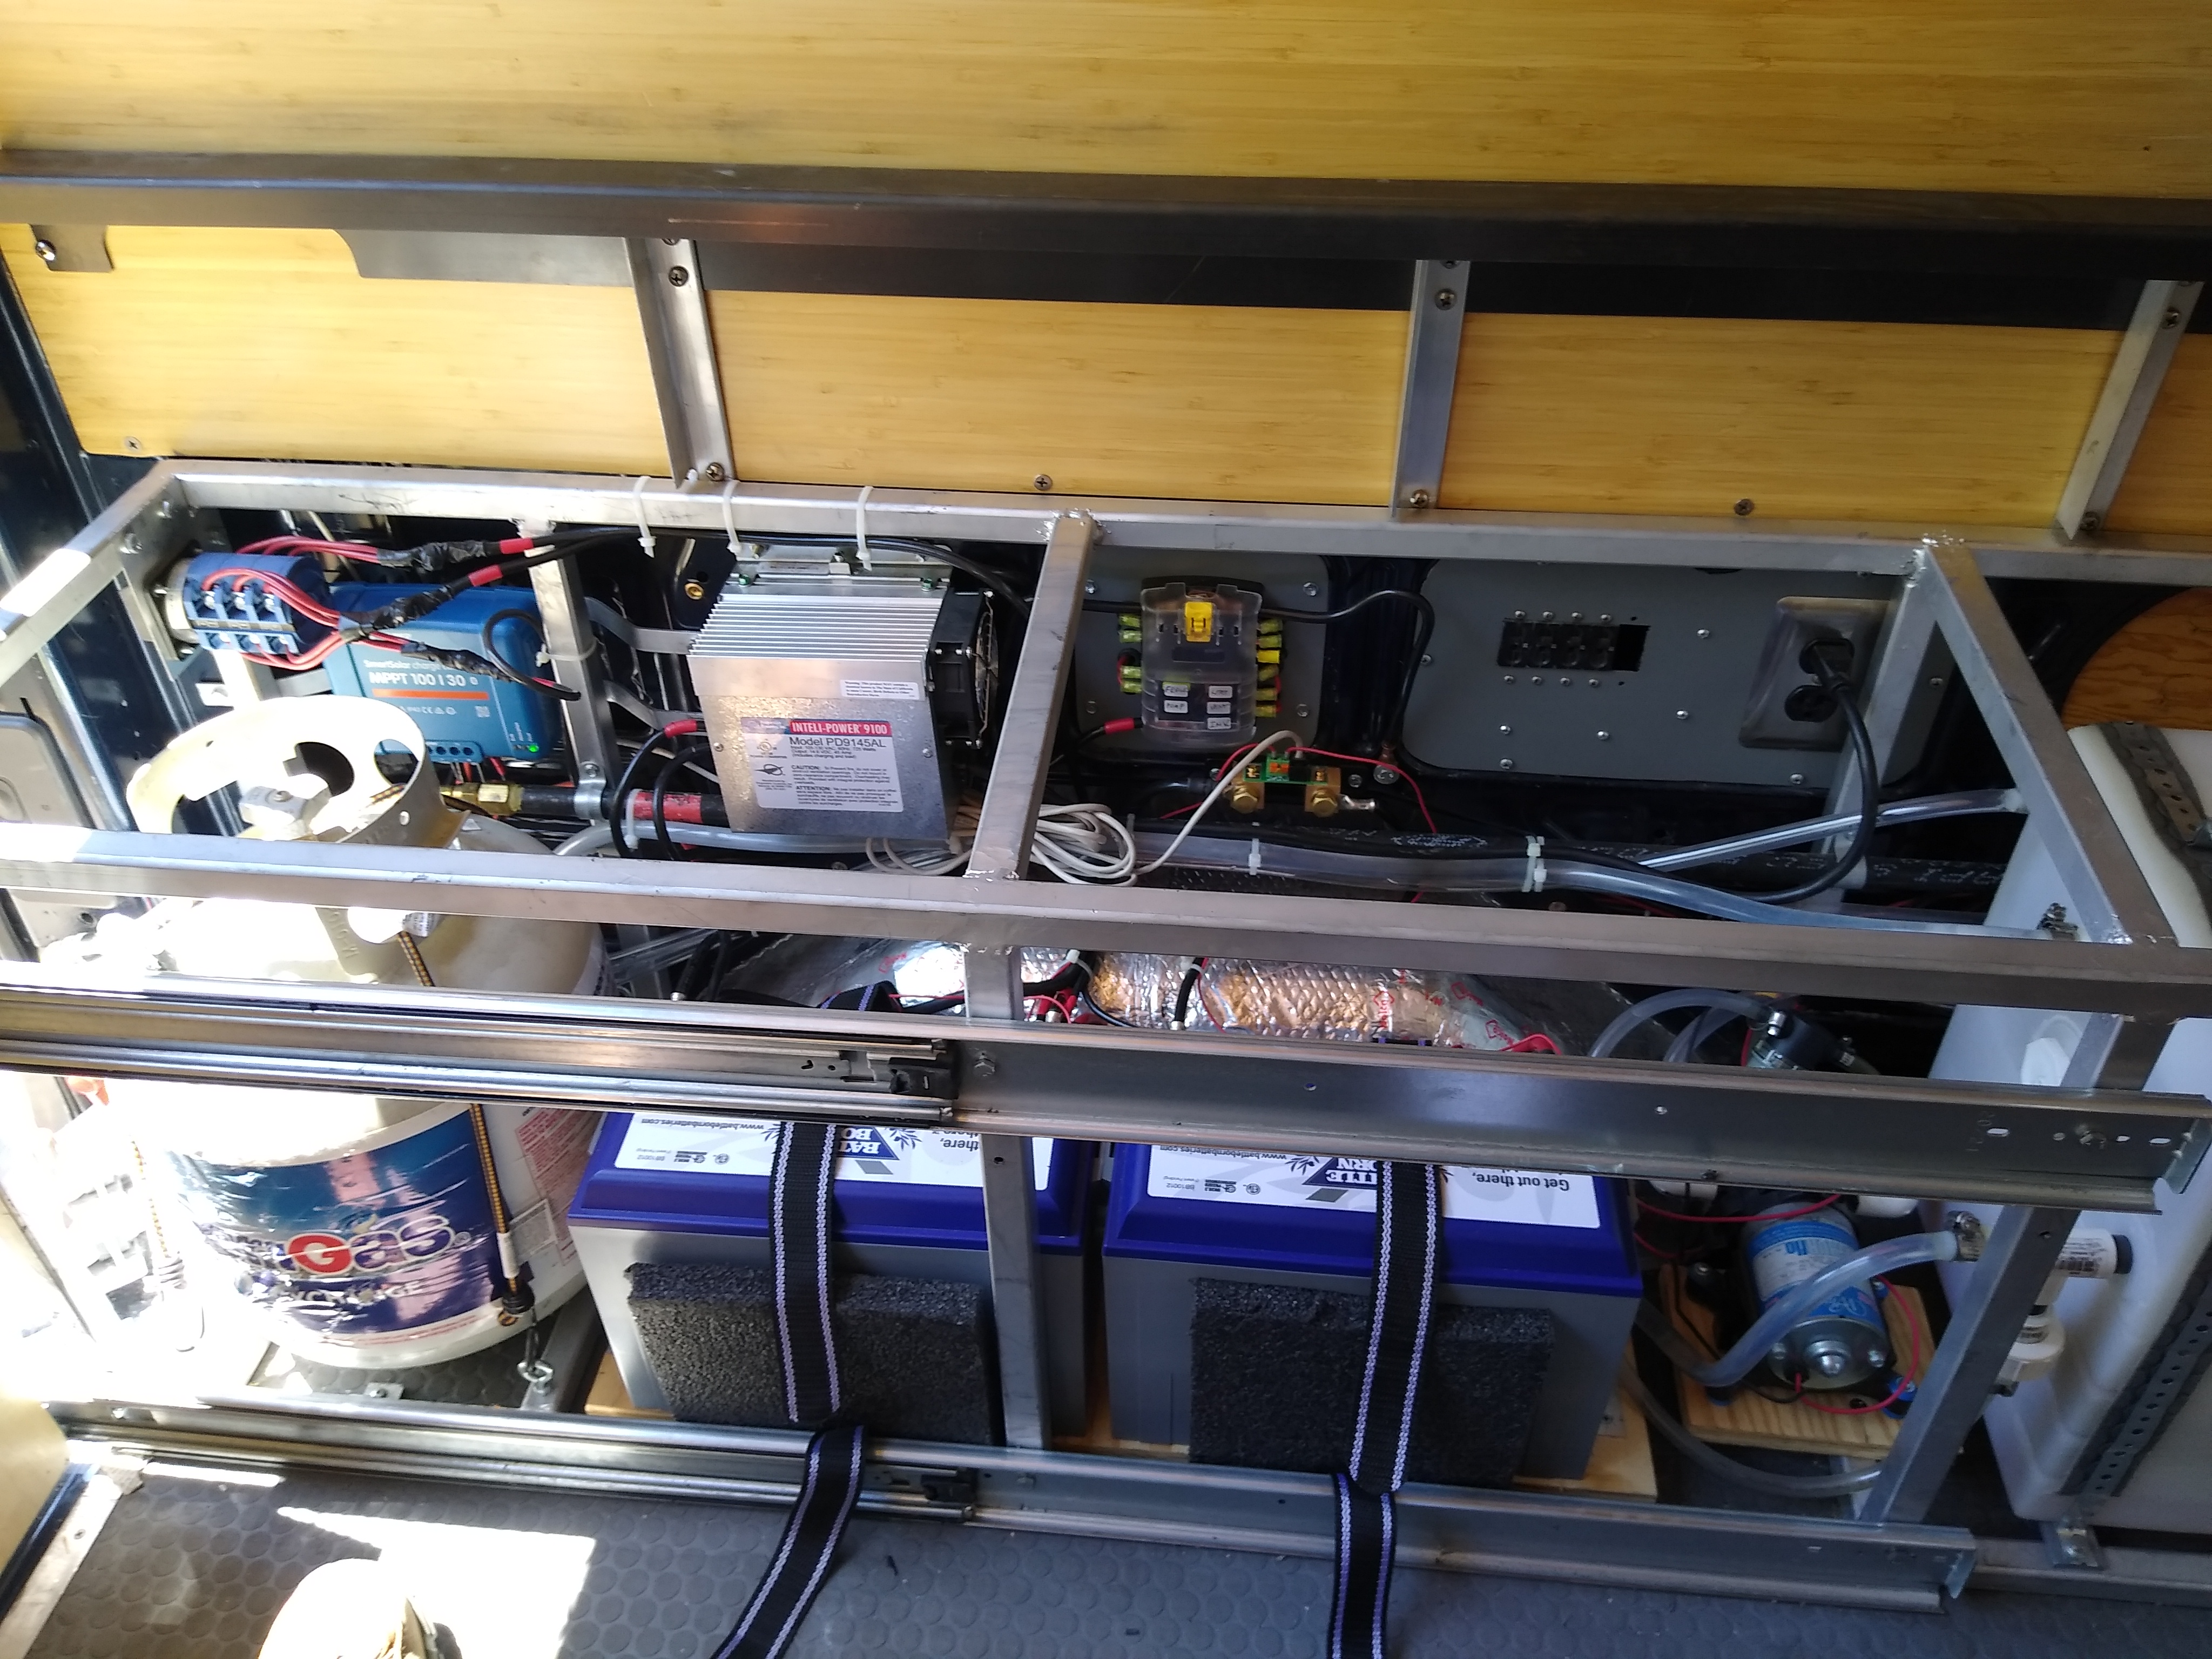
The utility rack with the solar installed. The solar charger is on the left side top. The two batteries are below.
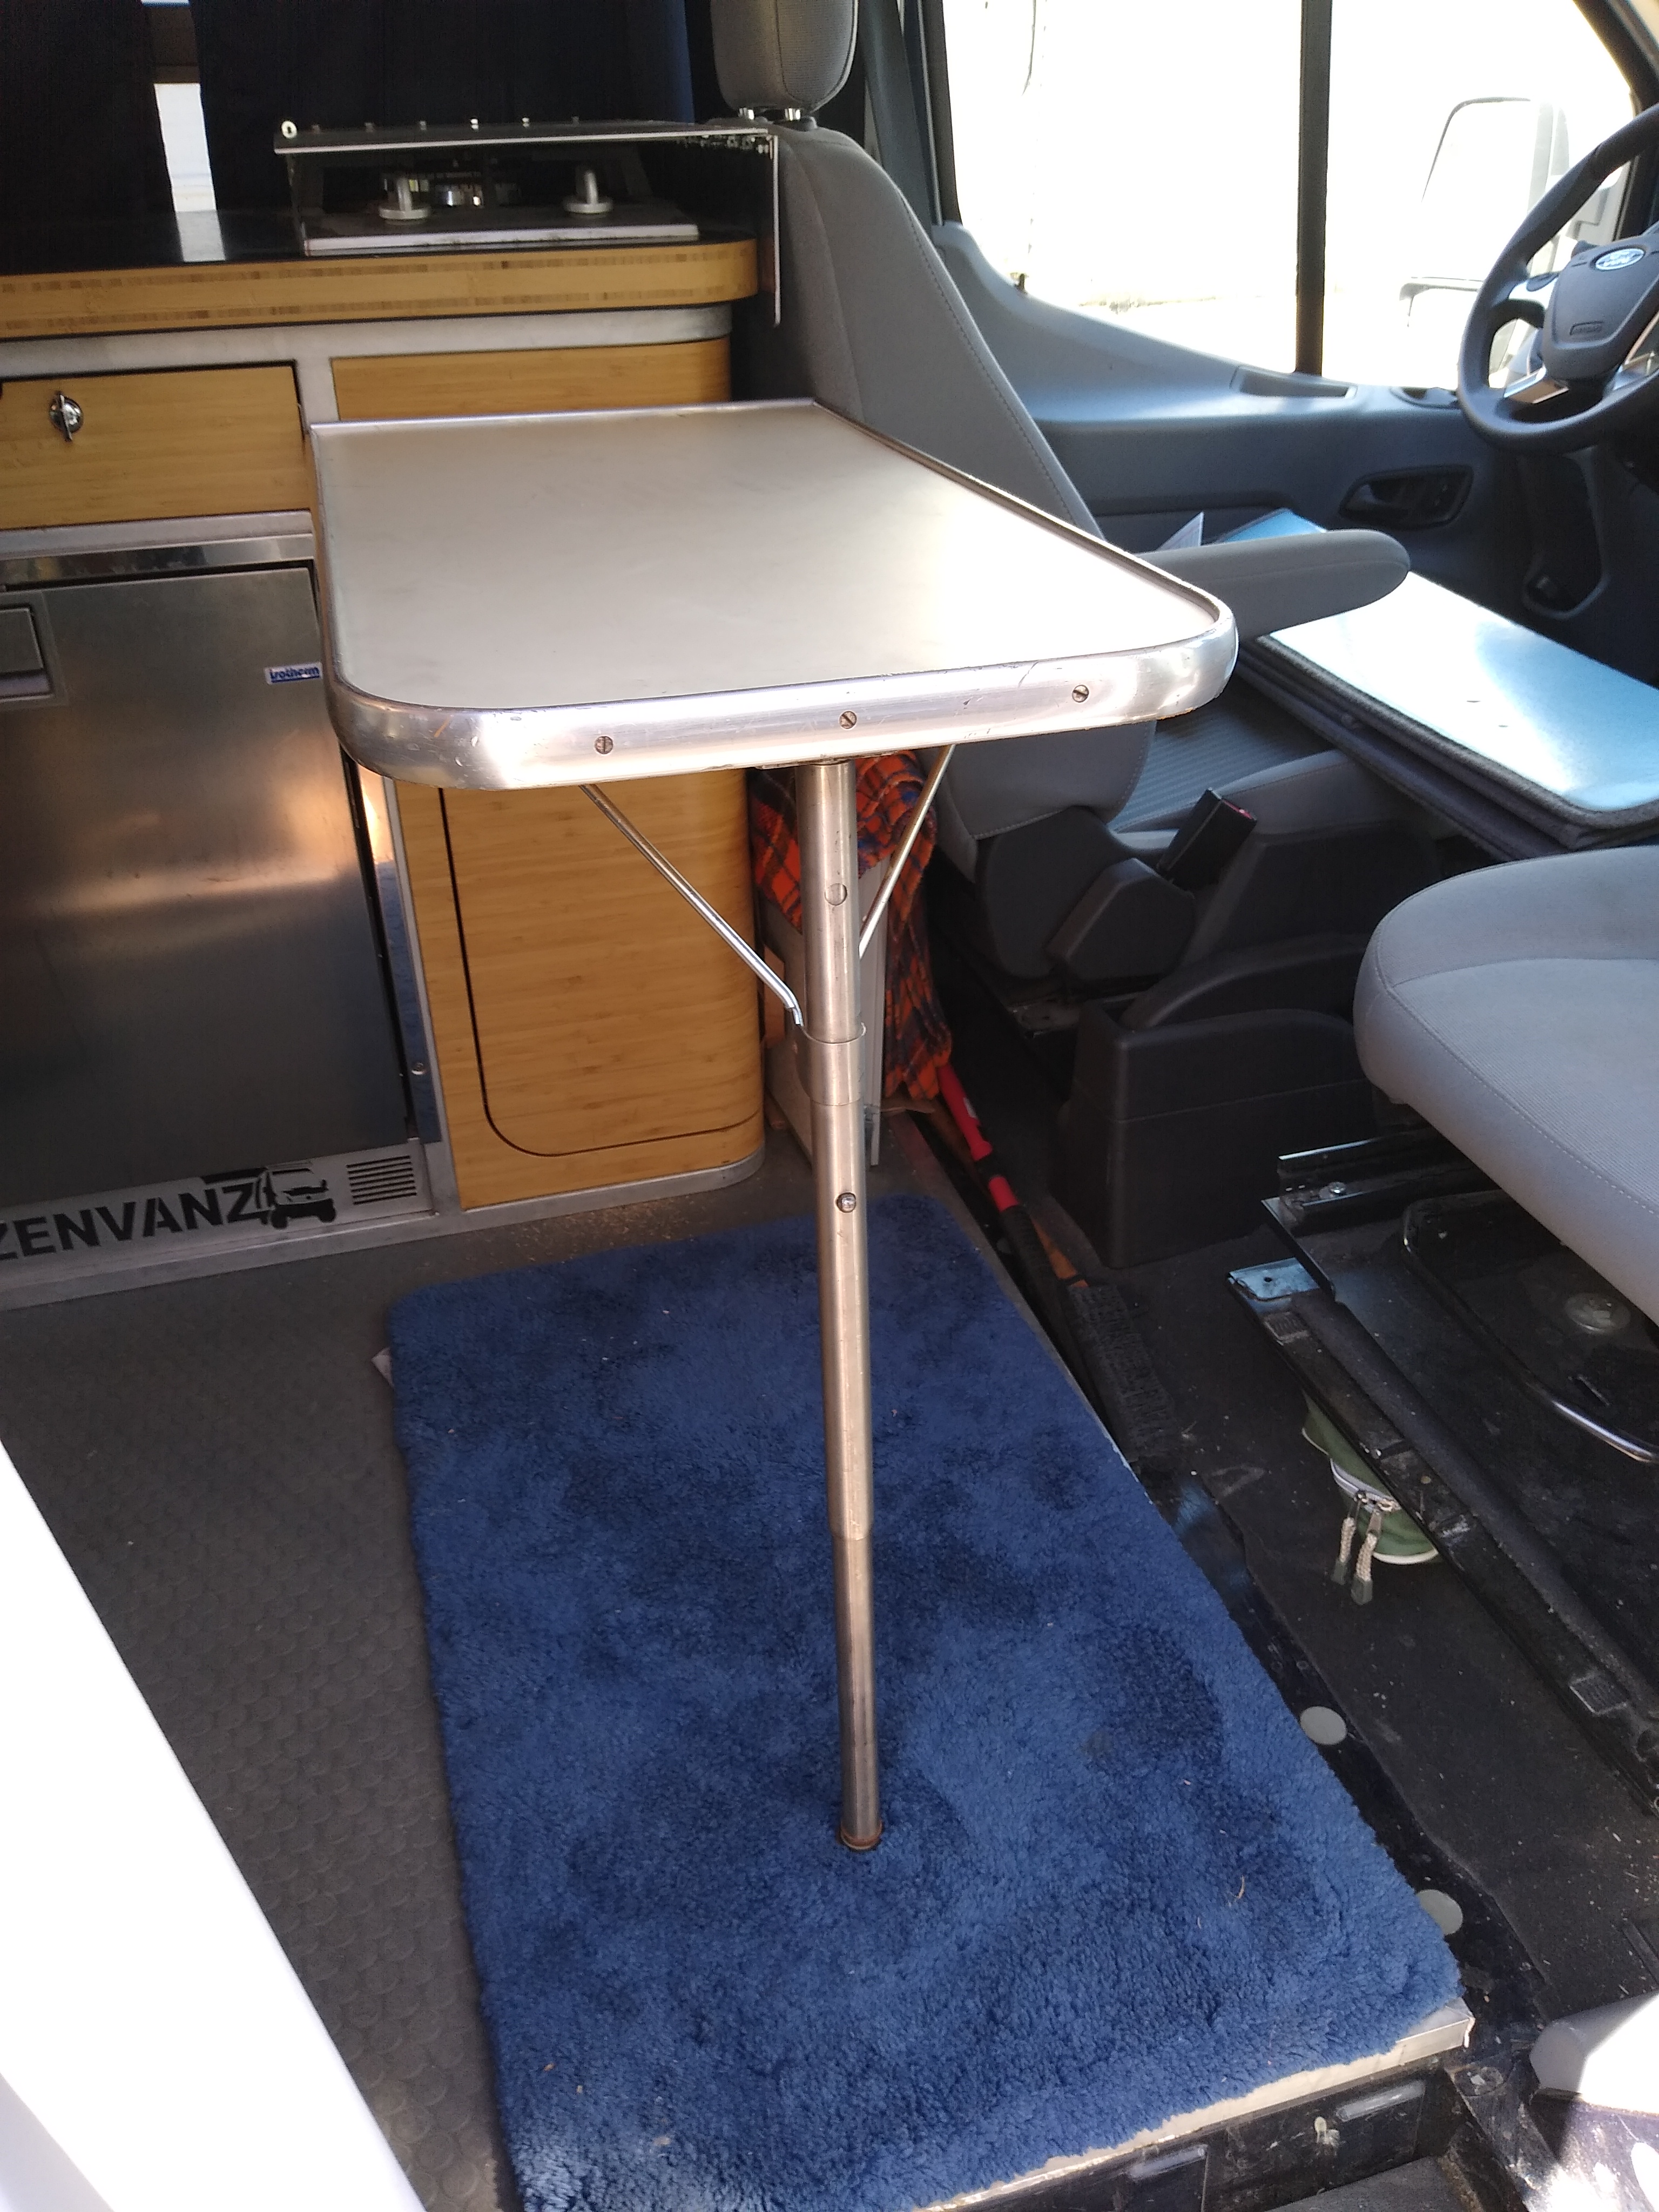
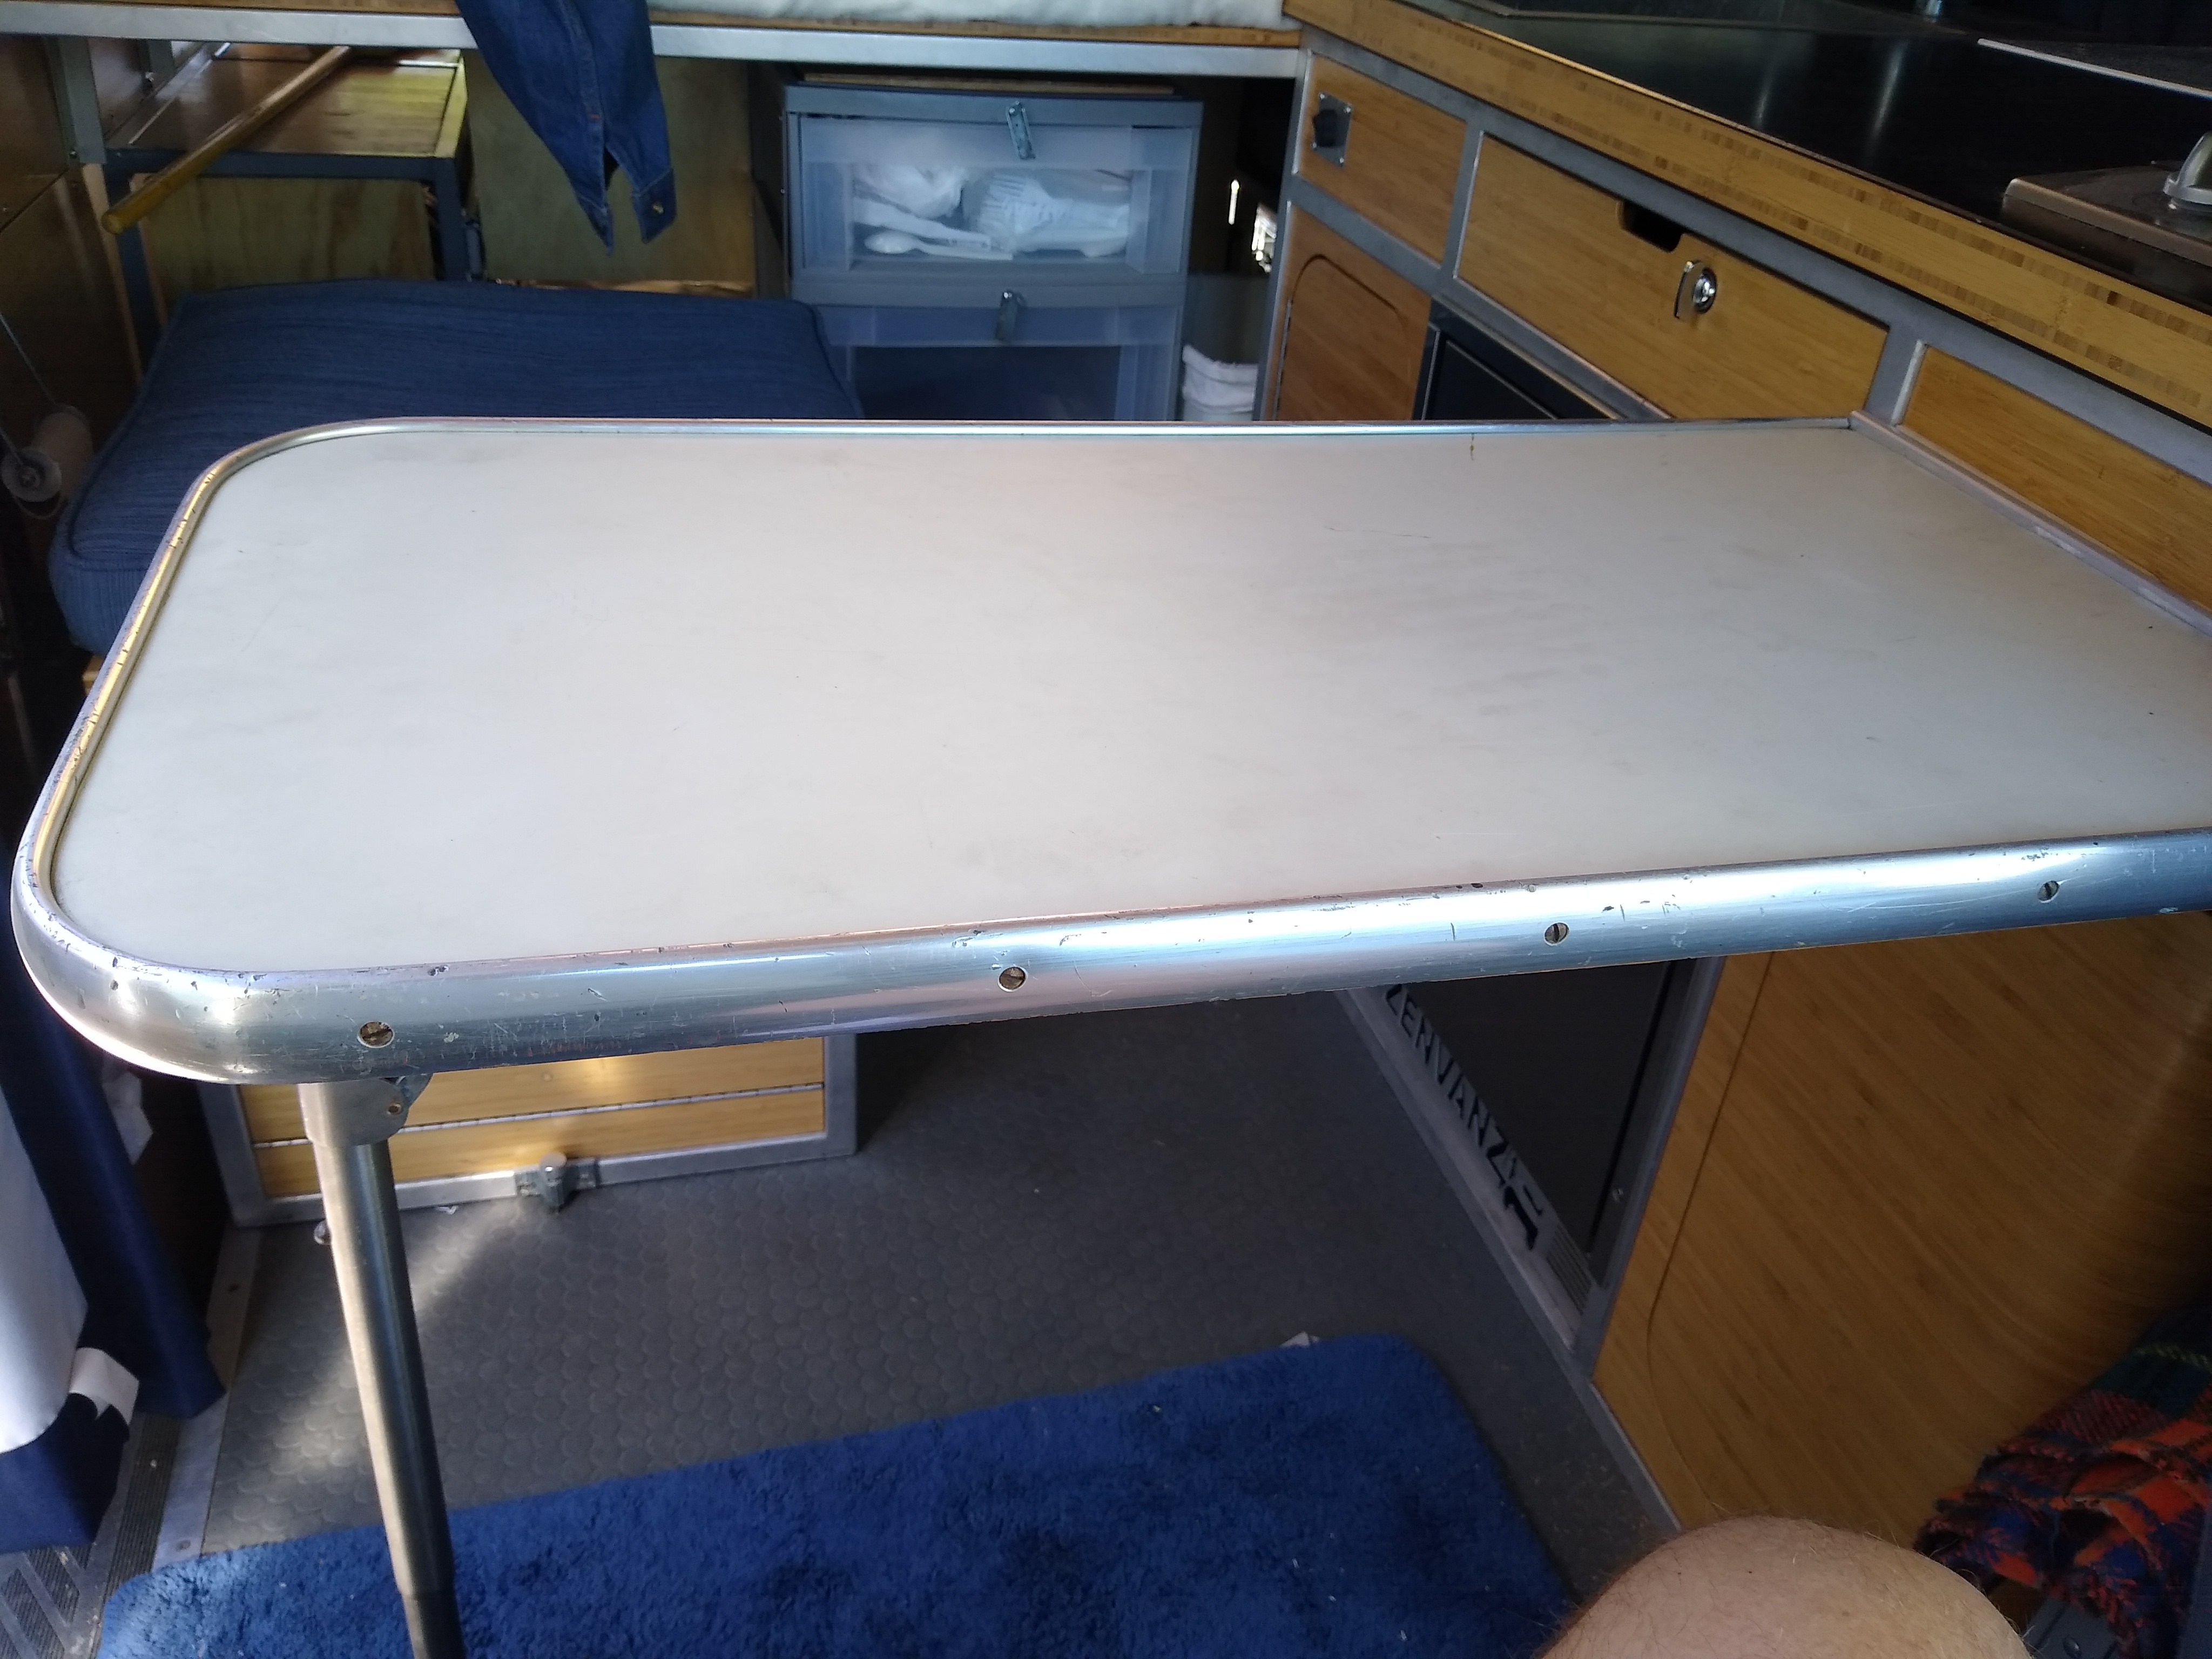
This view shows the table mounted inside. It is short enough to get around even with the door closed.
Looking toward the rear. A cushion was added to the toilet enclosure to make an additional seat.
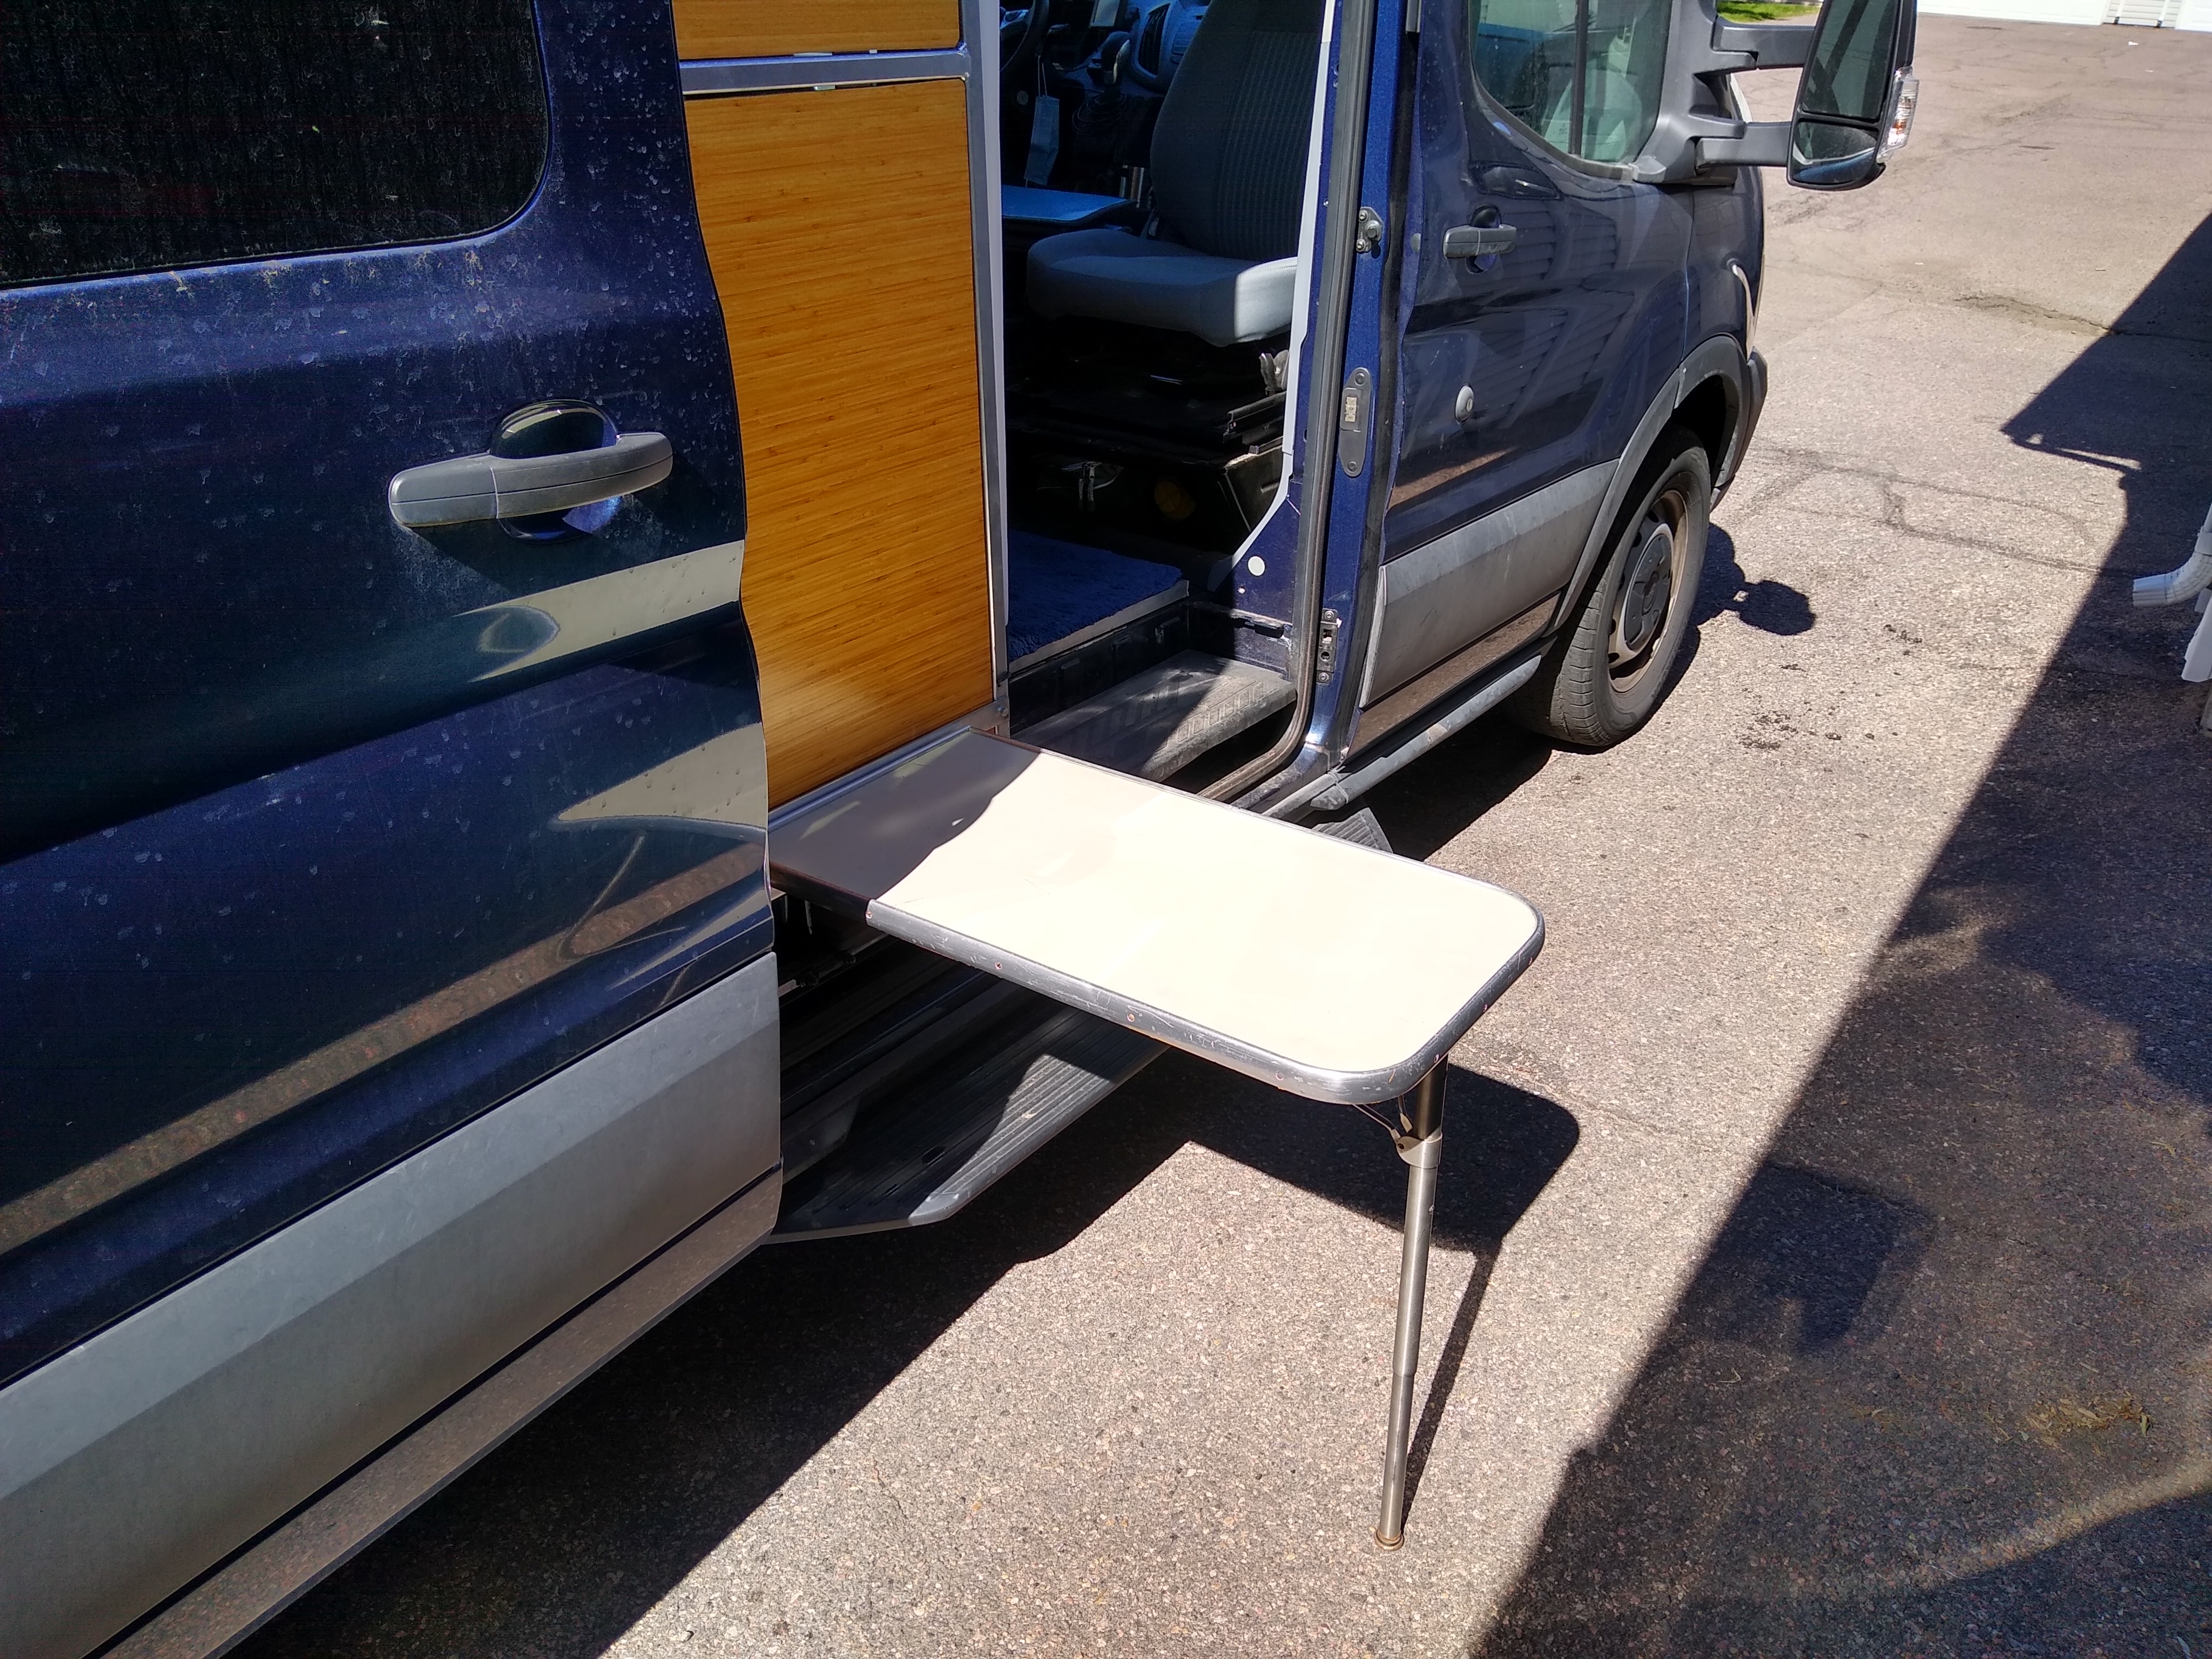
The table can also be mounted on the door divider for outside dining.
Set up to mount on the lower drawer if that is where the shade is.

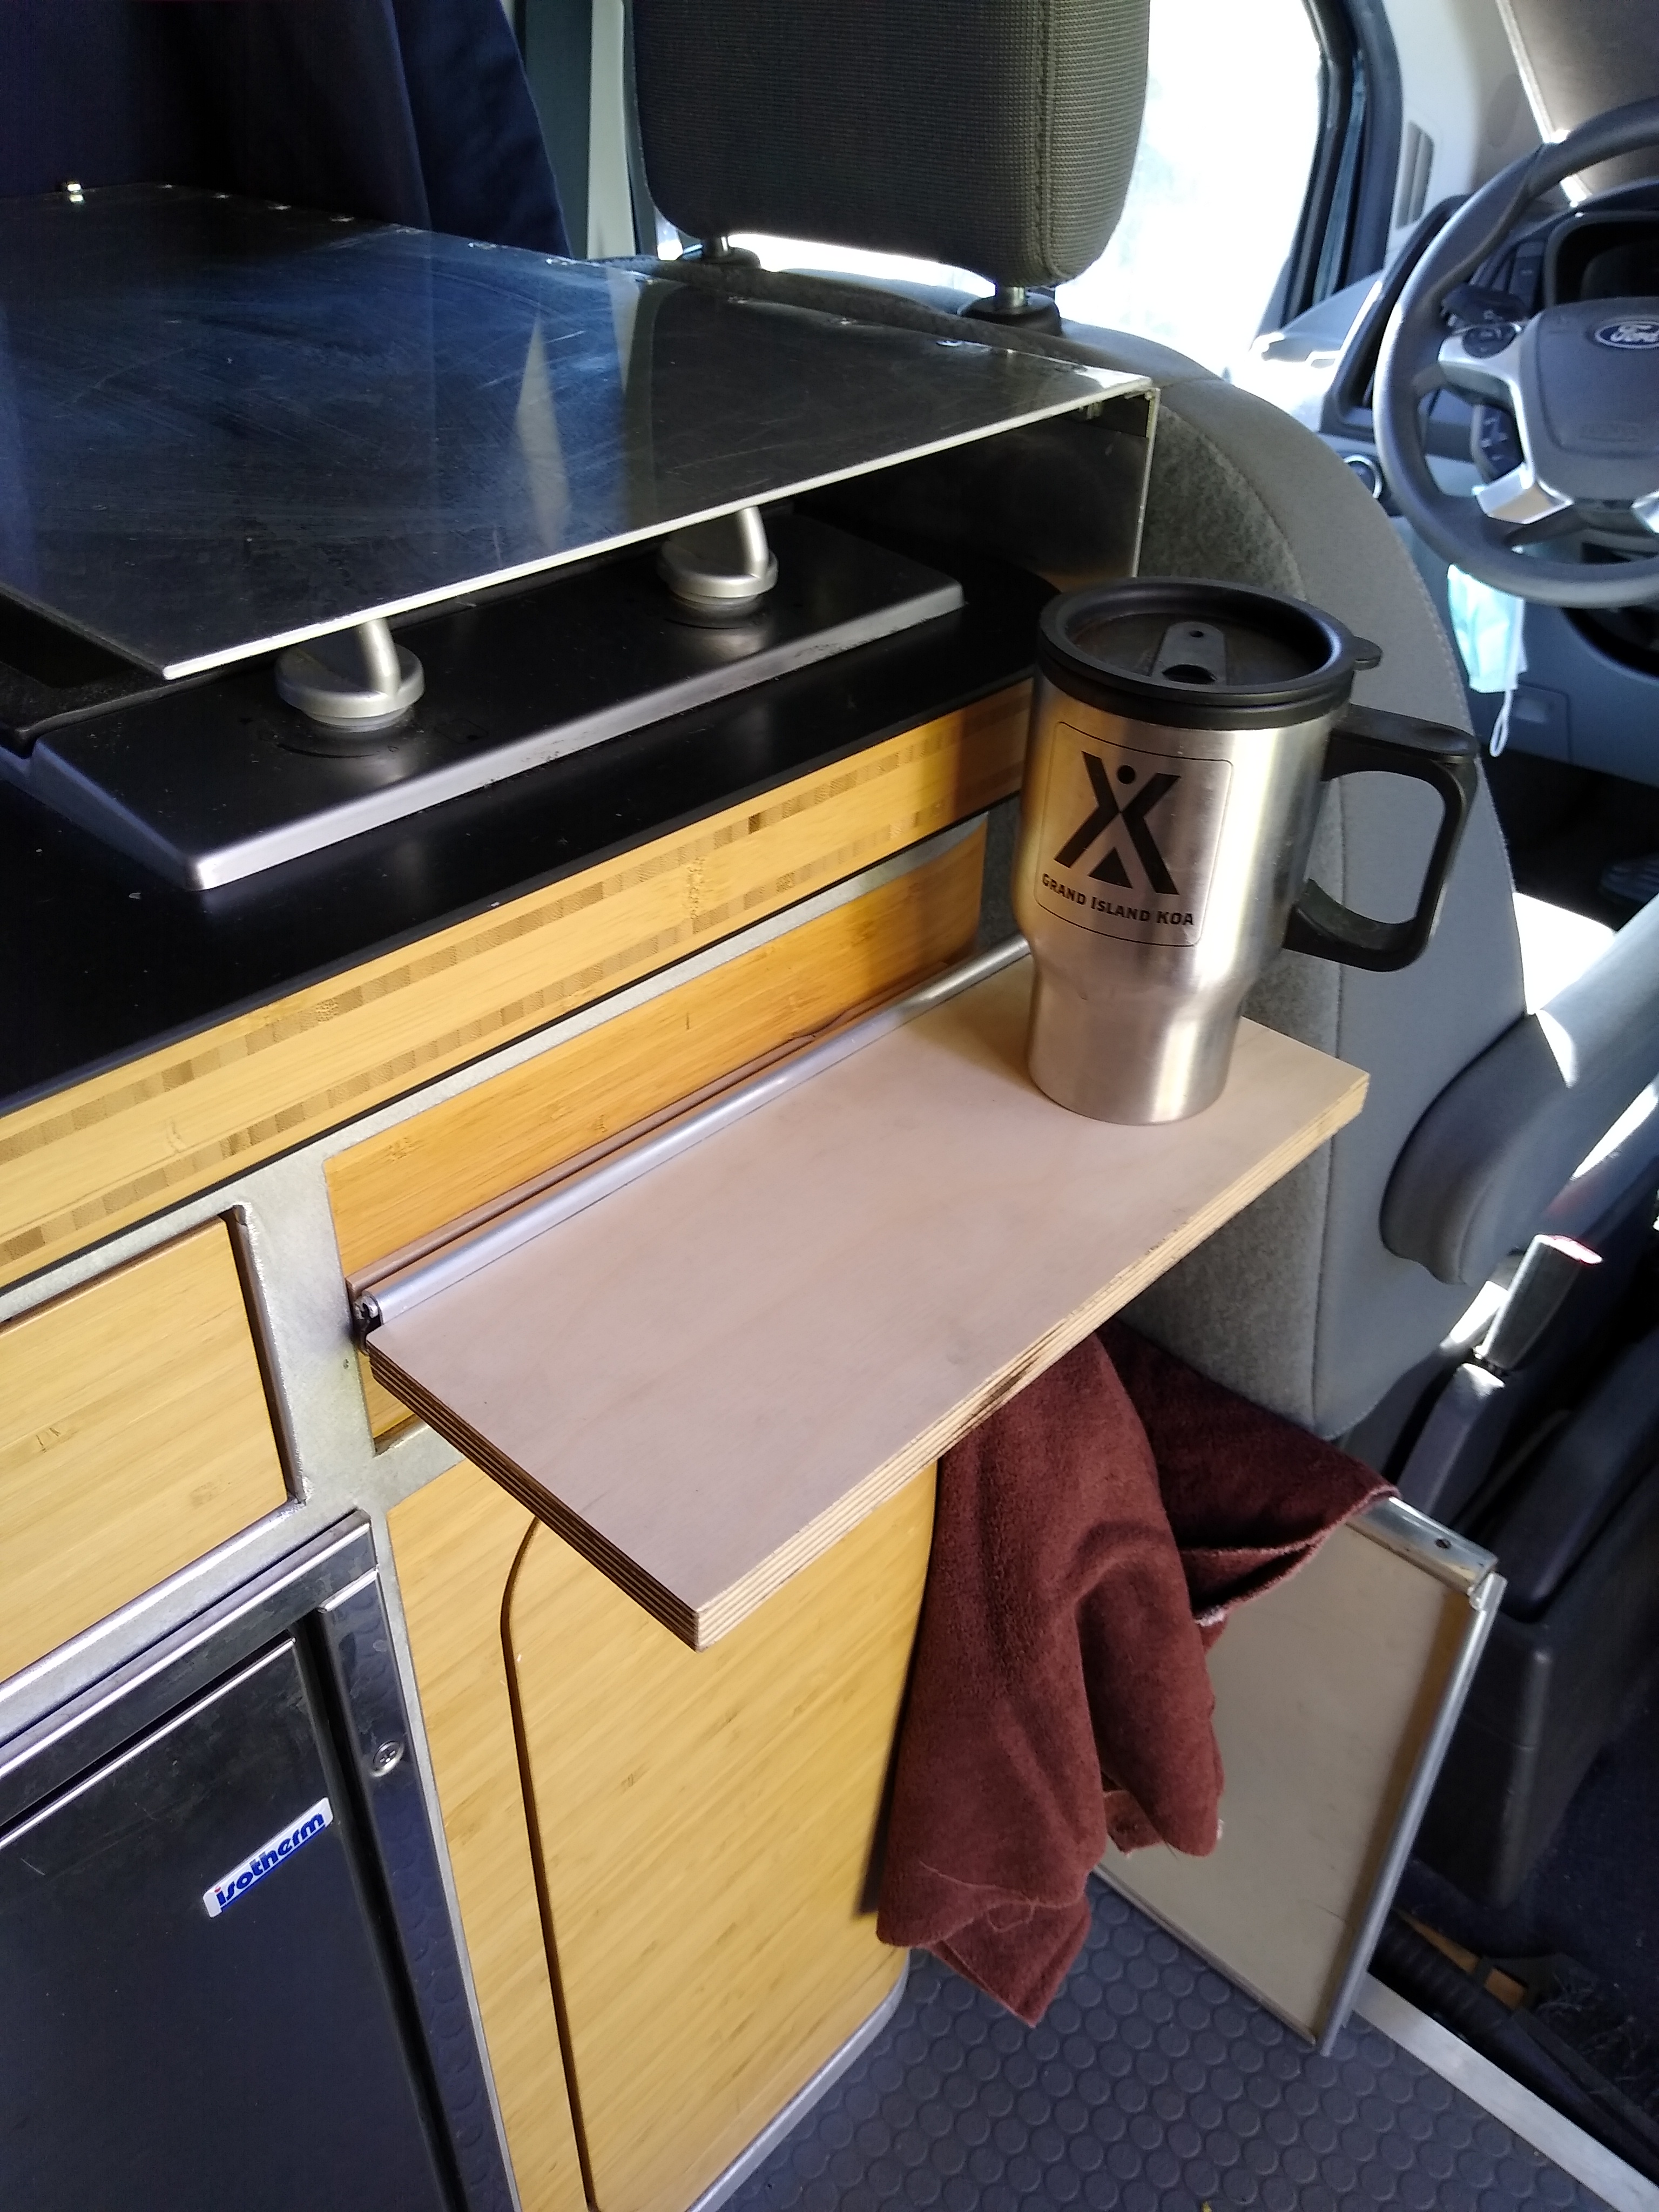
With some leftover material why not a small drink shelf. Note the folded table behind the driver's seat.
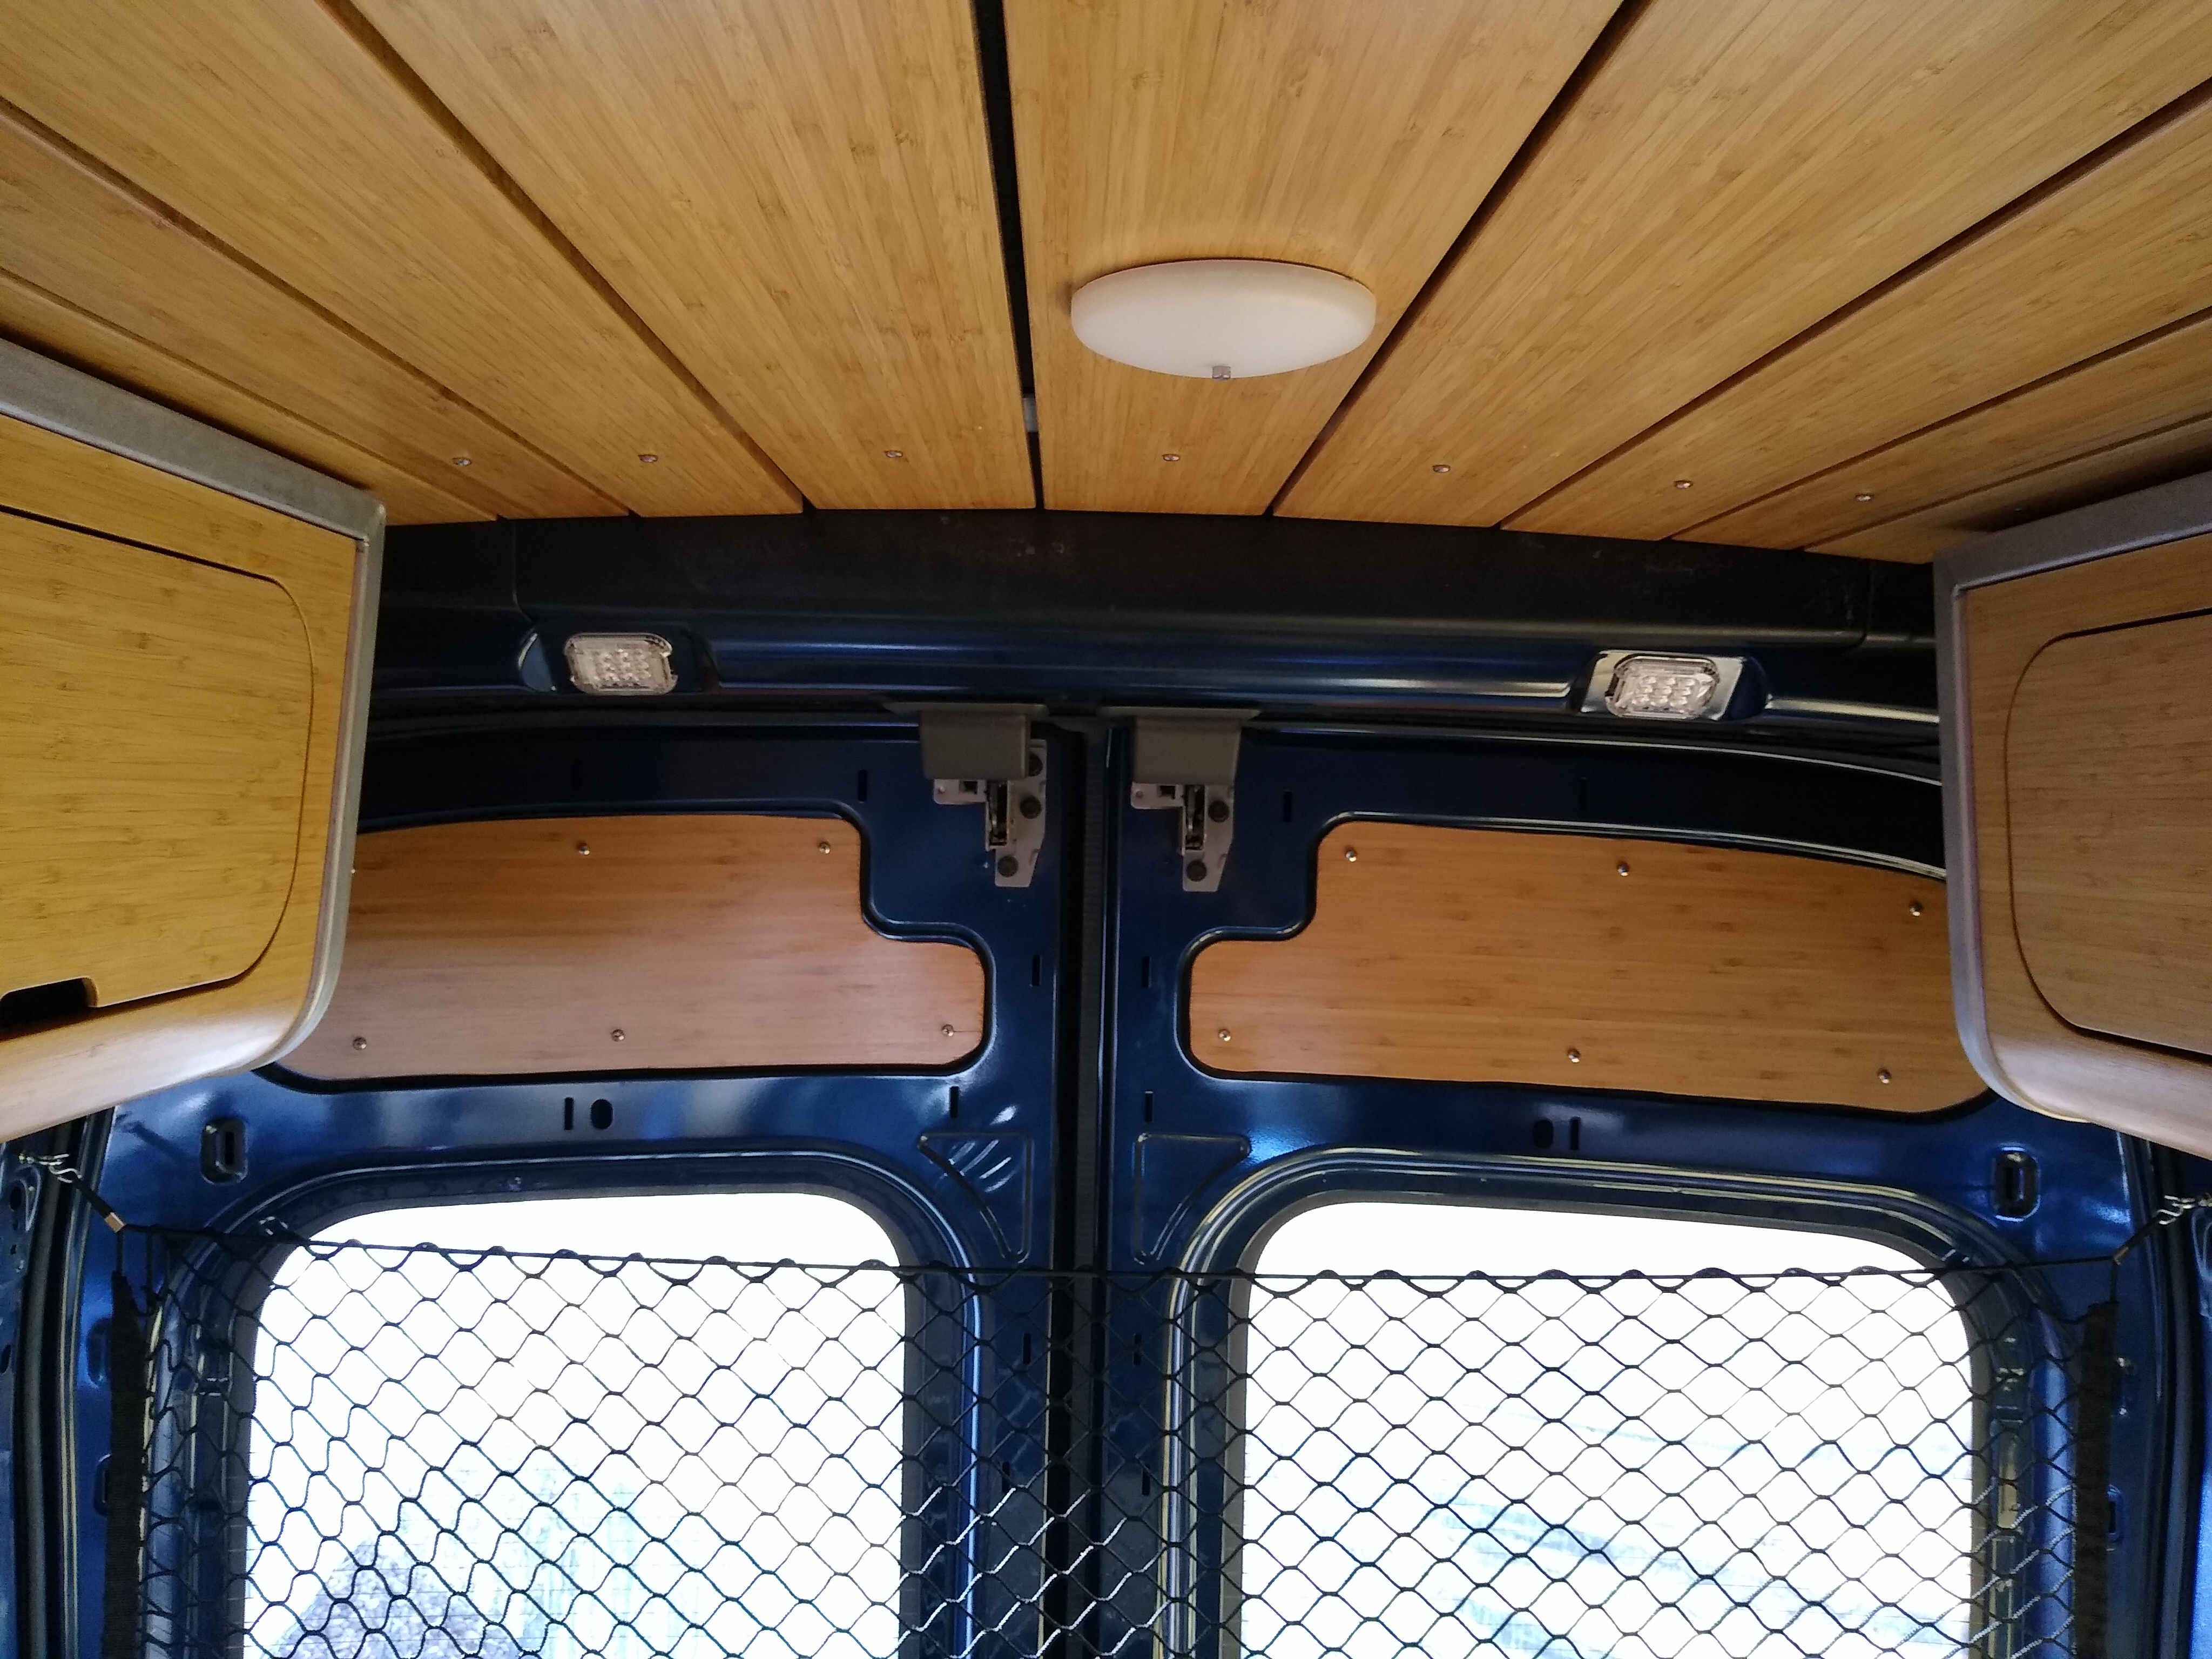
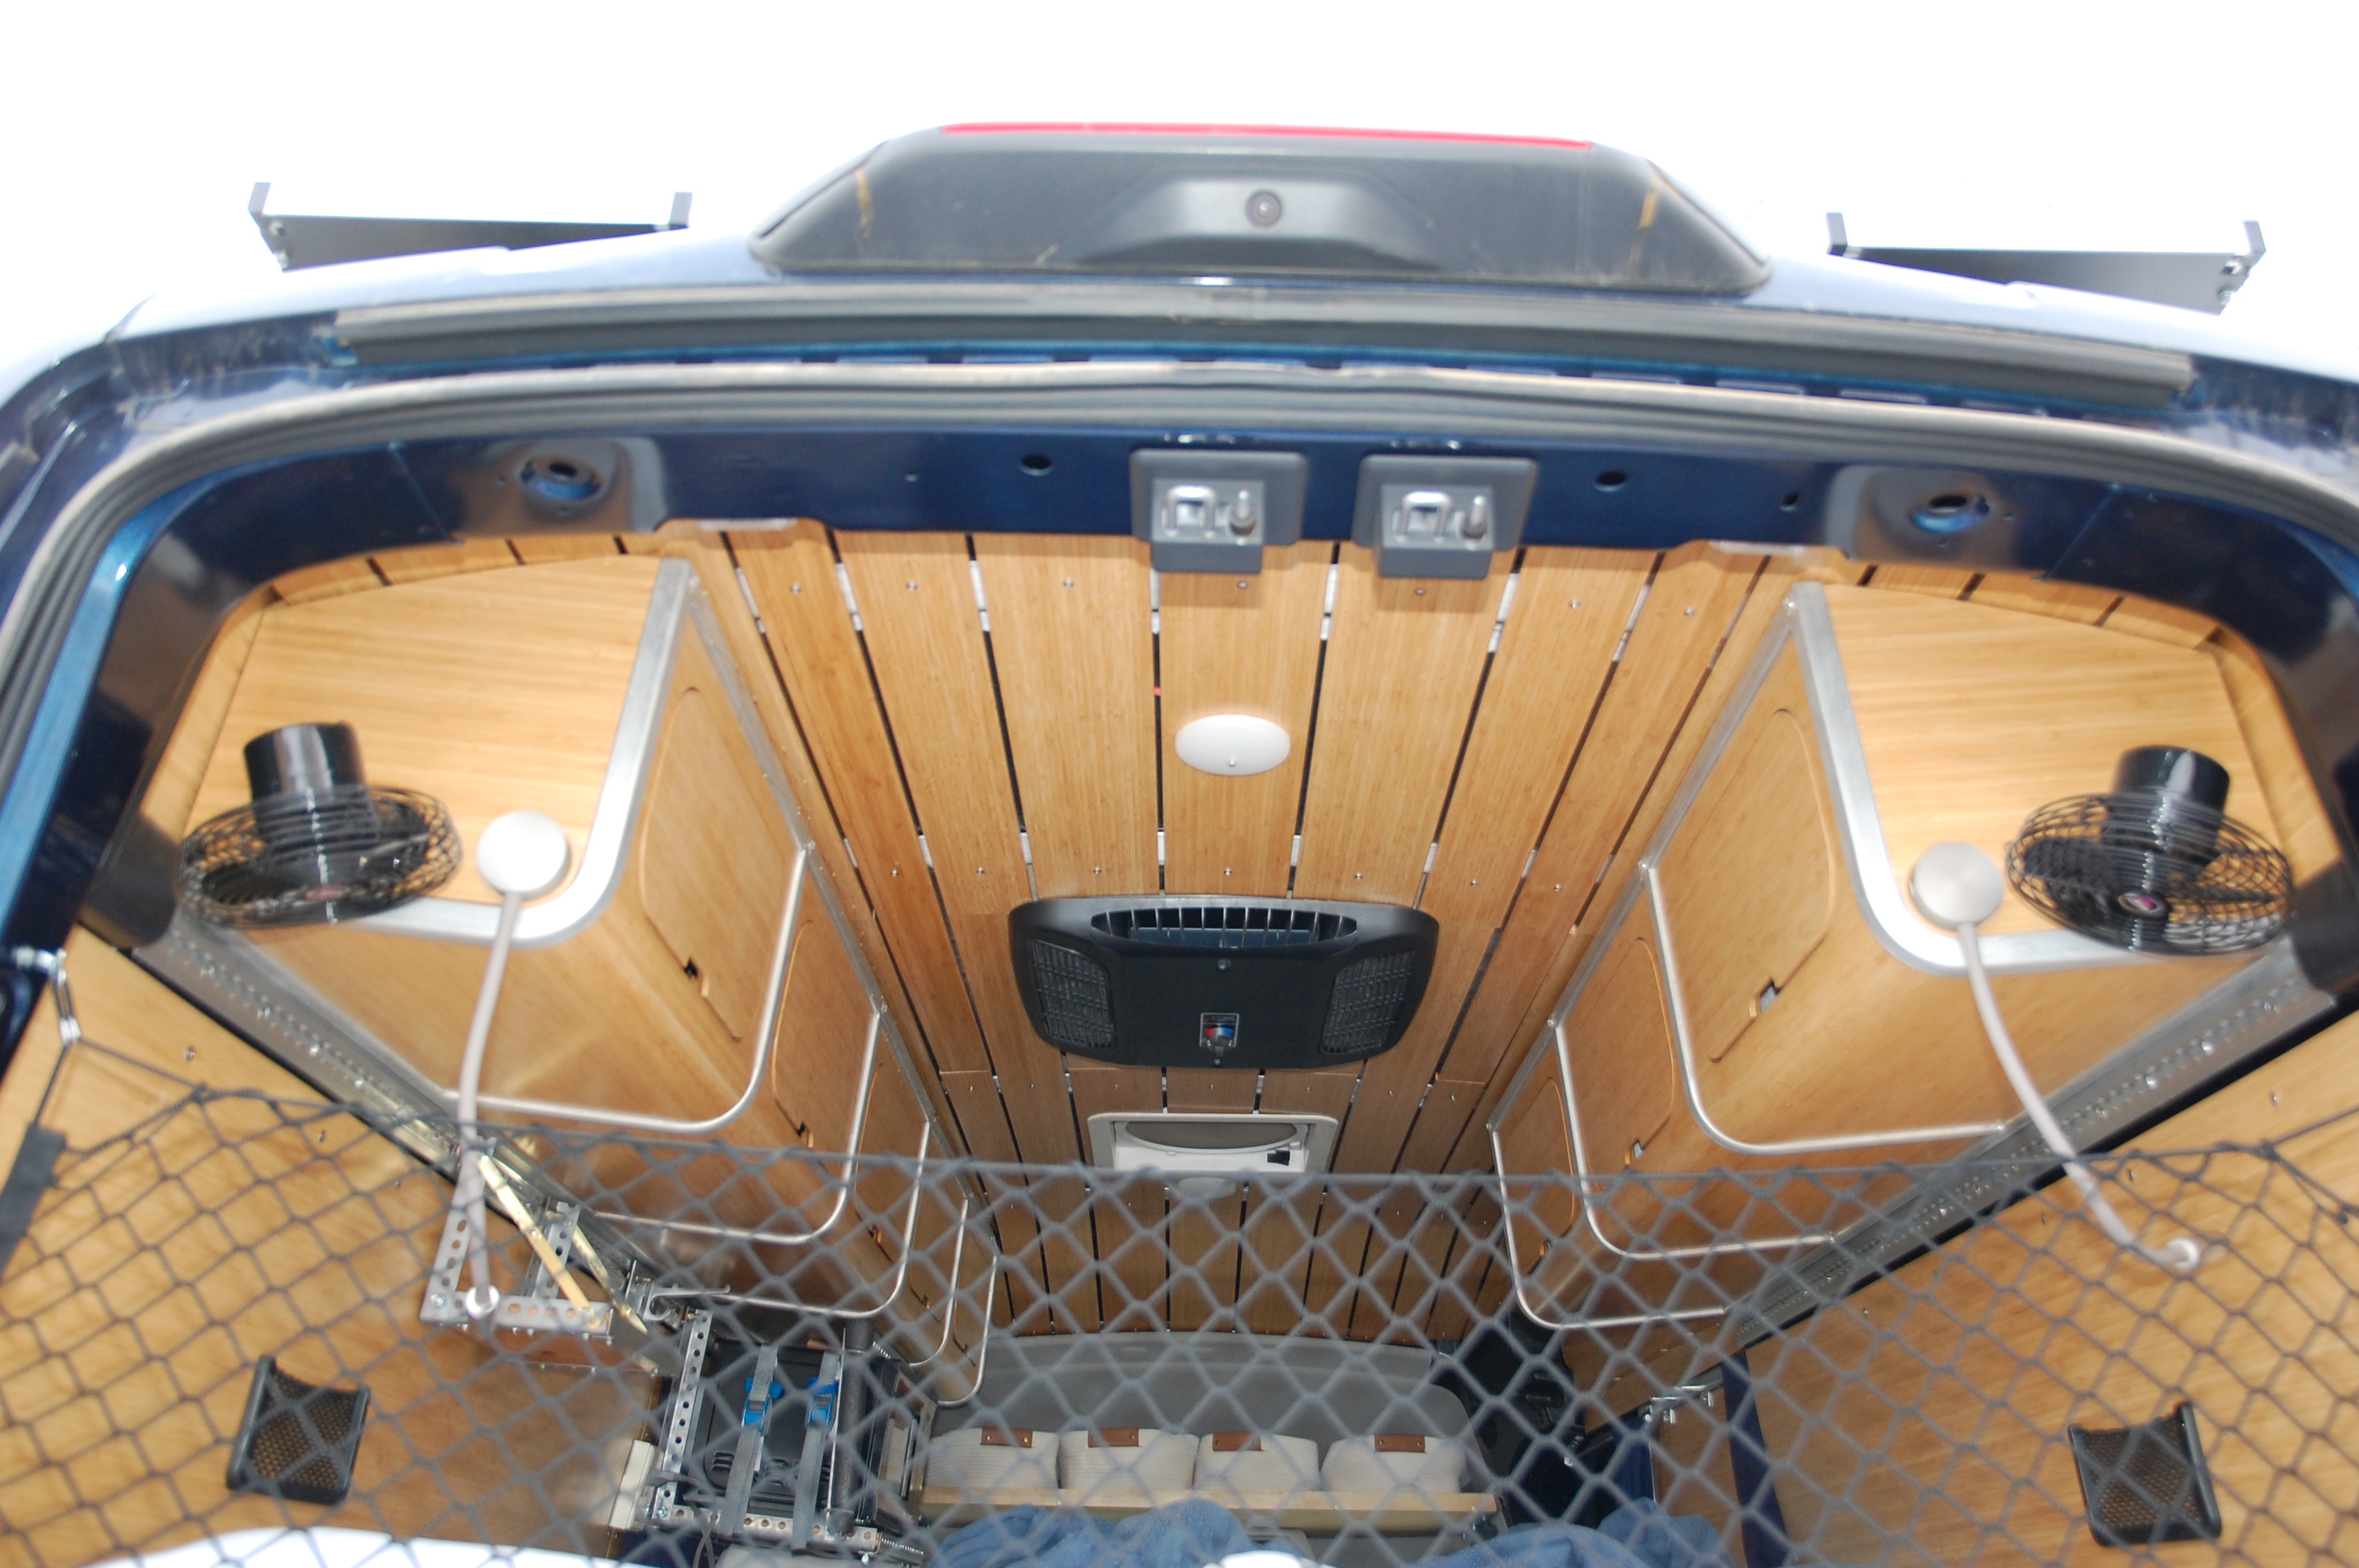
Added bamboo trim to the rear door and cargo netting, which is removable, to catch errant pillows when the rear door are opened.
Flexible LED reading lights and circulation fans on the rear cabinet bulkhead.
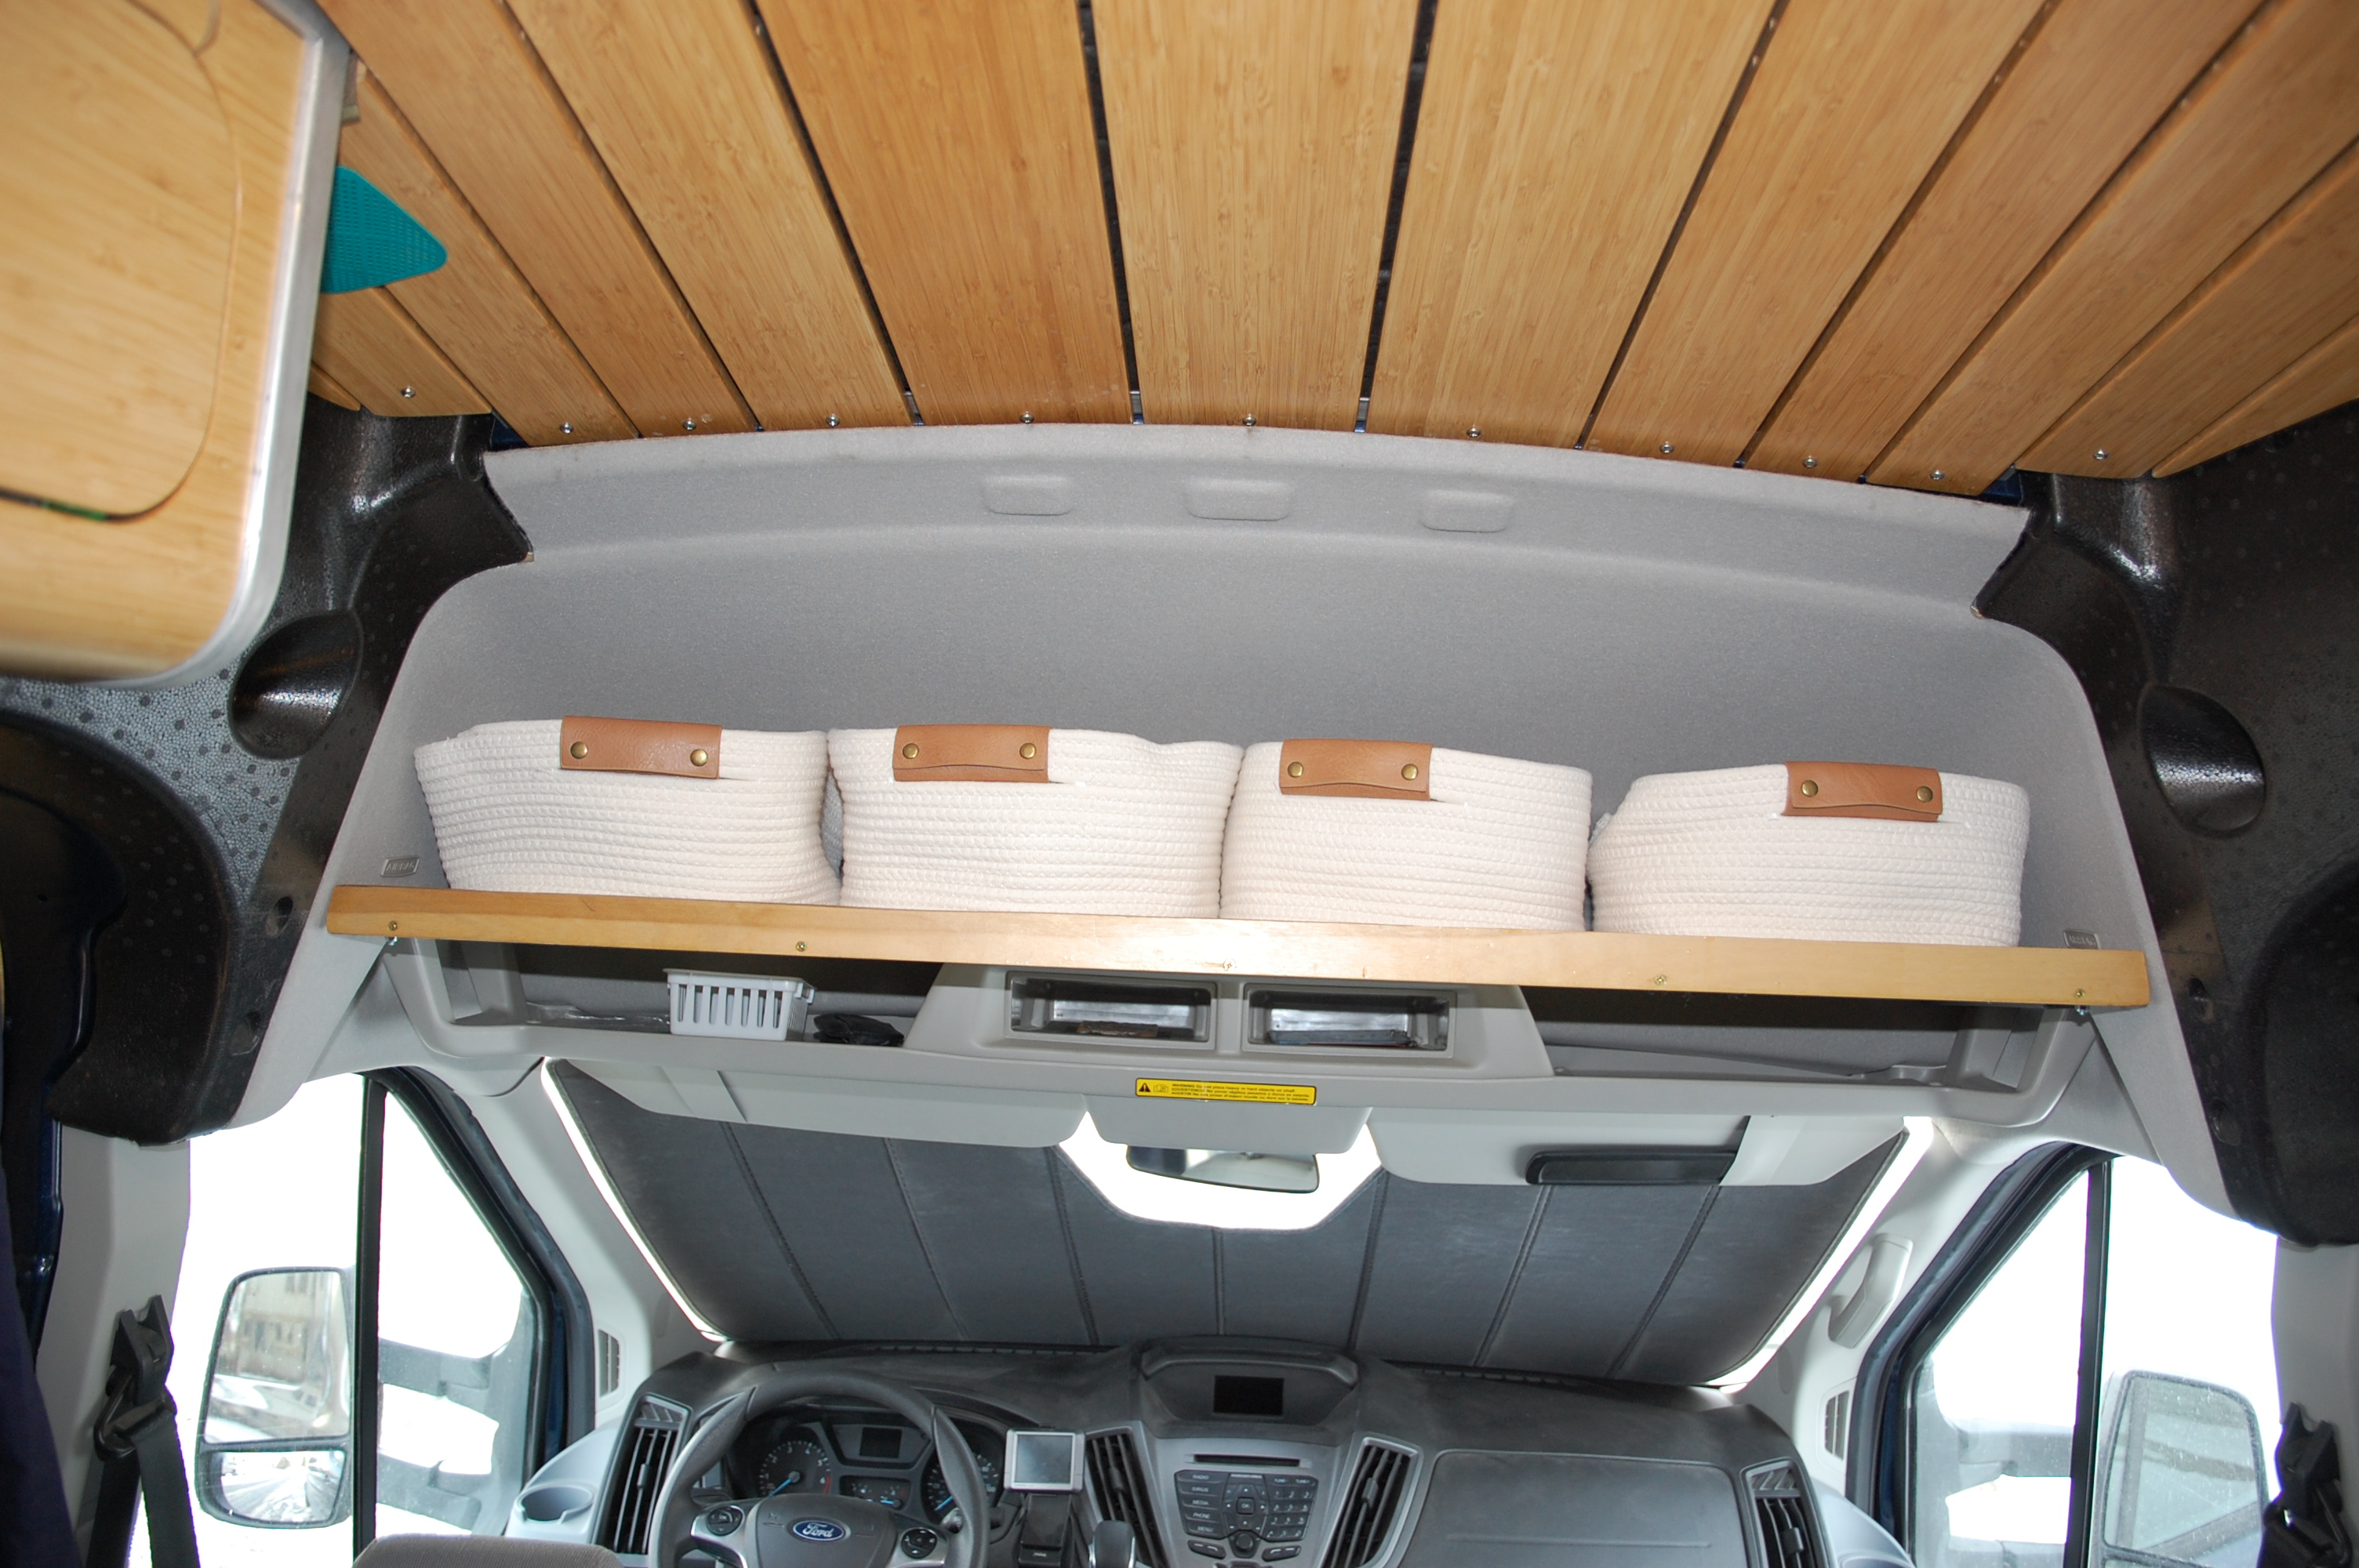
Vancillary headliner shelf with storage baskets.
Girard awning mounted on the solar panel rack.

All pages and photos contained here are
copyright © 2023 by Dave Pitts.
All rights reserved. No reproduction without permission.